
Short answer
Start Sandustry by learning how resources move, then turn early materials into Gold and use Gold to unlock Research. The first factory grows from a simple sand-processing loop into logistics, refining, exploration, upgrades, and deeper production chains. This beginner route combines the official Beginner’s Guide with the Sandustry Beginner’s Guide on Steam, keeping the original guide sections and their visual references in a player-first format.
Gameplay Overview
Sandustry begins on an unexplored planet full of destructible terrain, different biomes, resources, and ancient ruins. Your first job is not to build a perfect factory; it is to understand how a material changes state, where it needs to go, and which tool or structure unlocks the next step. From there, you can focus on more advanced processing, cleaner logistics, local creatures, or the search for artifacts.
The game supports several valid directions. A compact factory may be easier to understand, while a larger build can connect more resources and production stages. Keep the first loop readable, because the same questions—input, output, by-product, and next unlock—continue to matter as the planet opens up.
User Interface
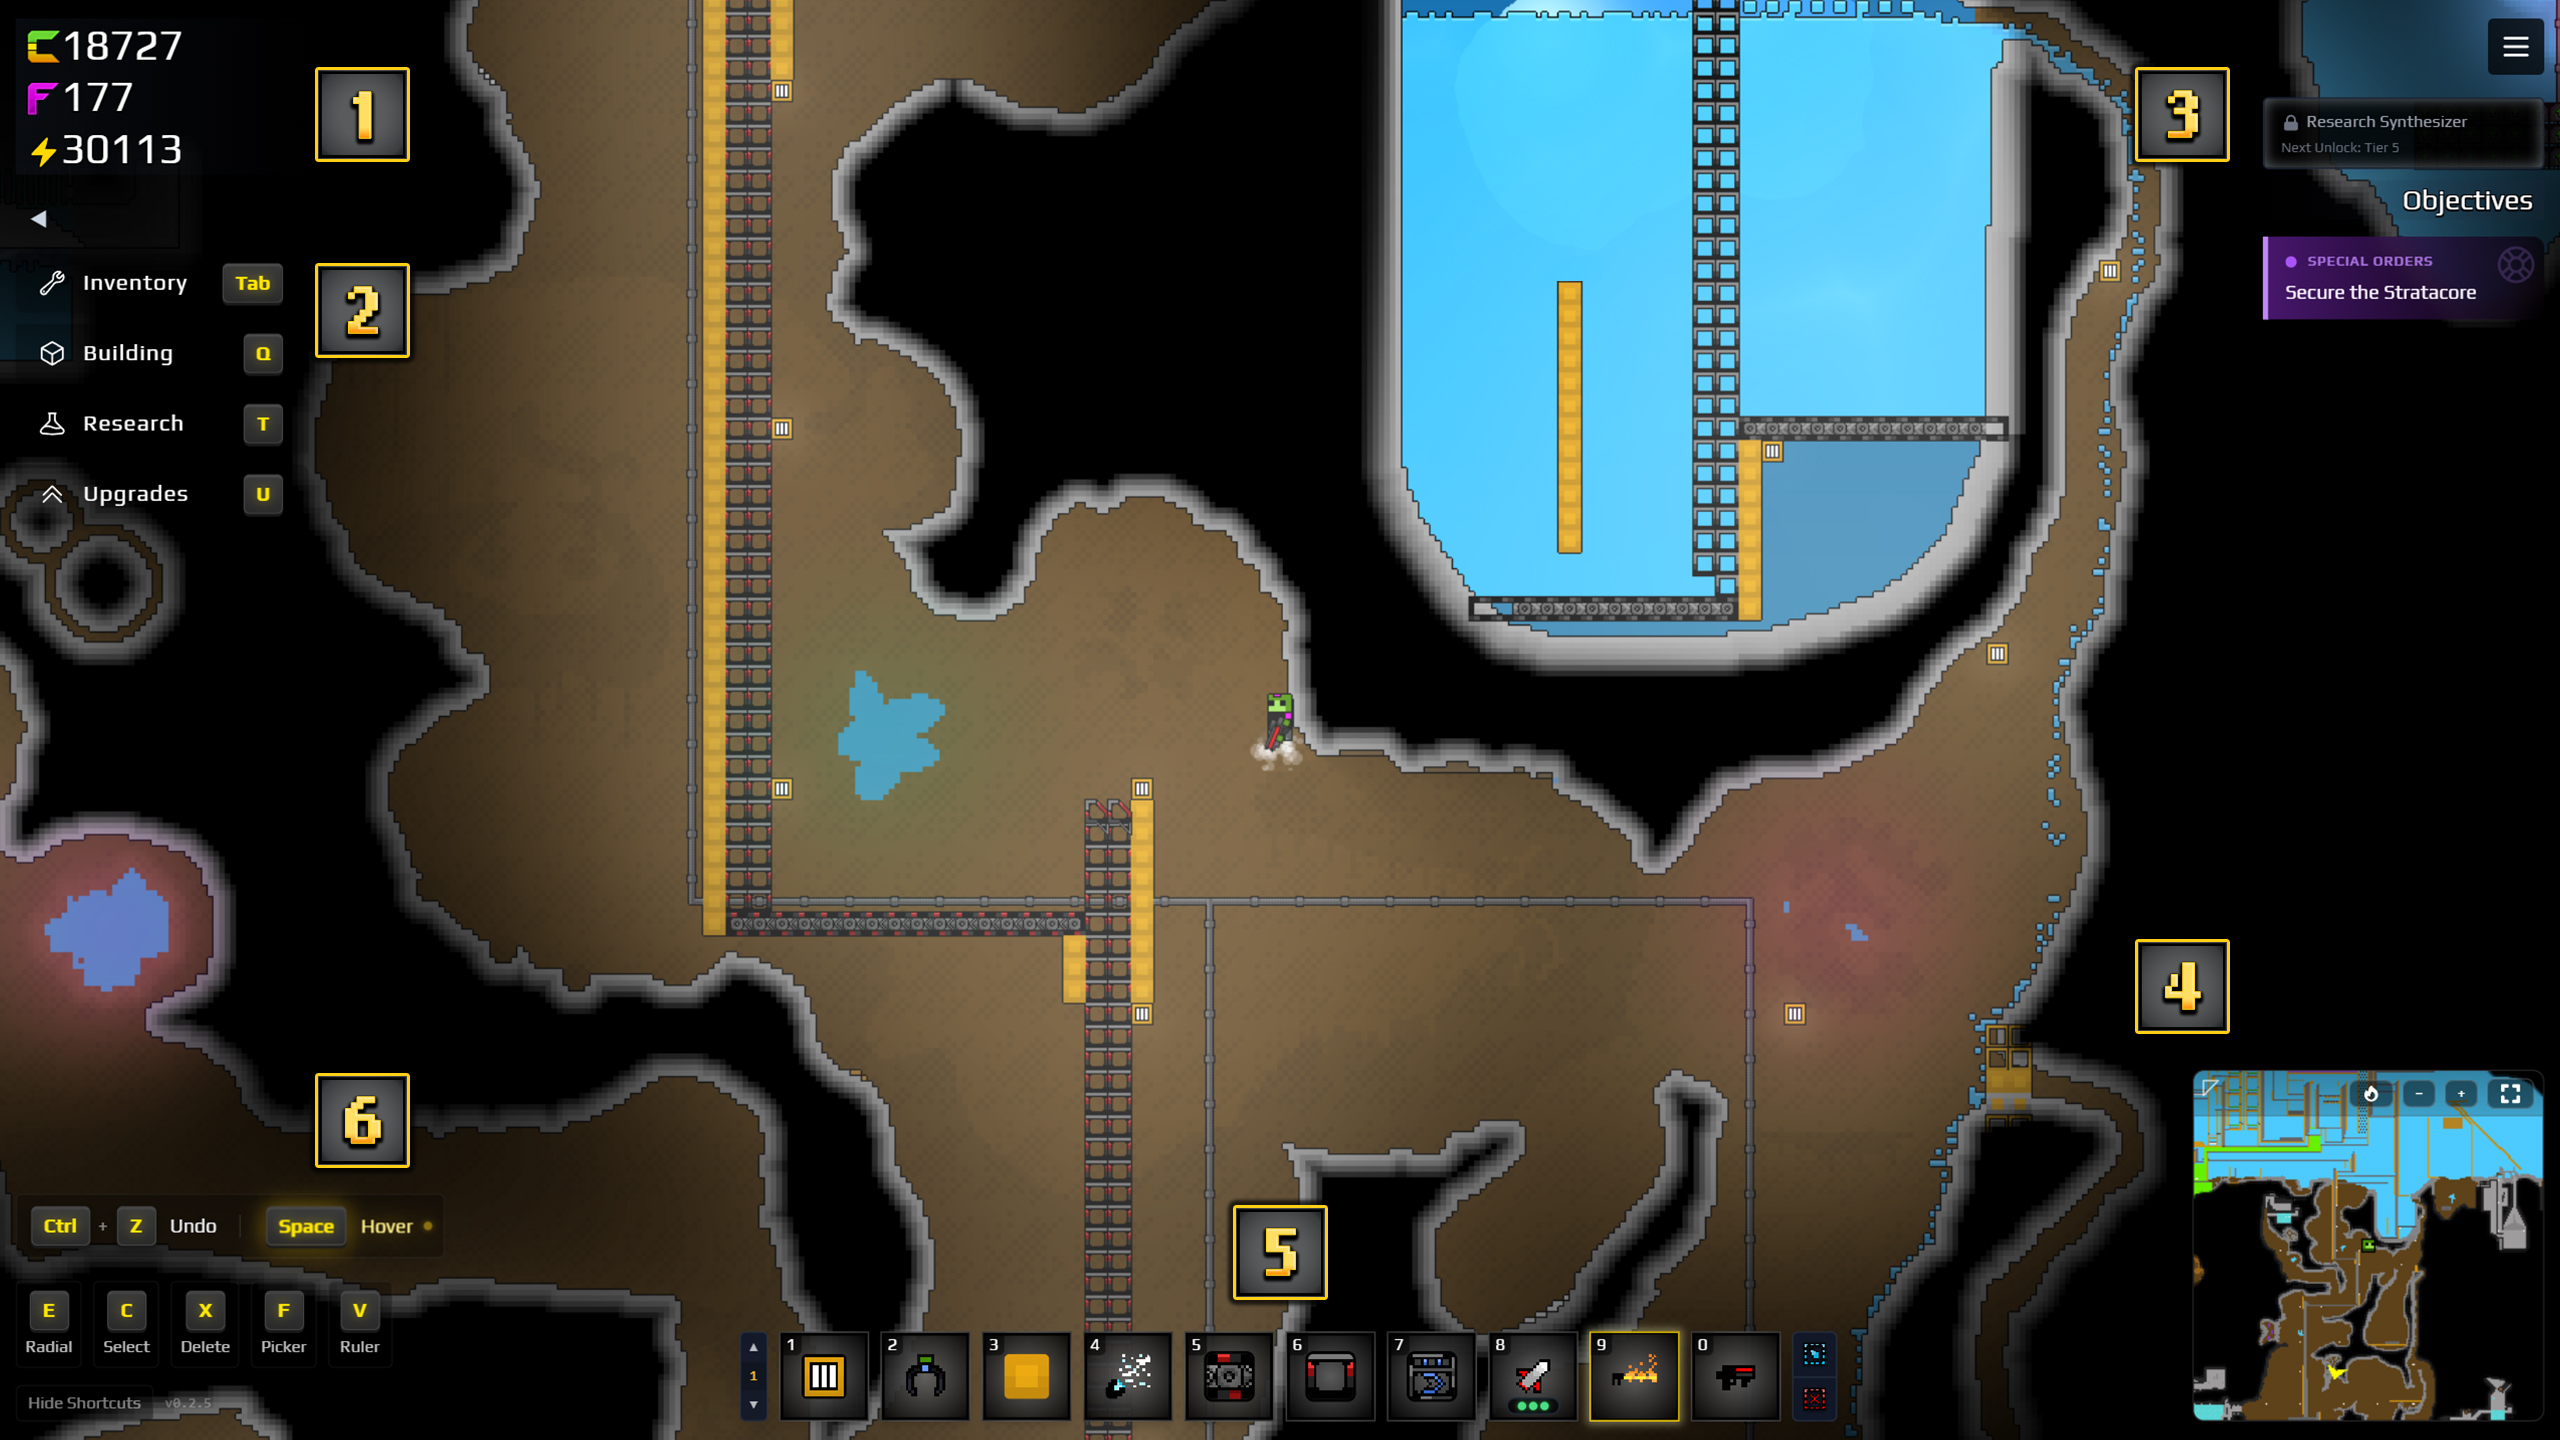
The interface puts the main information close to hand. Learn these areas before you commit to a large build:
- Currencies — Gold unlocks Research, Fluxite unlocks inventory Upgrades, and Energy powers later structures.
- Tab reference — The visible shortcuts help you jump between the game’s tabbed information.
- Objectives — Current objectives show the next task, and the yellow arrow on the Minimap points you toward it.
- Minimap — Use it to see the surrounding world beyond the main screen.
- Hotbars — There are ten hotbars with ten slots each for Inventory and Building items. Use
Altplus a hotbar number to switch quickly, or holdAltwhile scrolling with the mouse wheel. - Shortcuts — Copy, paste, selection, movement, replacement, and other construction shortcuts make repeated factory work much faster.
Spend a few minutes learning the hotbar and shortcut flow before expanding. It is easier to build a clean line when you can place, copy, and replace structures without interrupting the material simulation.
Logistics & Transportation
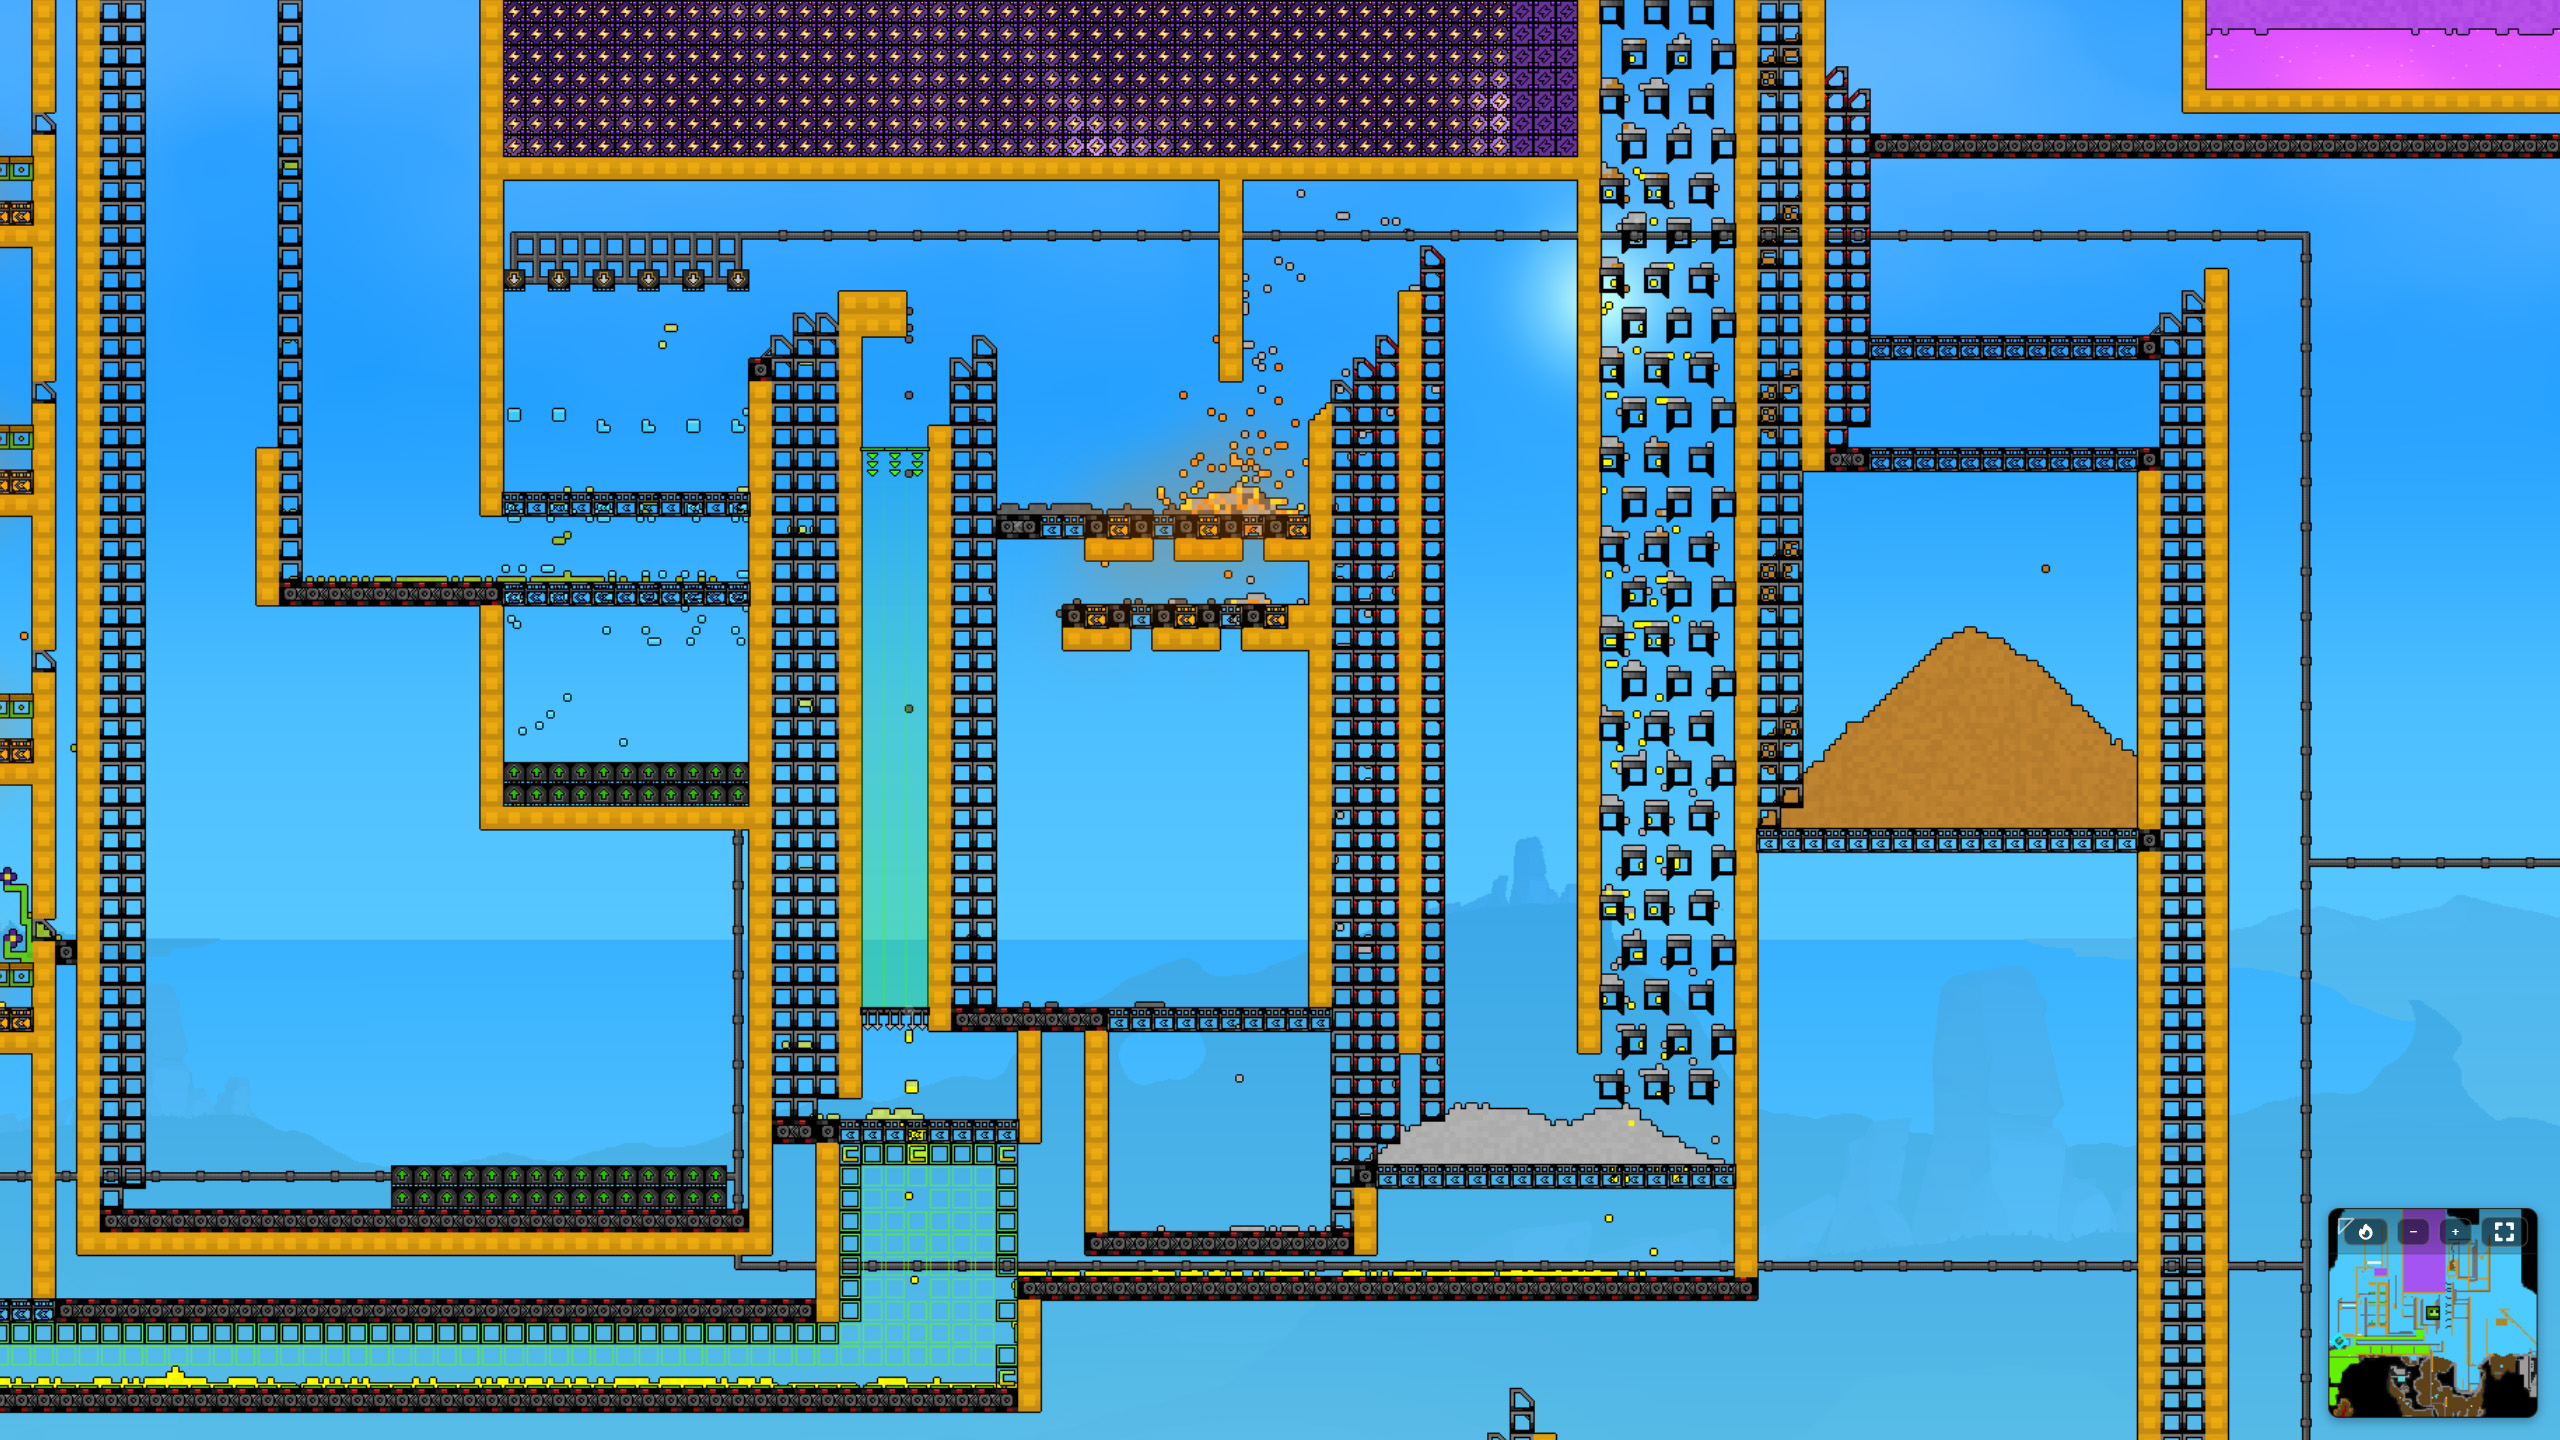
Logistics is the core of a growing Sandustry factory. You will move solids through several refining steps, sort mixed piles, and transport water or other fluids to the place where they are useful. These structures do not need power to operate, so a line can keep running as long as the required material is available and the route is open.
Conveyors and Launchers
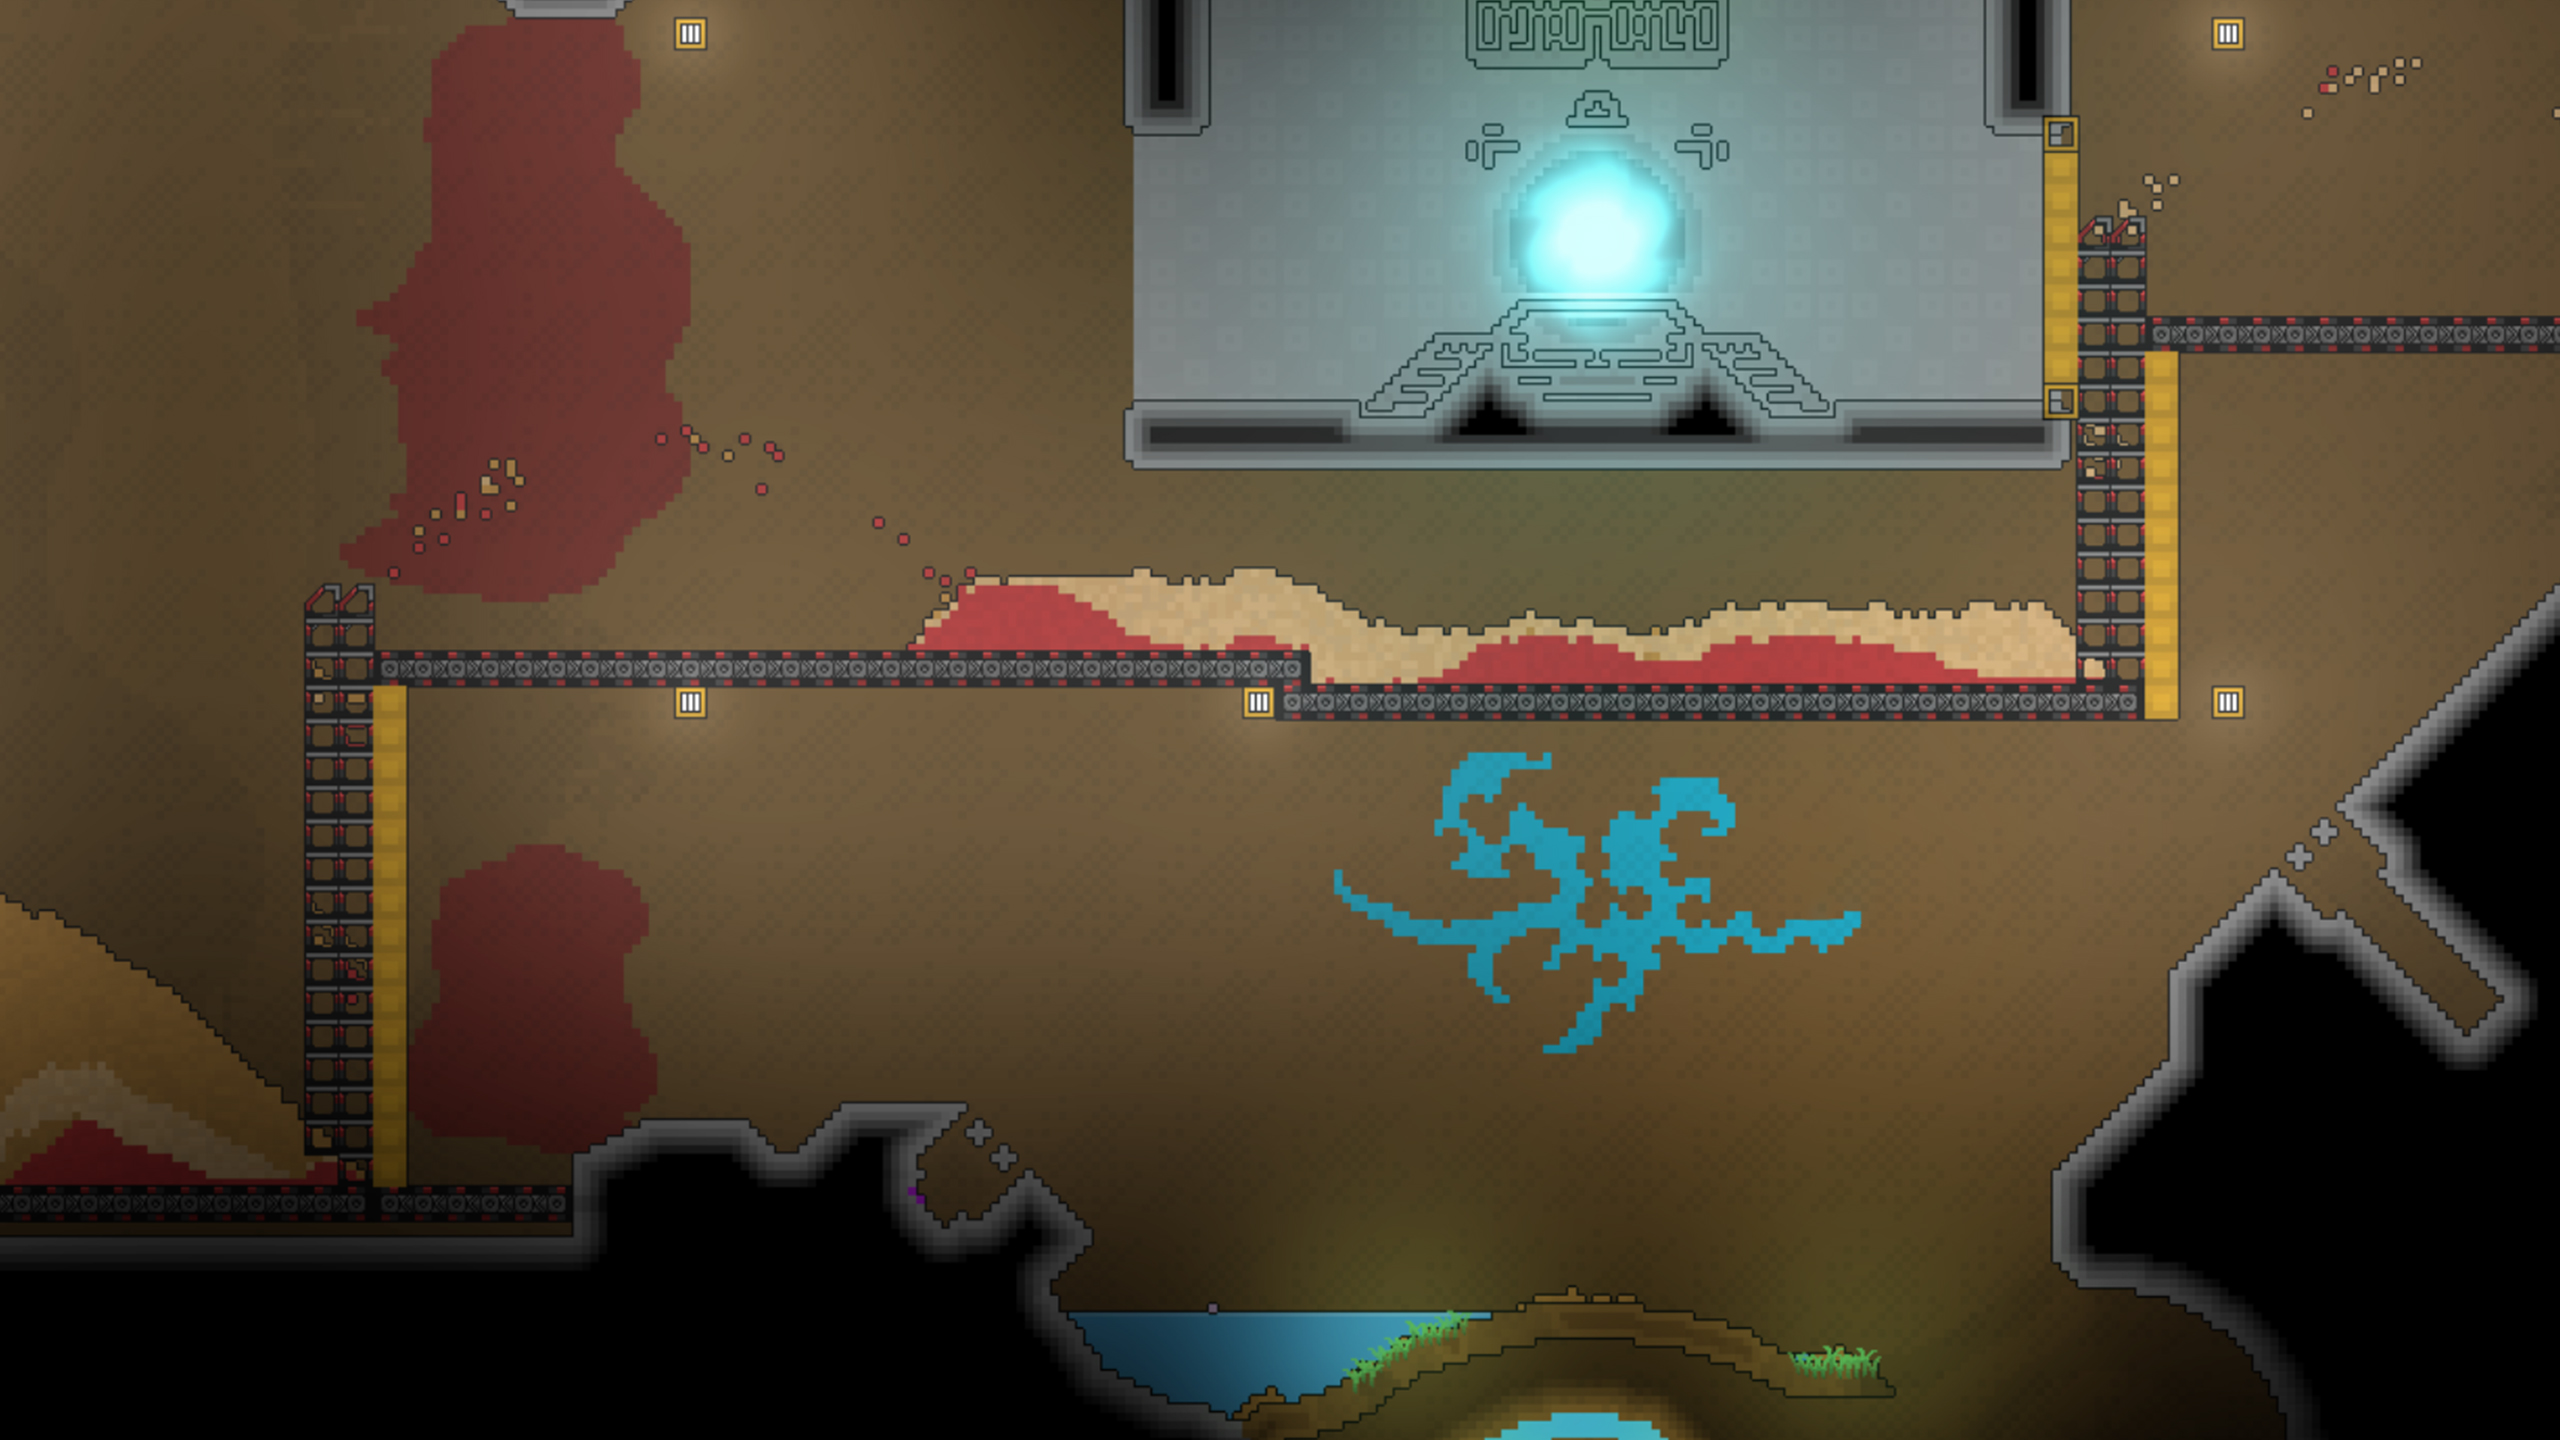
Conveyor Belts and Launchers move solid resources such as Sand, Residue, Cinder, Seeds, and Amethelis. Conveyors are placed horizontally, with their direction determined by the direction you drag. Launchers can be vertical or diagonal; the higher end is the output, and the drag direction determines which side receives the thrown material.
Mark 2 versions become available later through the tech tree and move resources faster. When a line backs up, check the input, output, direction, and receiving space before adding more machines. A shorter, clearer route is often easier to debug than a dense line with several hidden handoffs.
Filters
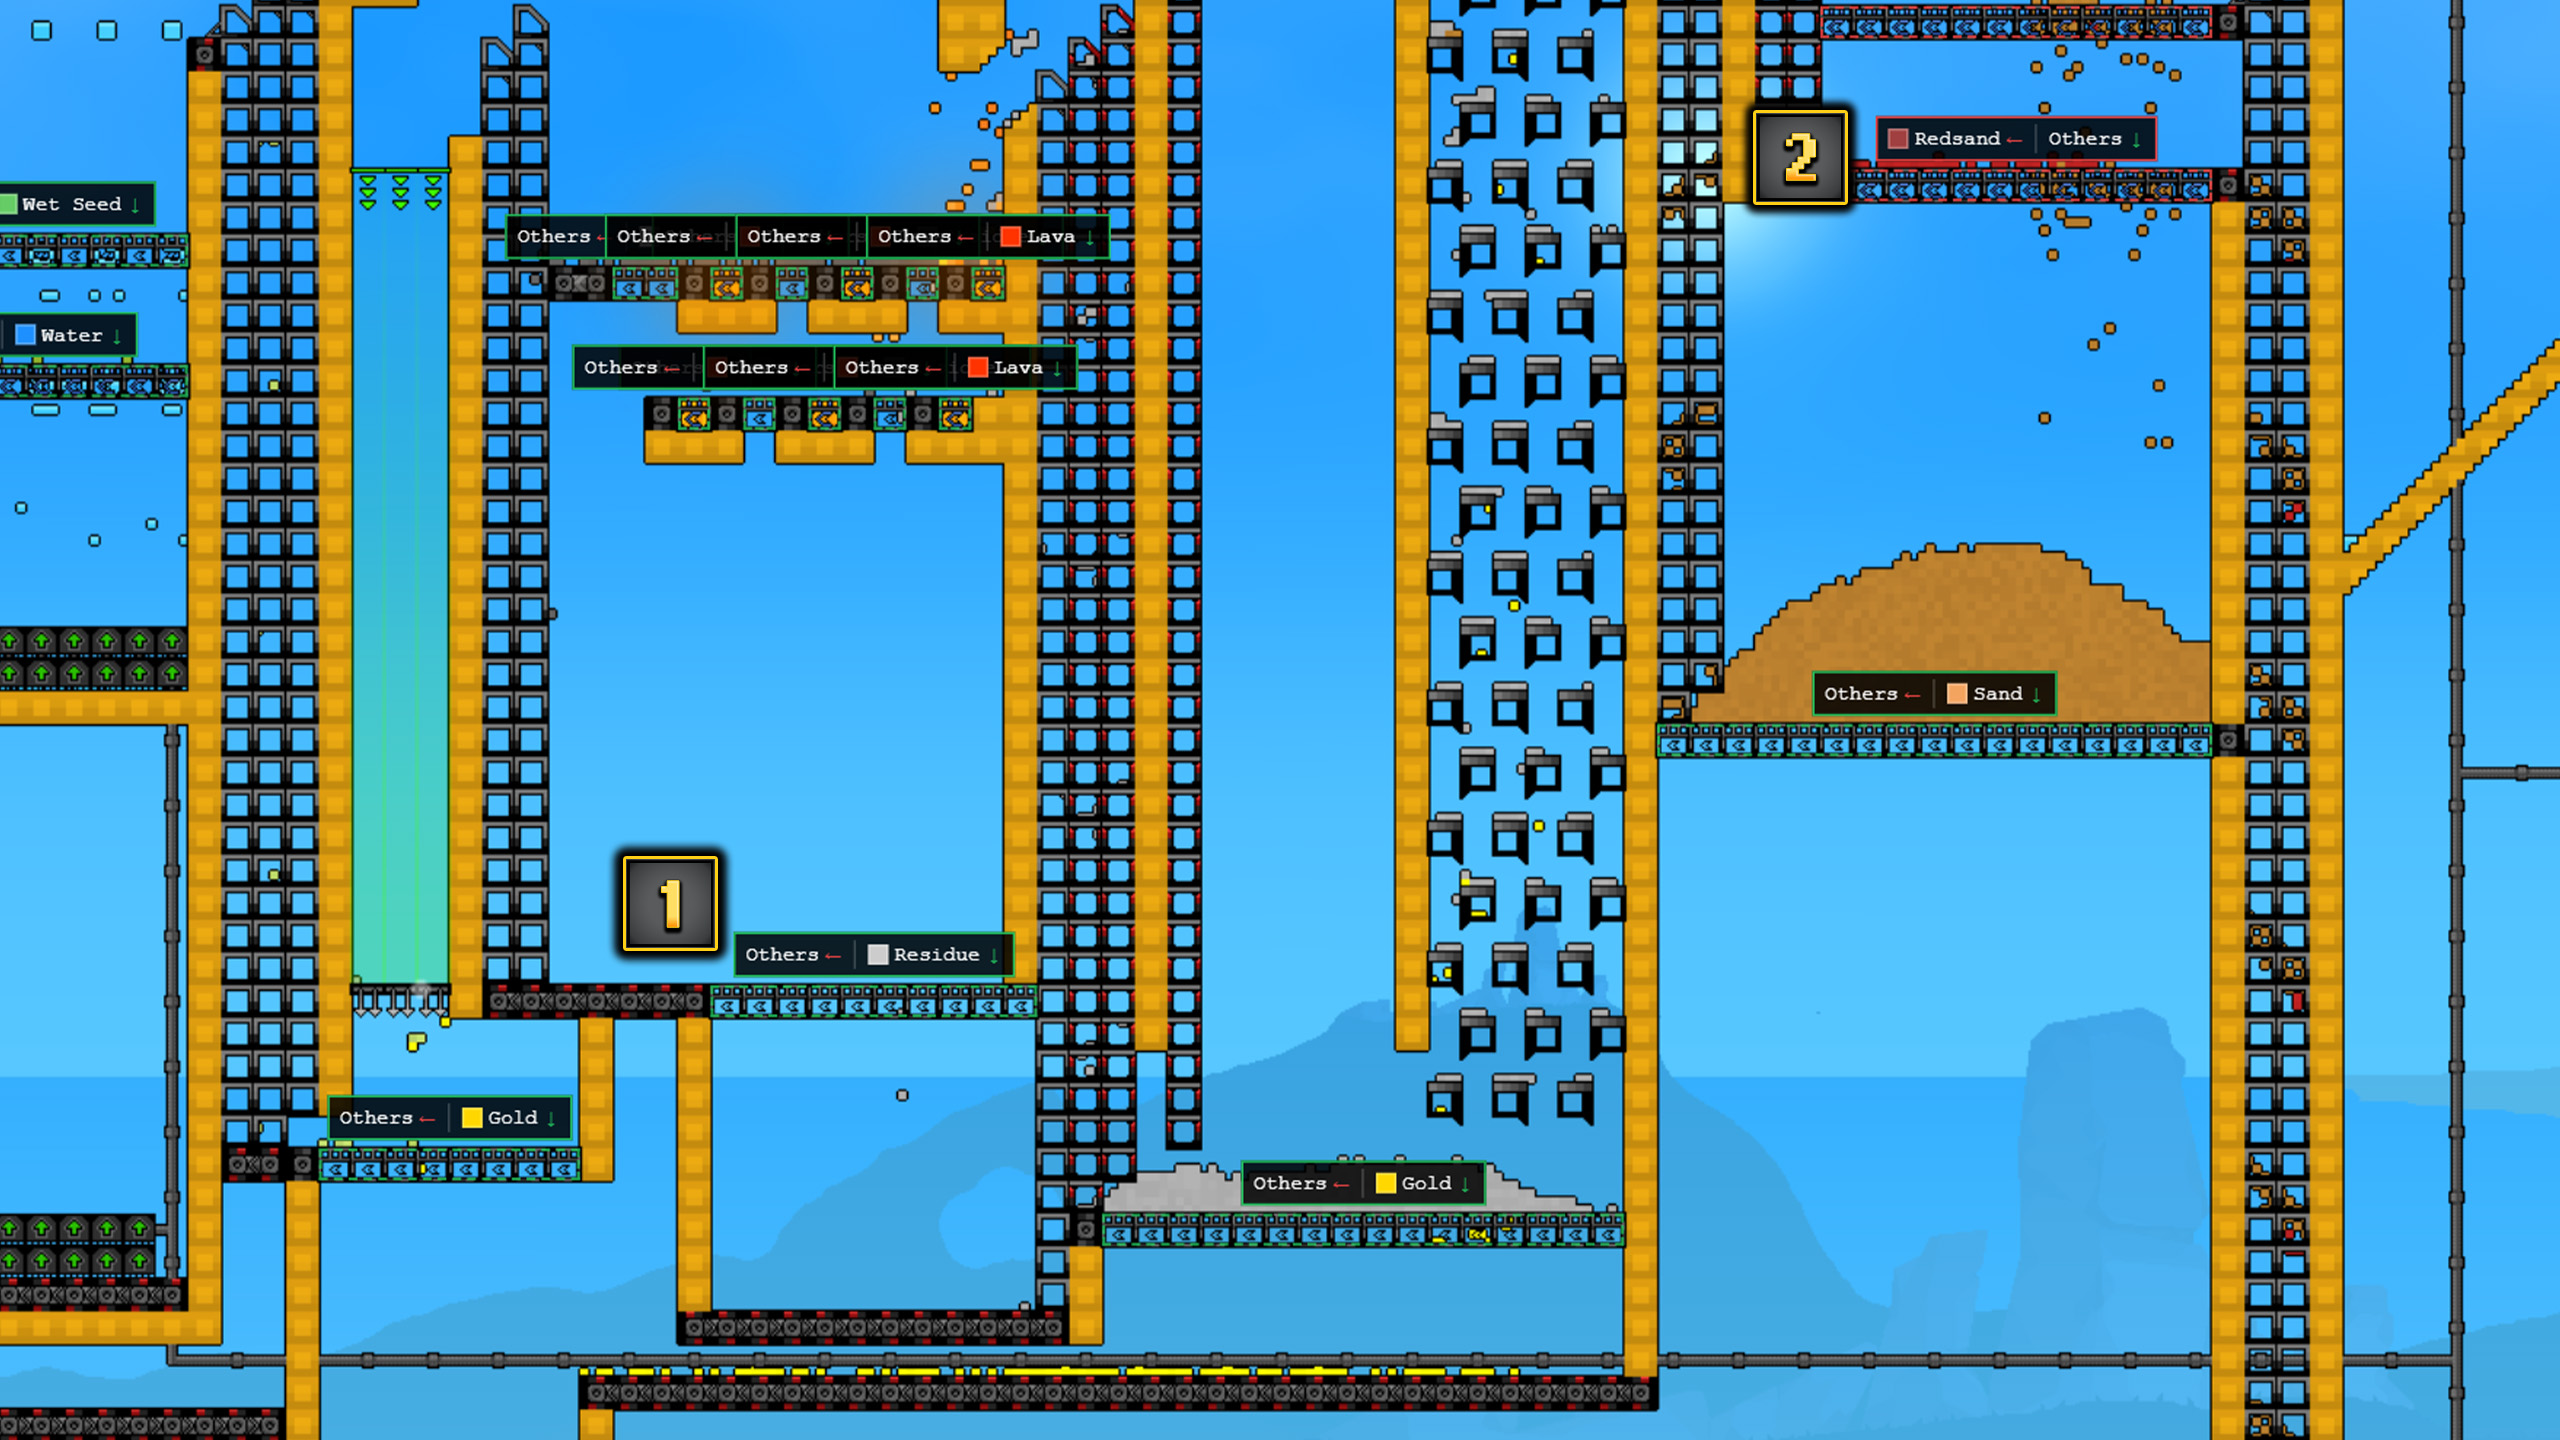
Basic Filters sort solid resources. Allow lets the selected resource pass while stopping other resources. Block stops the selected resource while allowing the others through. Both settings apply to one selected resource at a time, so a single filter cannot independently allow several named resources.
For example, if one pile contains Redsand and Moonhop, use separate filter steps to isolate them. Advanced Filters later extend filtering to solid, liquid, and gas resources, but the single-resource Allow or Block rule still matters. Set up the filter beside a visible output space so you can confirm which material is moving before connecting the next machine.
Transporting Liquids
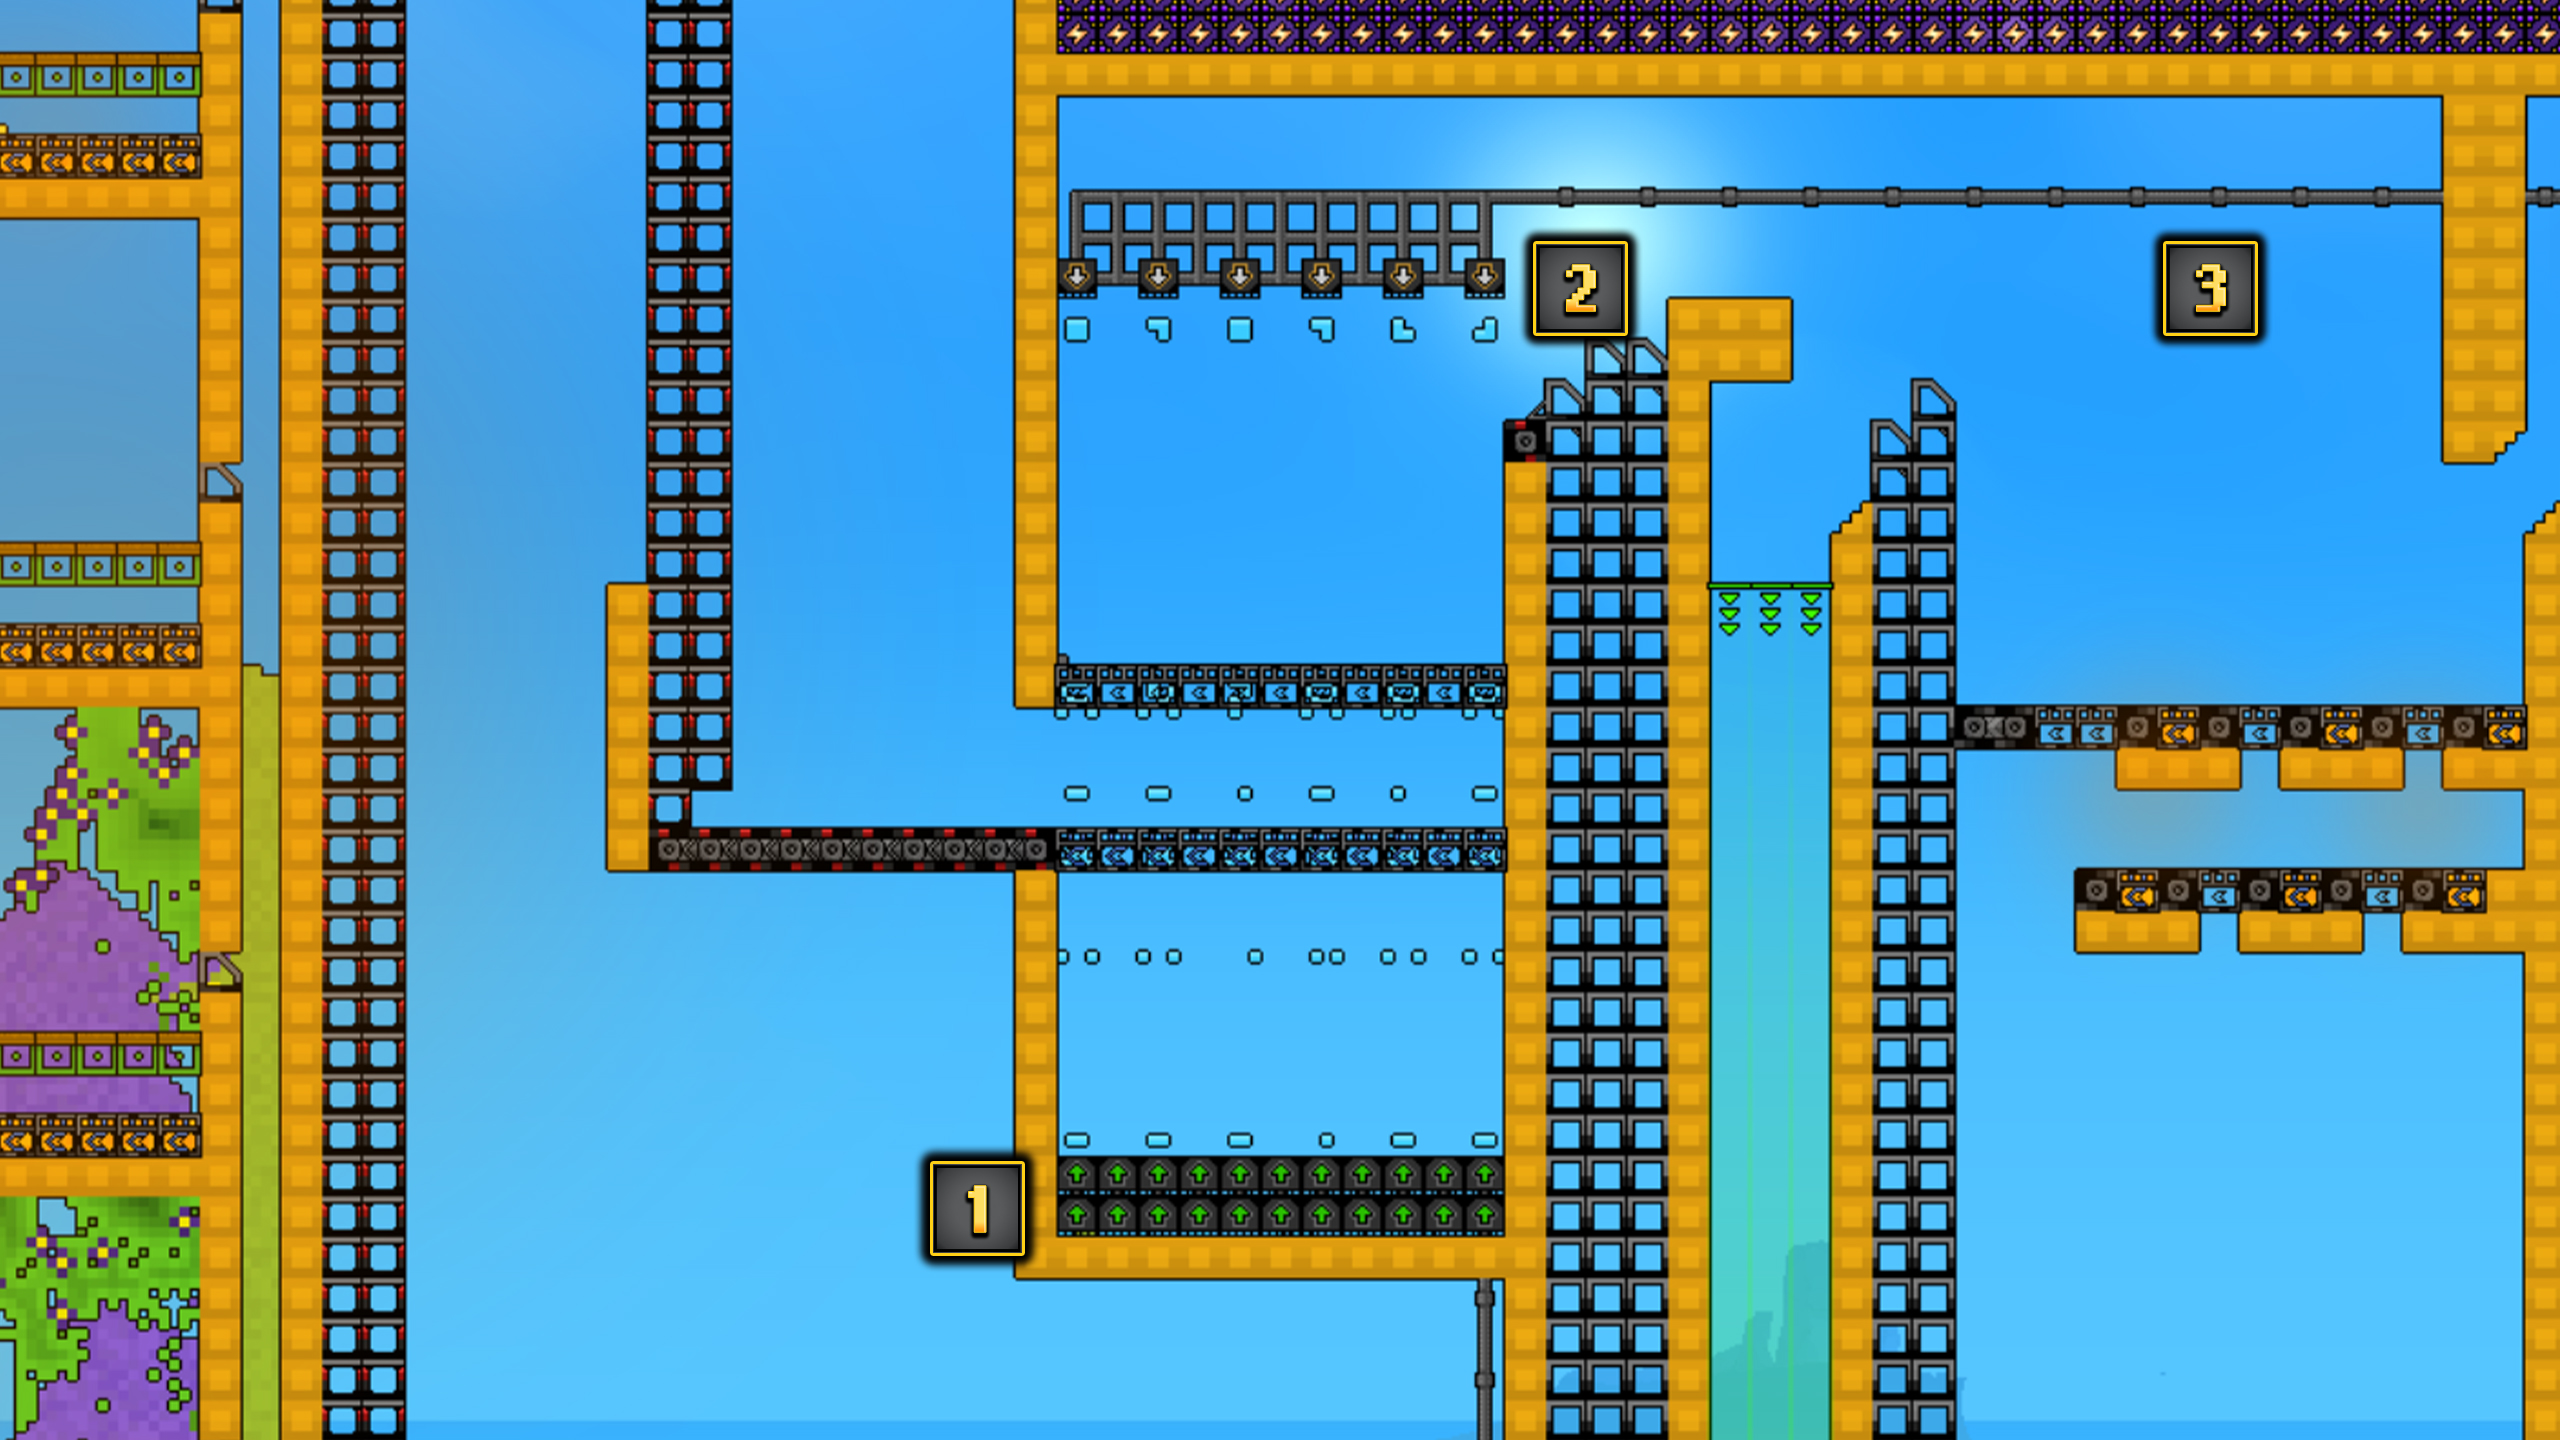
For fluids other than molten fluids, use a Pump as the input, a Liquid Vent as the output, and Pipes between them. The fluid keeps moving when it is at or above the Pump and has not reached the Liquid Vent’s level. This makes the relative height of the source, Pump, and Vent part of the layout.
A single pipeline can carry more than one fluid type, but the Liquid Vent cannot filter the output and prioritizes the liquid closest to it. Separate fluid lines when the production chain depends on a specific liquid. If a line seems stuck, check the fluid level and the vent height before rebuilding the entire route.
Production & Refining
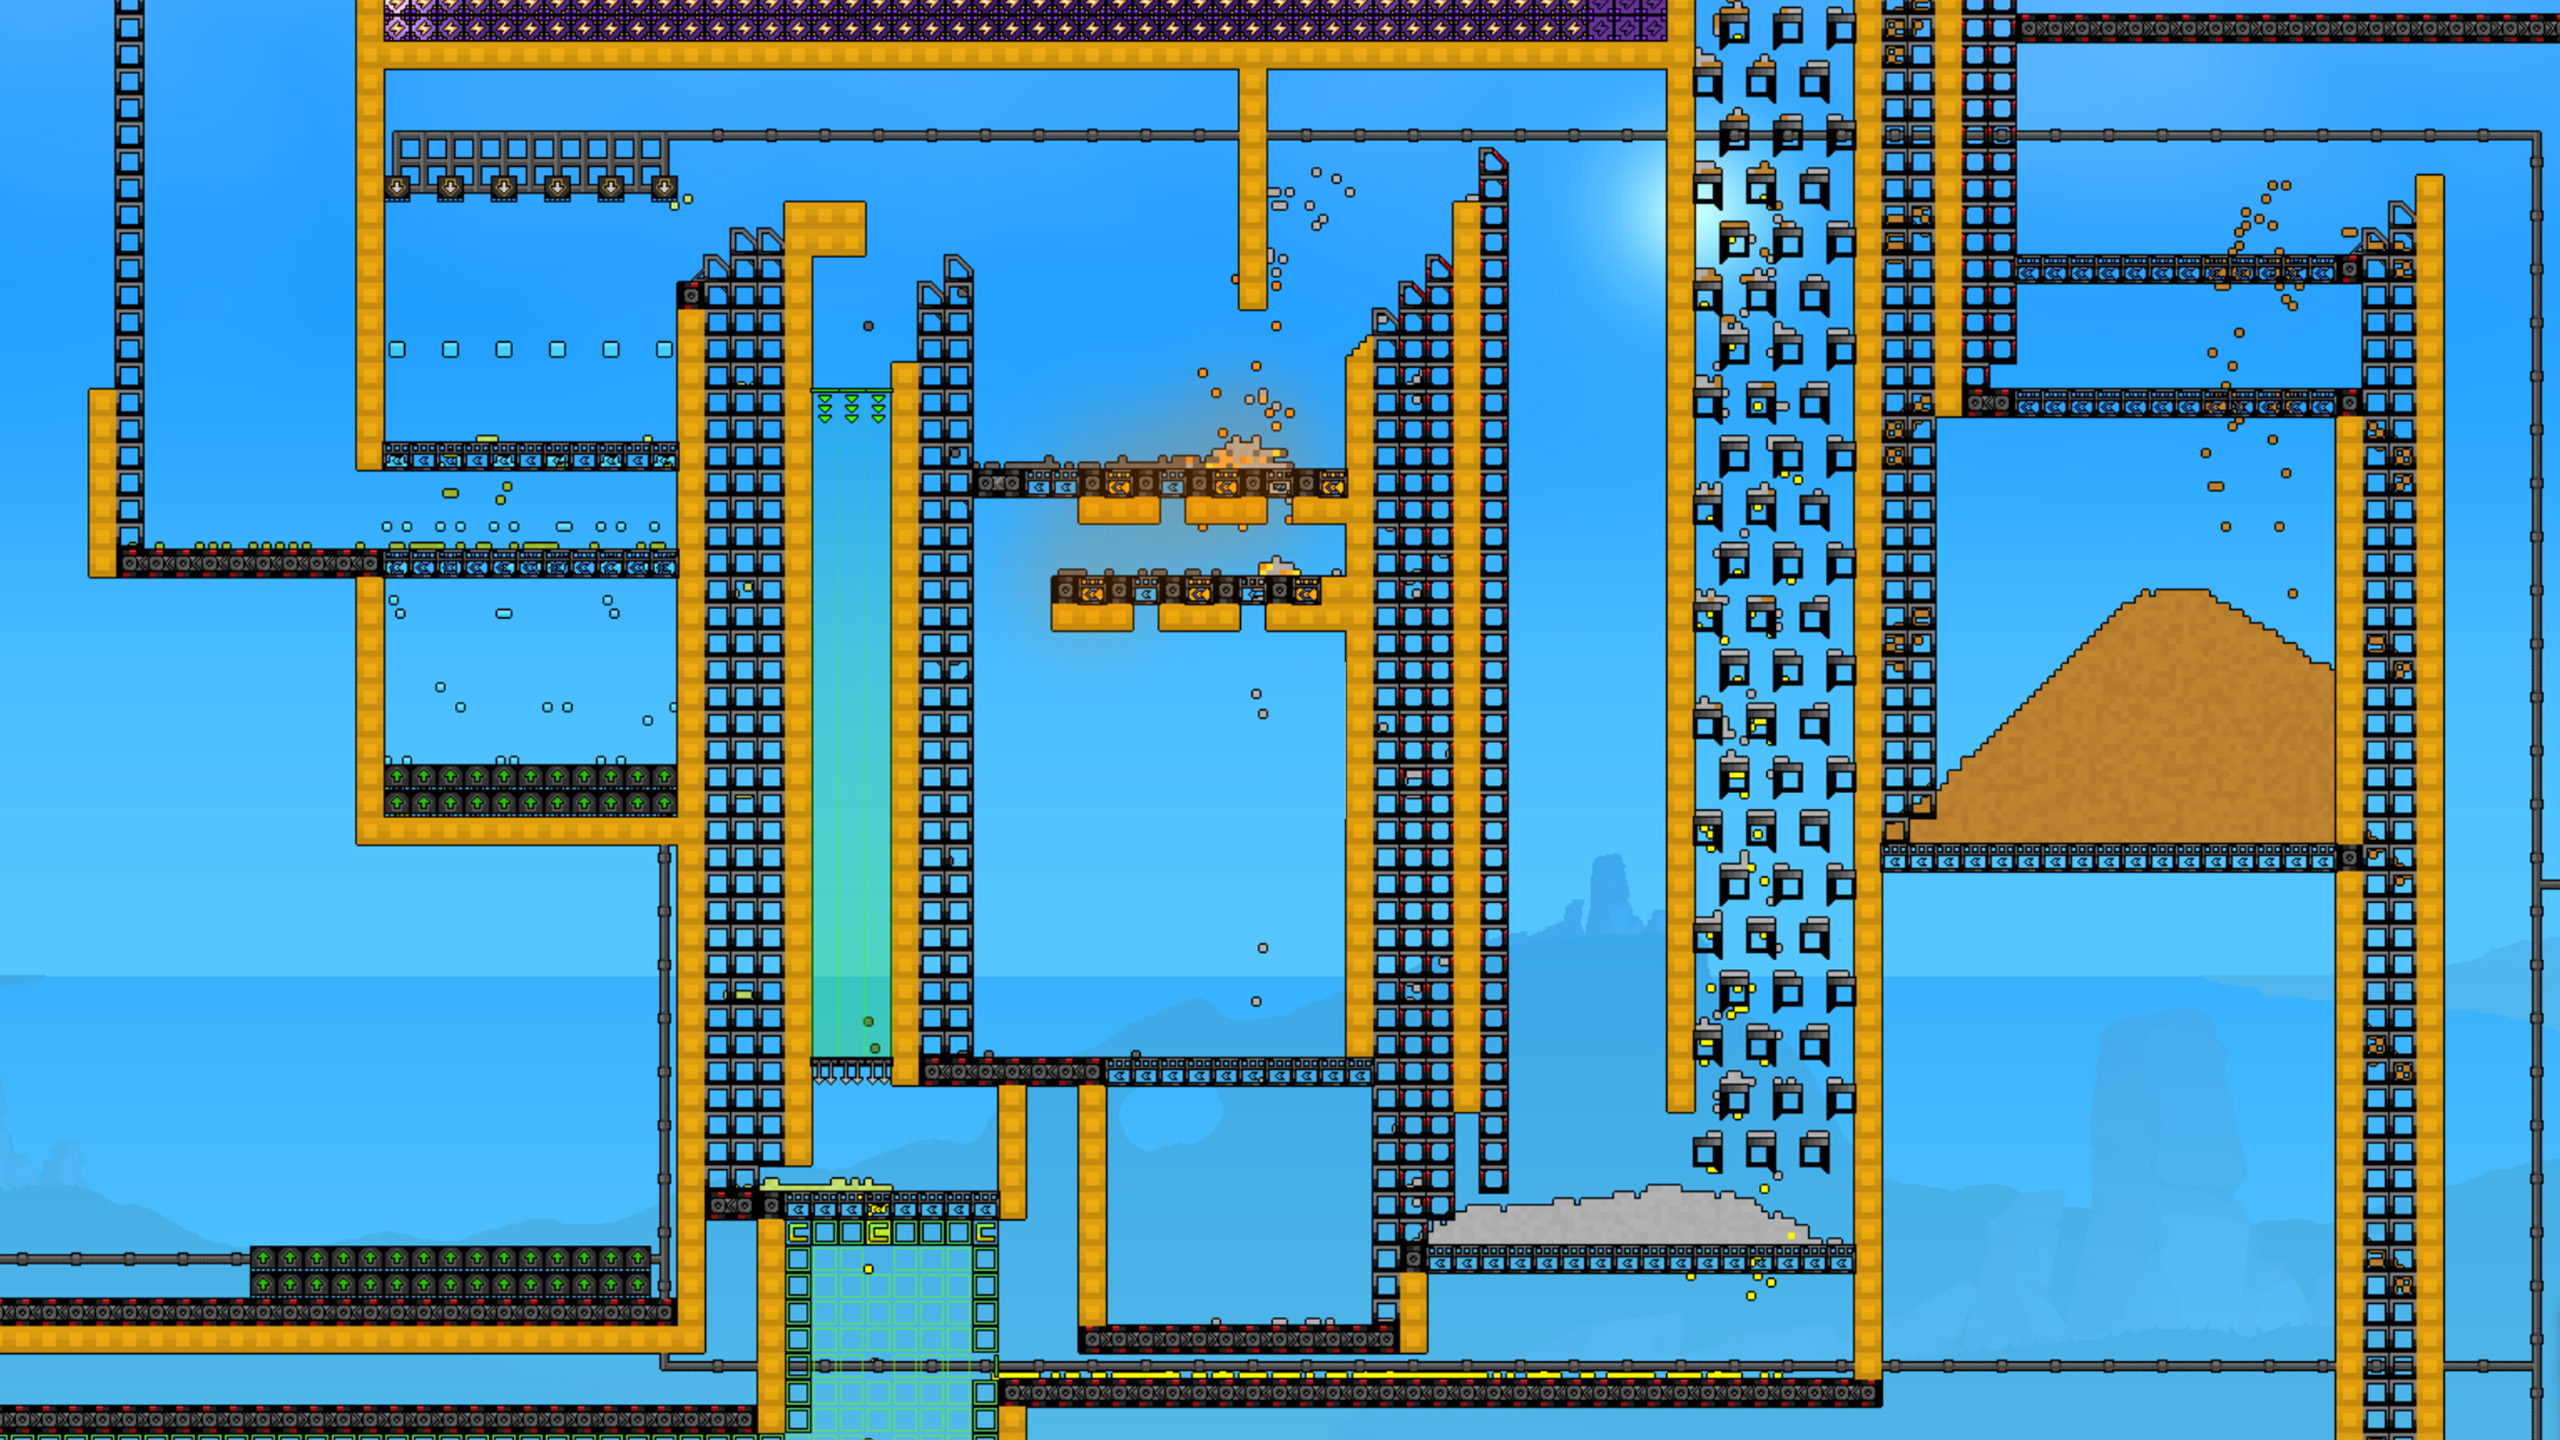
Deeper factories rely on structures that refine one resource into another and create by-products for the next stage. The Material Scanner Upgrade for the Grabber is a useful early direction because hovering over a resource can reveal how it may be refined or used elsewhere.
Gold Production
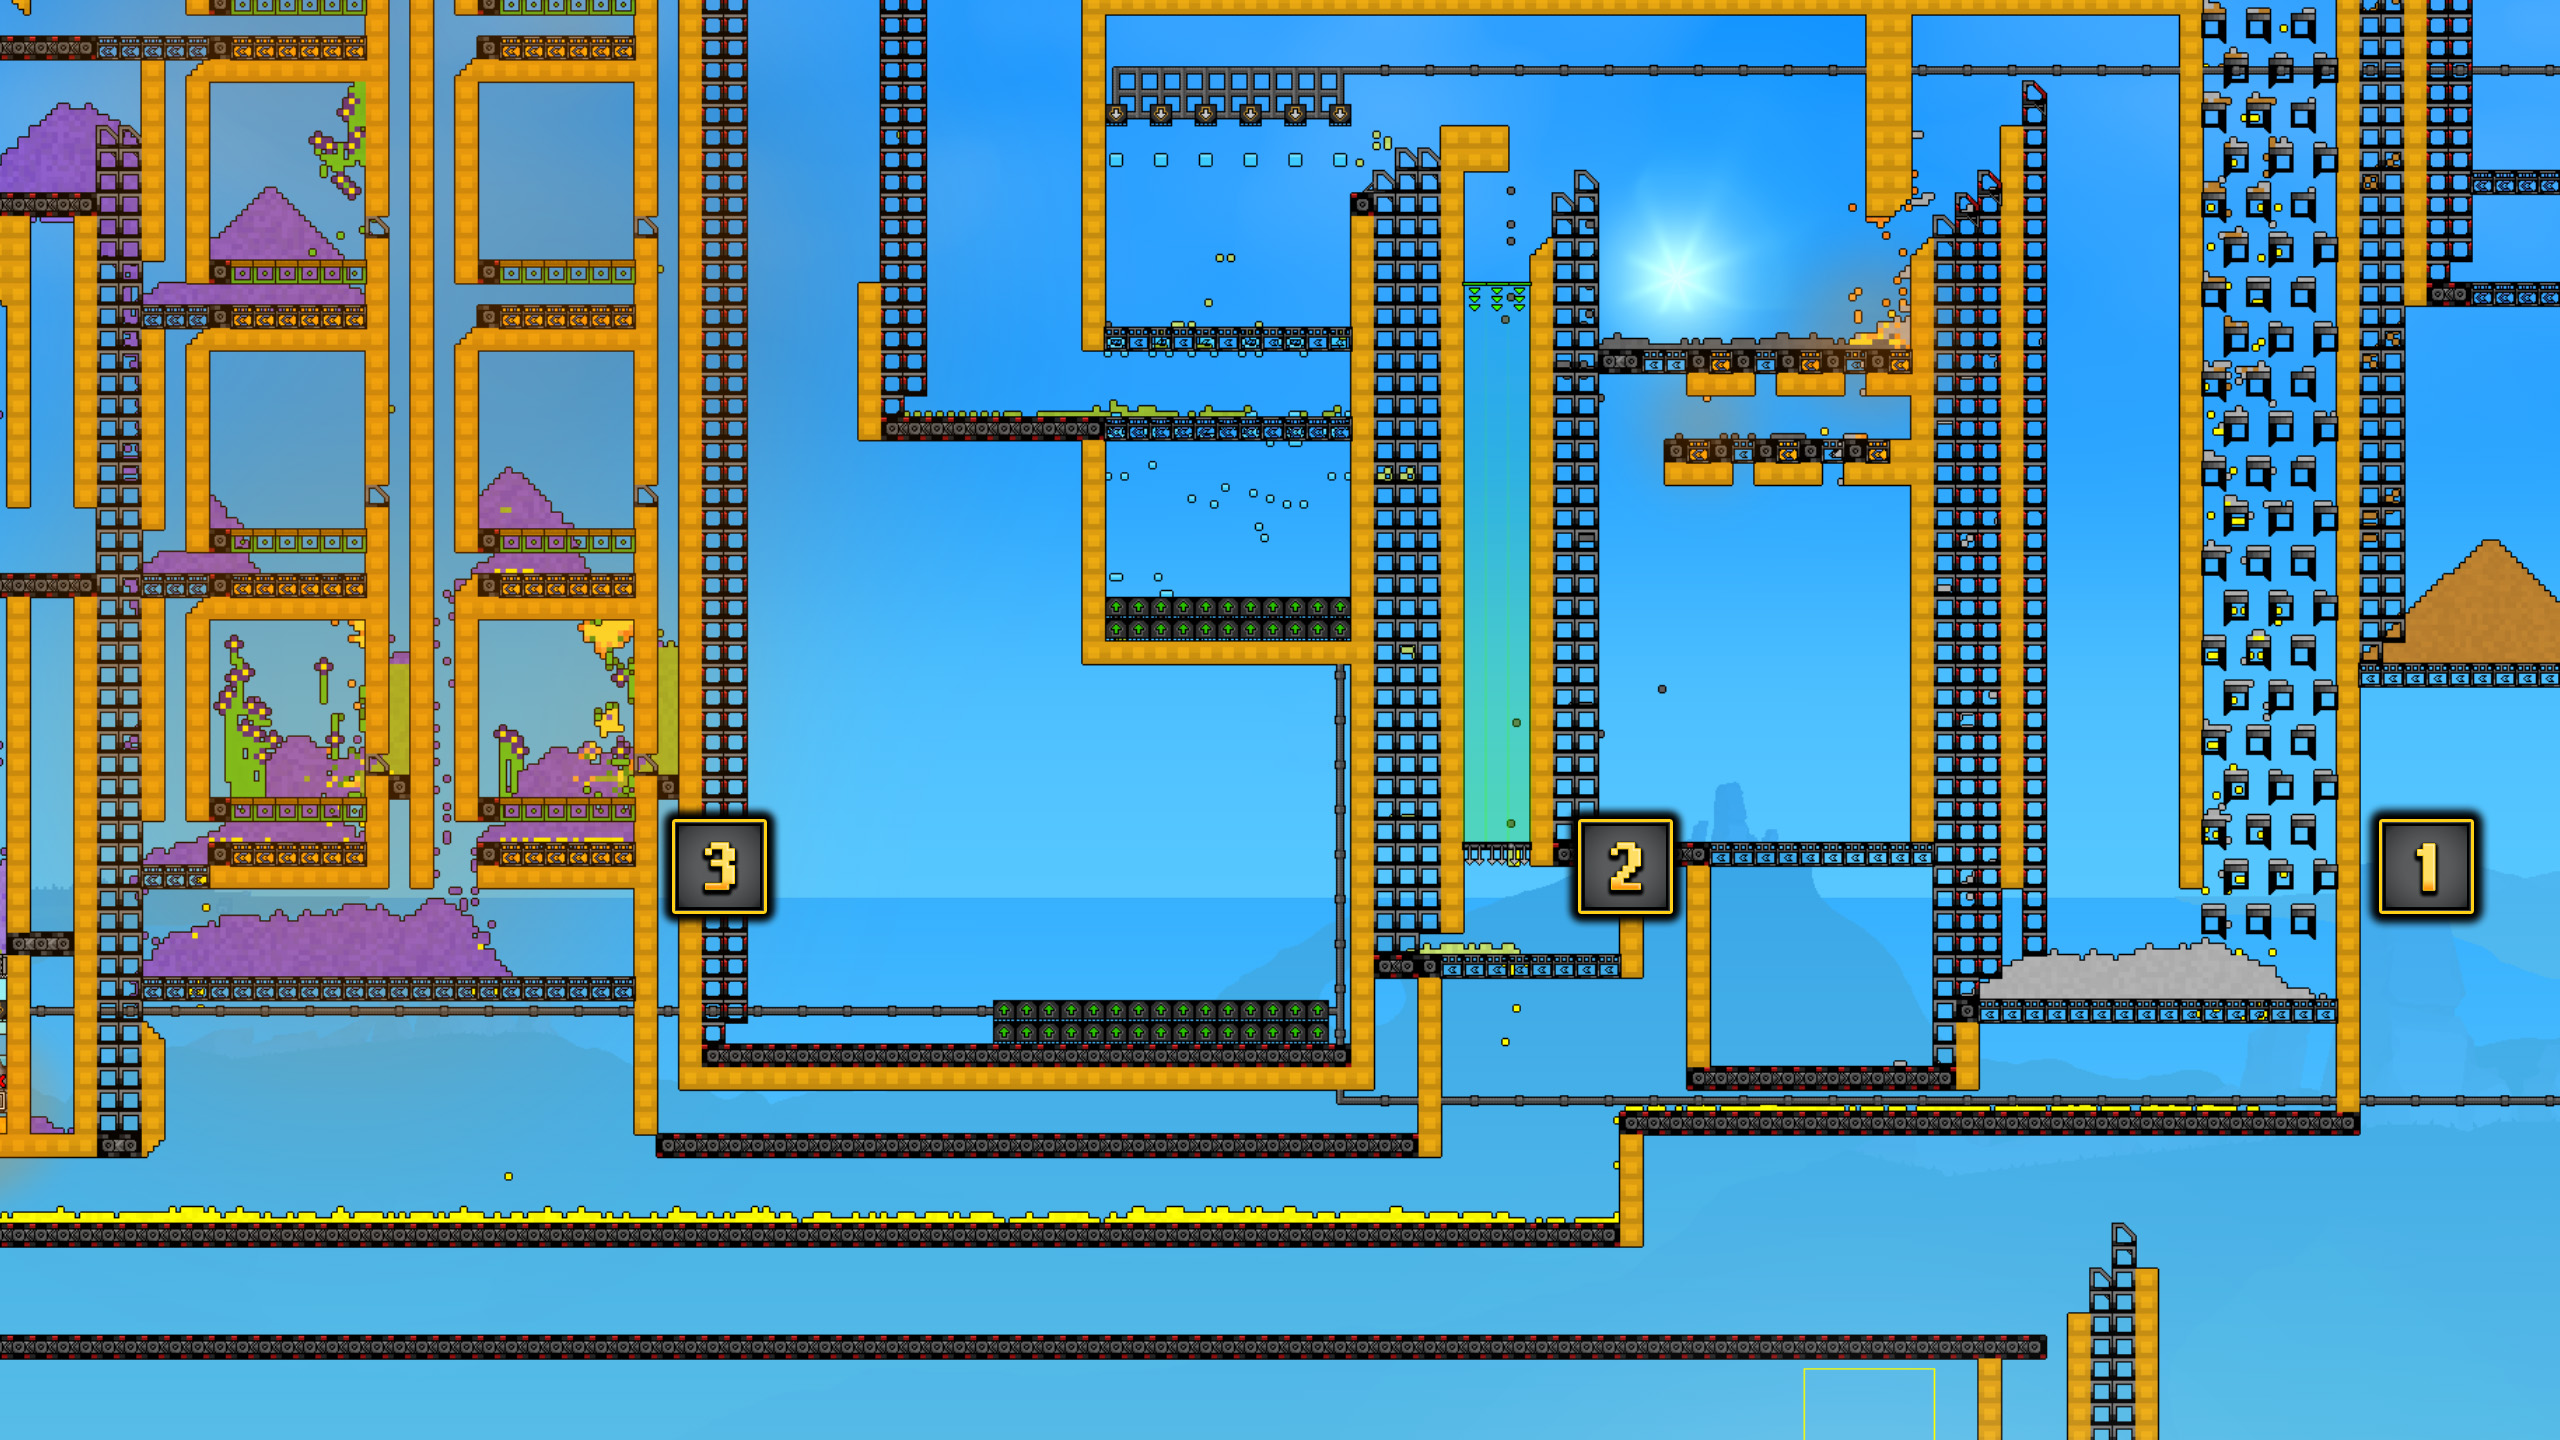
Gold is needed for Research. Three early structures are central to Gold production: the Shaker, Kinetic Press, and Planter Box. Each also creates a by-product that feeds a later production method, so do not treat the first Gold output as the whole chain.
Build enough space around these structures to see the by-products. A readable first chain helps you understand what the factory is asking for before you commit to a larger automated layout.
Refining
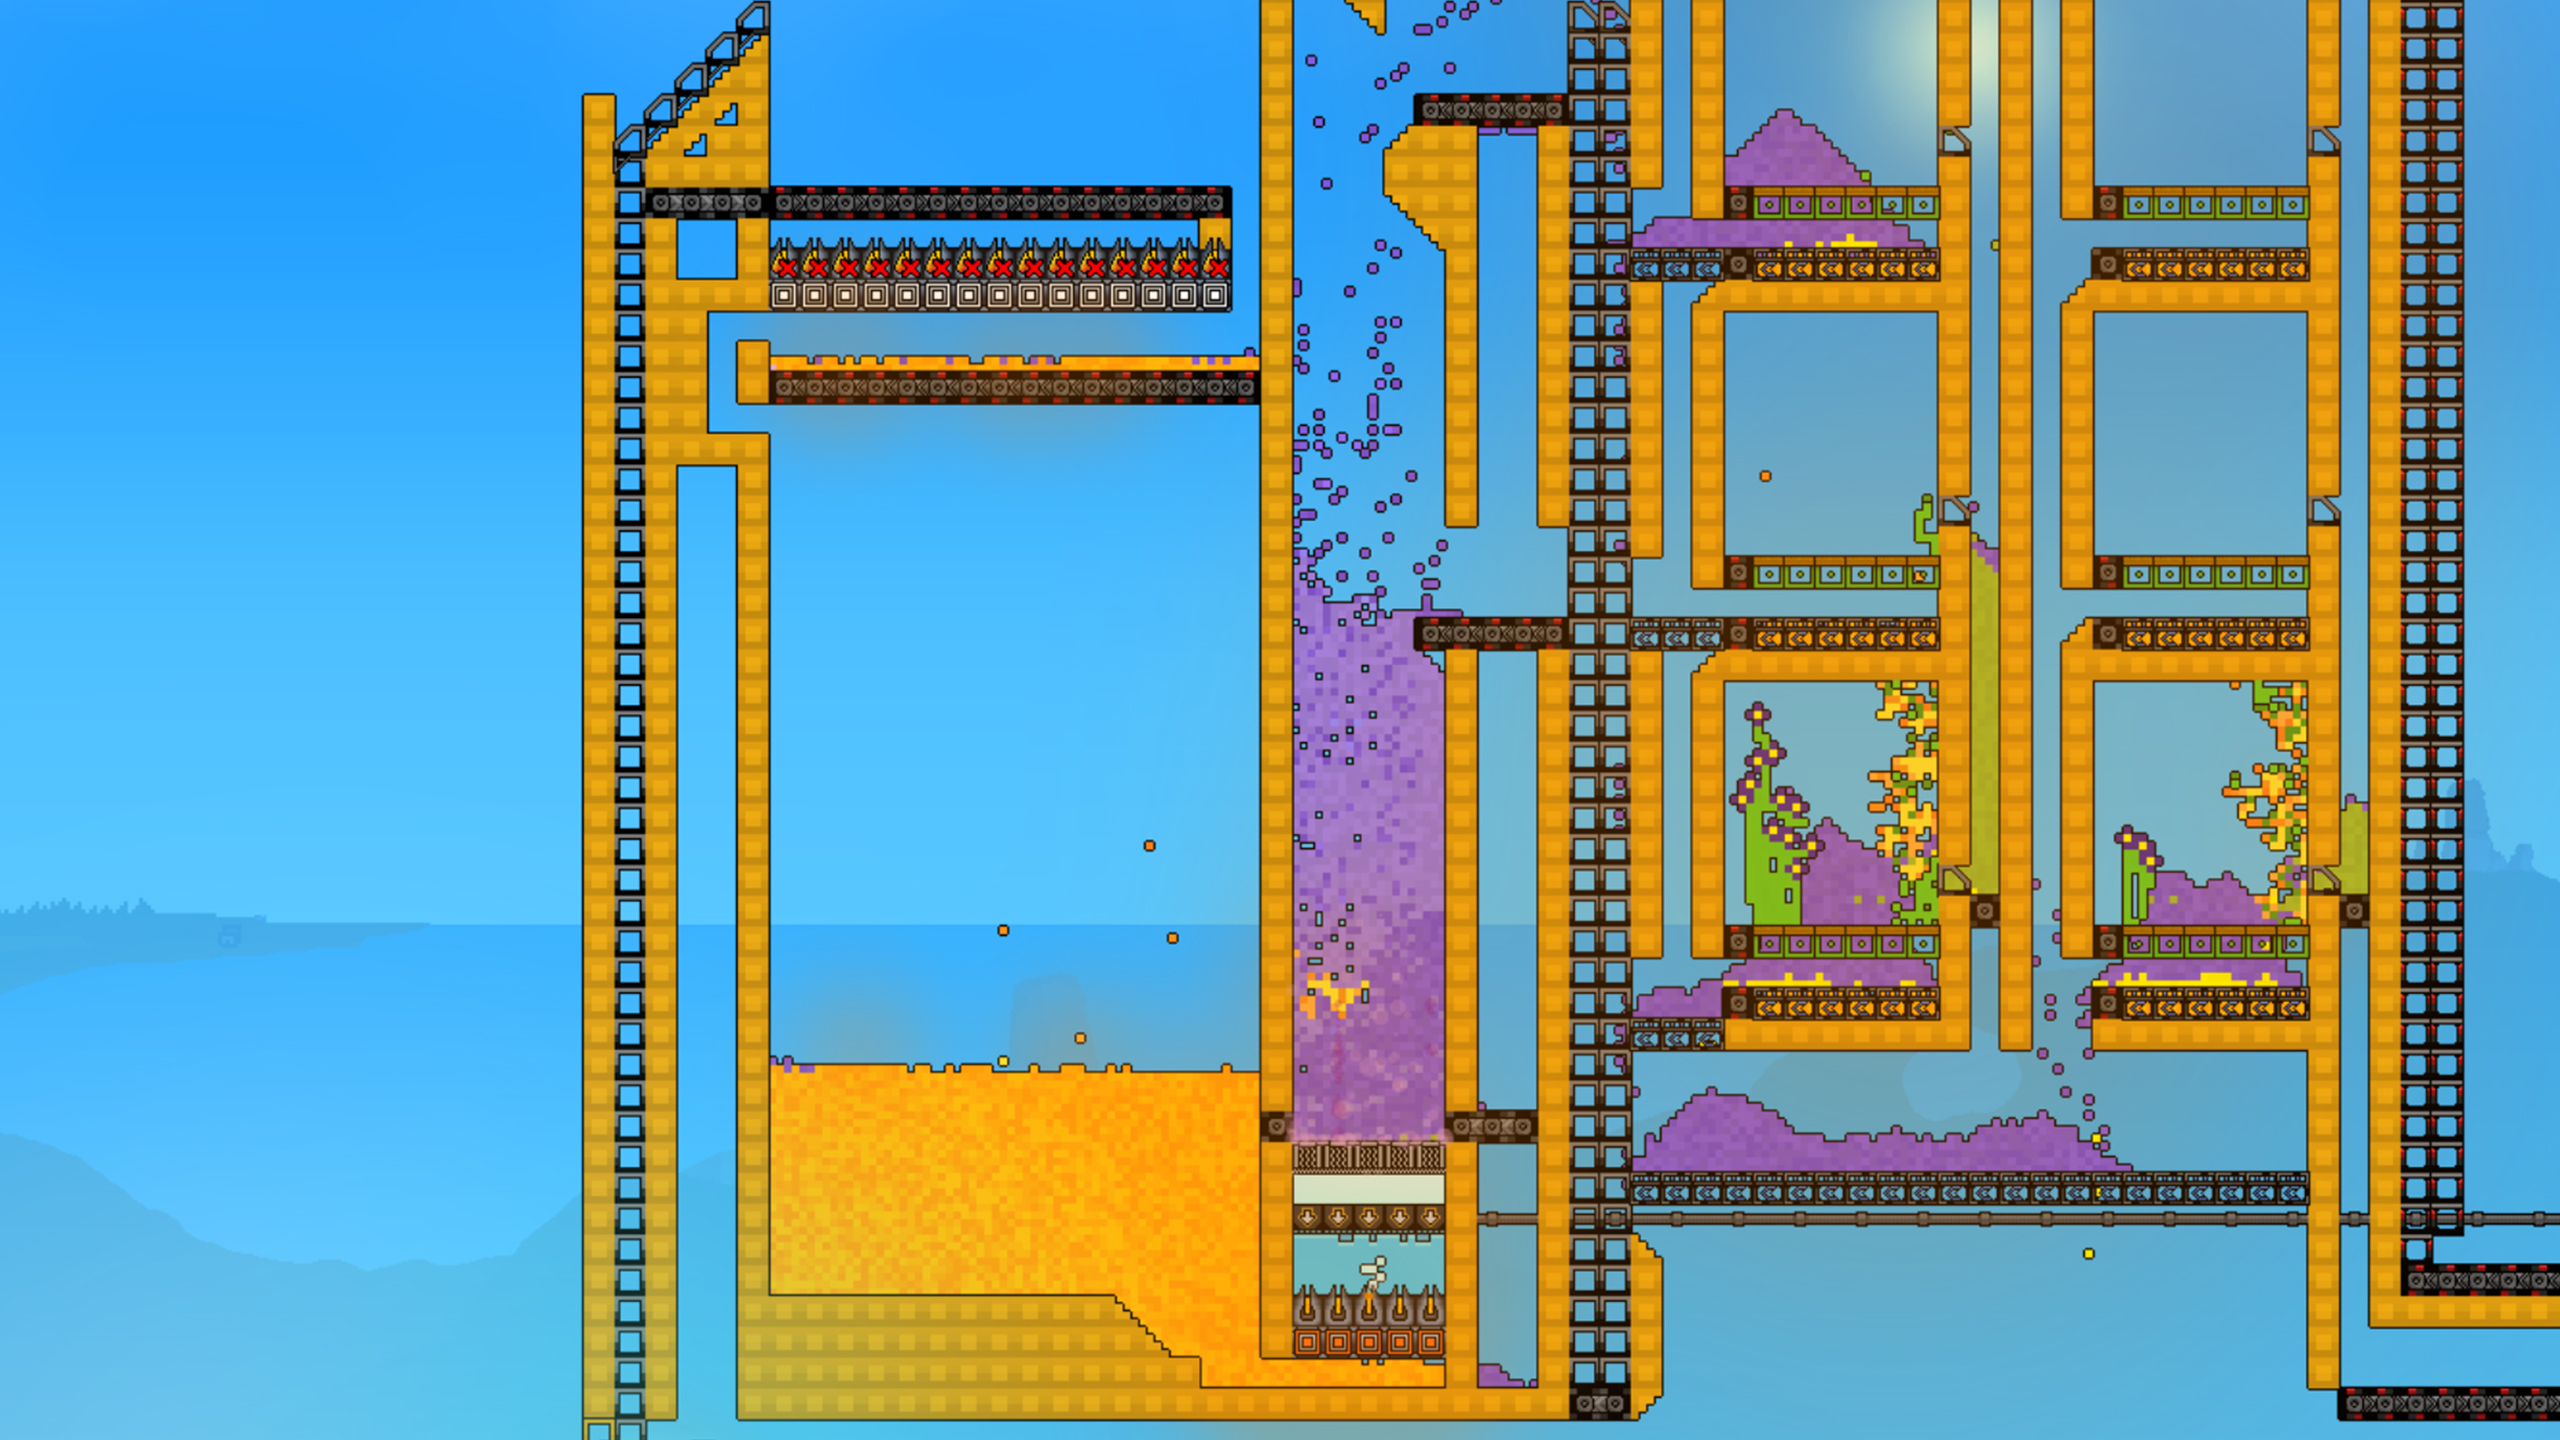
Many resources need refining before they become Gold or another useful by-product. Thermal structures can move materials between states: hot processing turns a solid into a liquid or a liquid into a gas, while cold processing moves the material in the reverse direction. The correct structure depends on the state you have and the state the next step needs.
Before placing a long thermal route, inspect the resource and its next use. Moving a material closer to the machine that needs it may be simpler than transporting it through several state changes across the entire factory.
Research
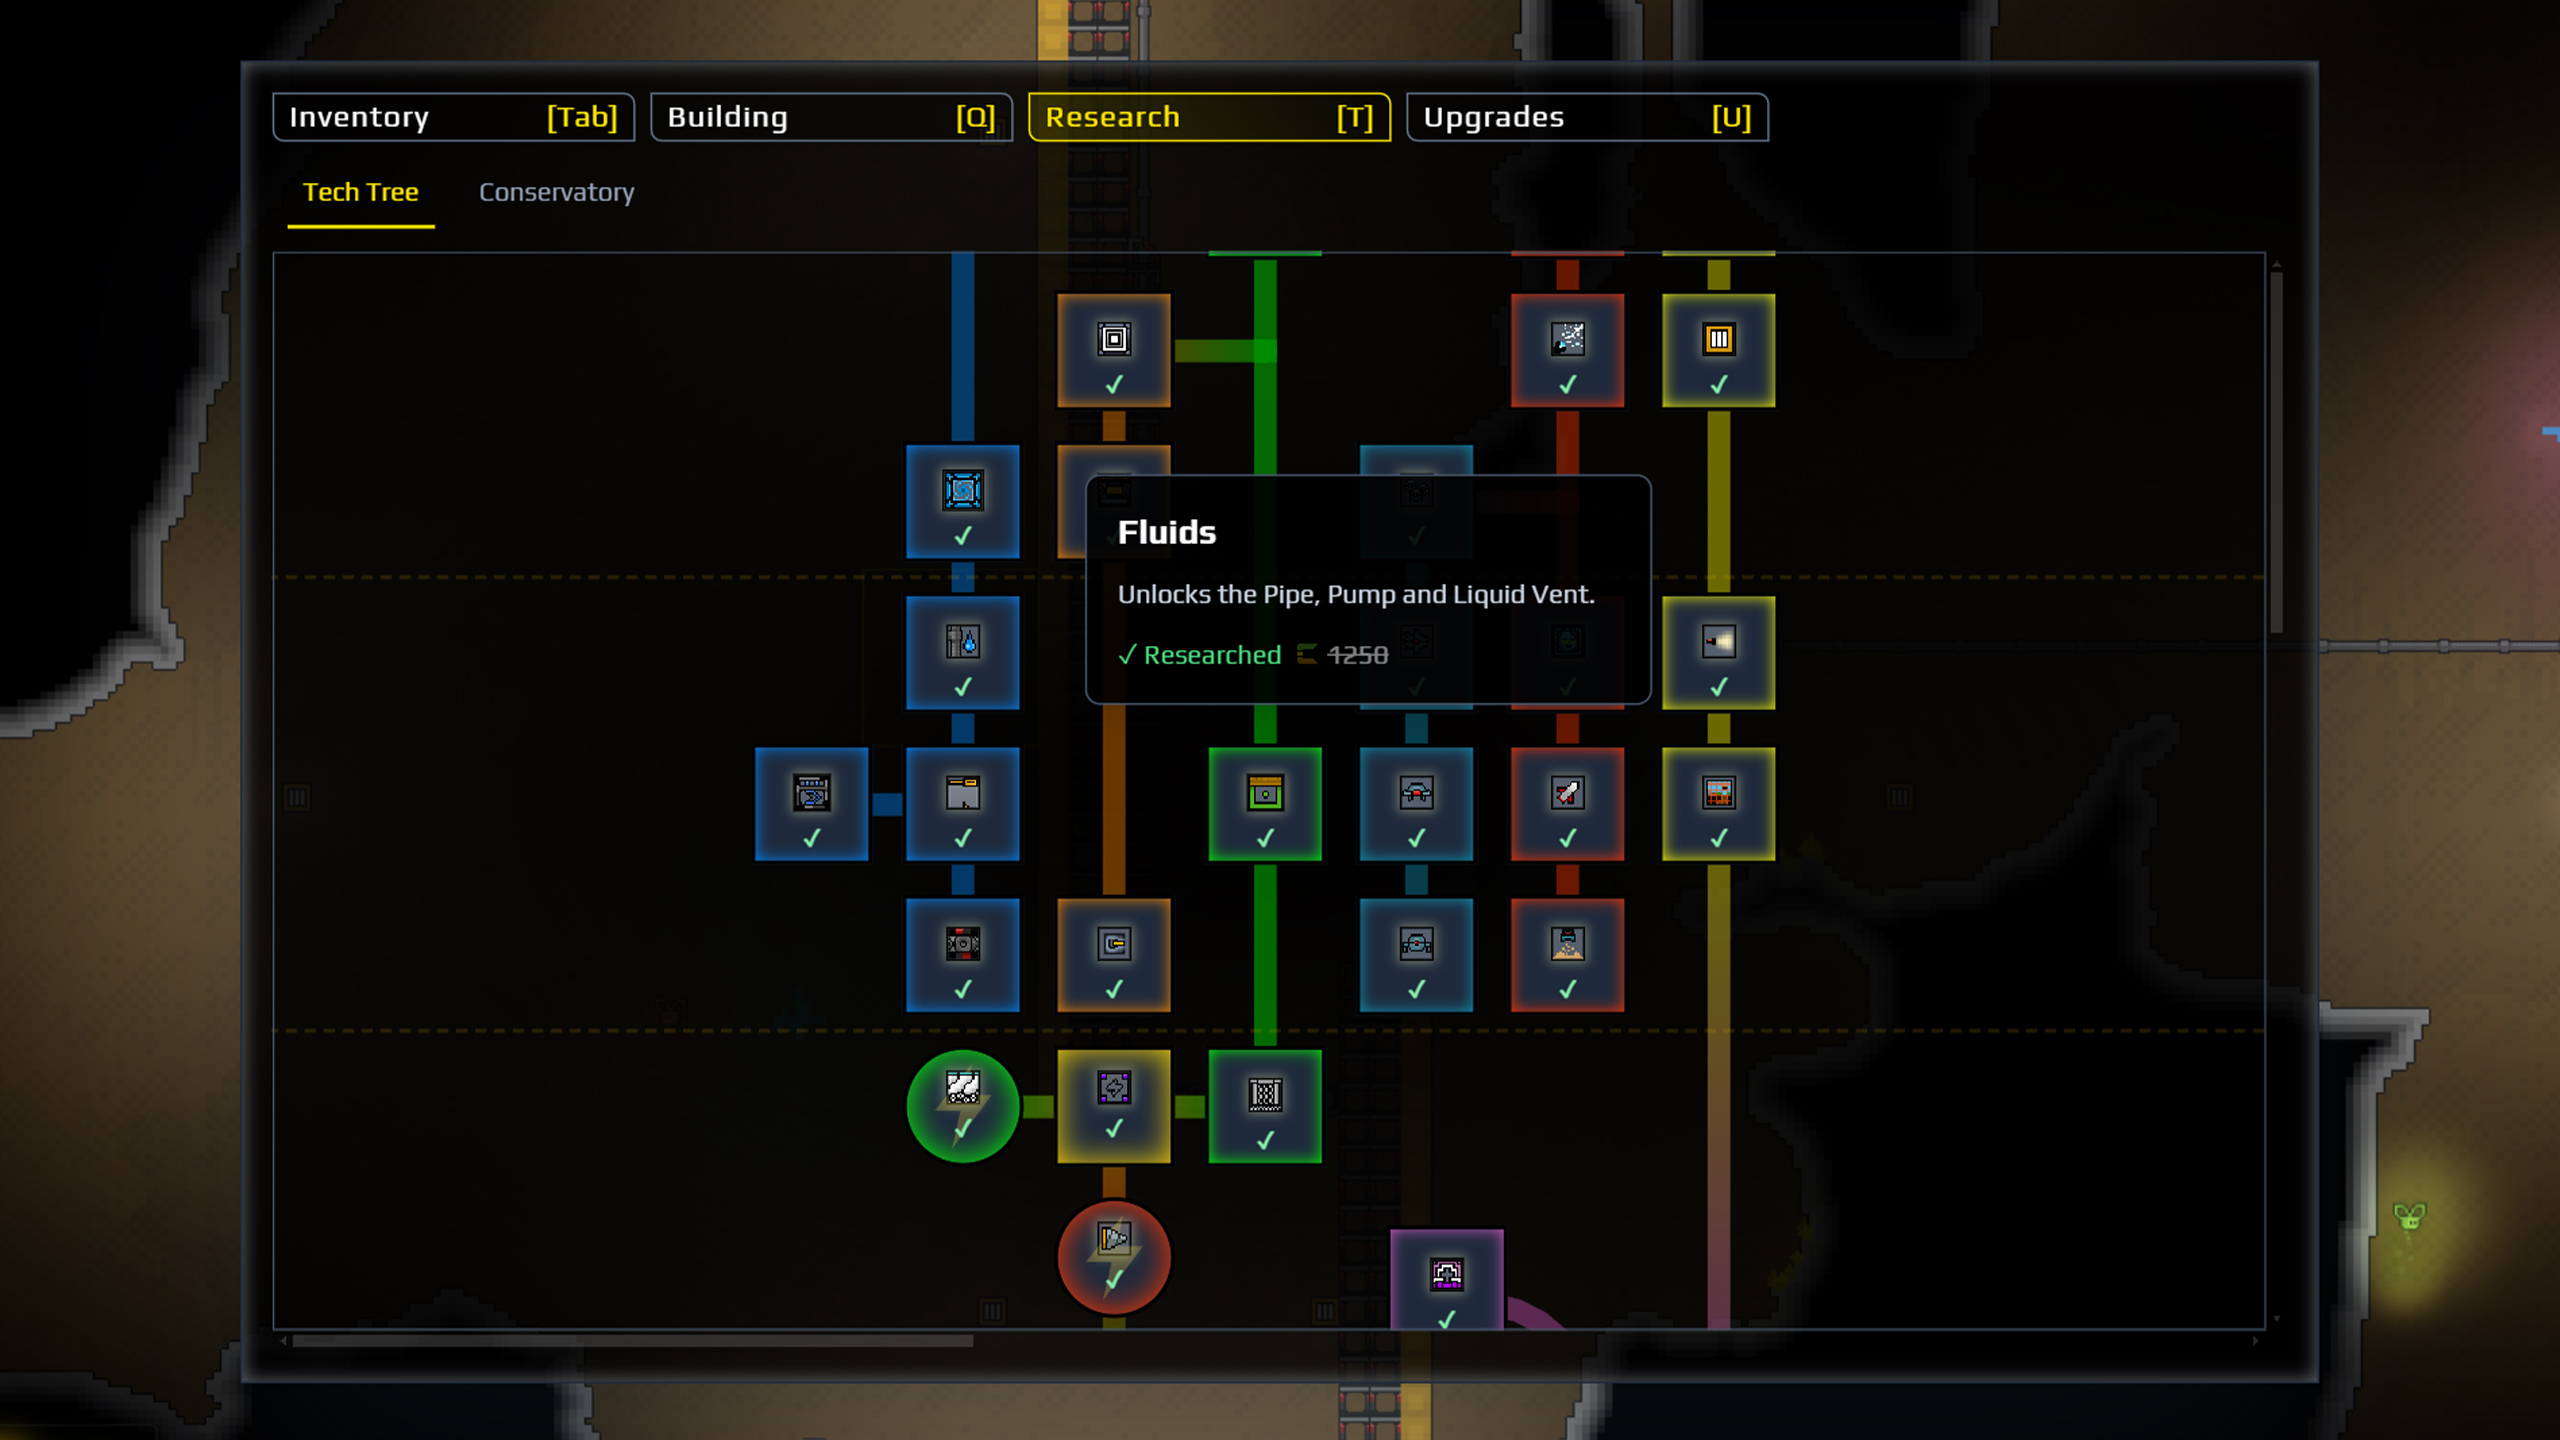
Research is the progression layer that unlocks more structures and Inventory items. Gold is used to unlock Research, while more advanced entries are gated by Factory Level. Factory Level represents progress through the systems already available to you, so the next unlock is often tied to improving the production loop you have just learned.
When choosing what to research, look at the current bottleneck rather than a universal order. A new logistics tool can solve a transport problem, while a processing or utility unlock can open a new resource path. Keep the Research screen nearby when planning a build so your factory grows toward a useful capability instead of collecting disconnected machines.
Upgrades
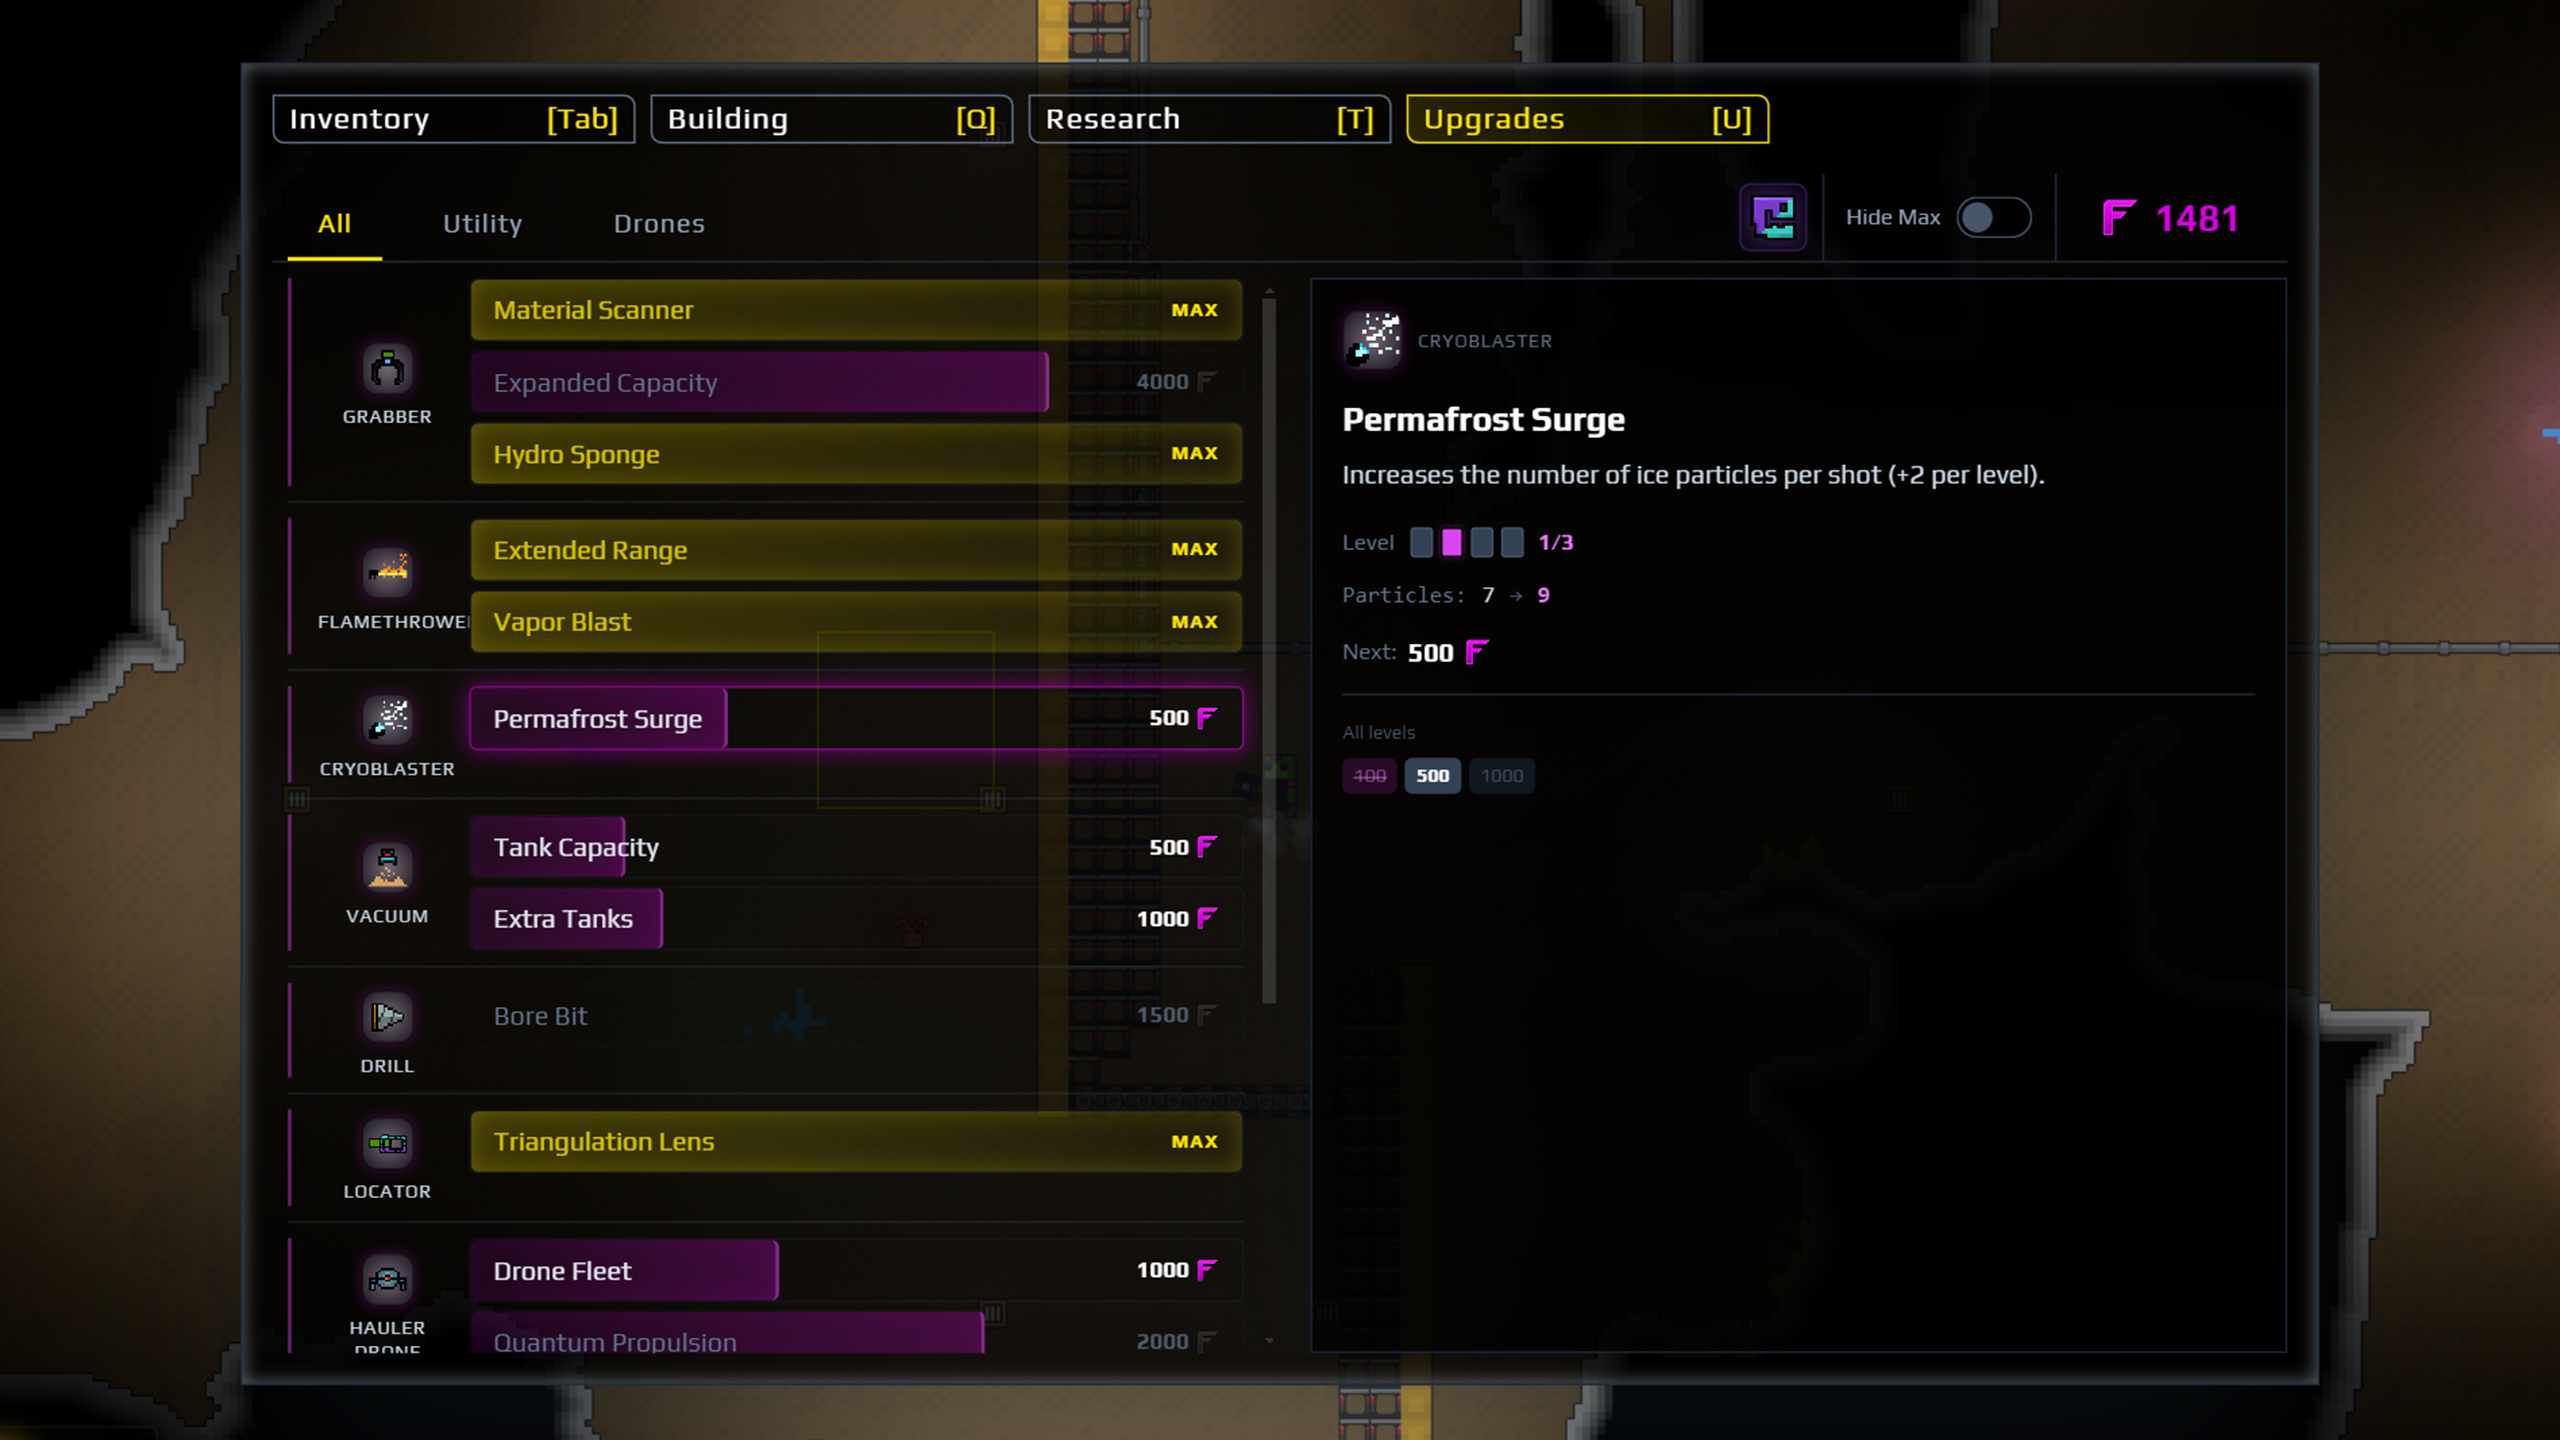
Upgrades improve Inventory items such as the Grabber, Flamethrower, and Drones. They cost Fluxite, which can be found naturally and produced later with the right systems. Early Fluxite is most useful when it removes a tool limitation that is actively slowing exploration or factory work.
If carrying materials is slowing your first build, improving the Grabber can make a practical difference. Treat that as a useful early direction, not a mandatory order: choose the upgrade that matches the task you are trying to solve in the current save.
Augments
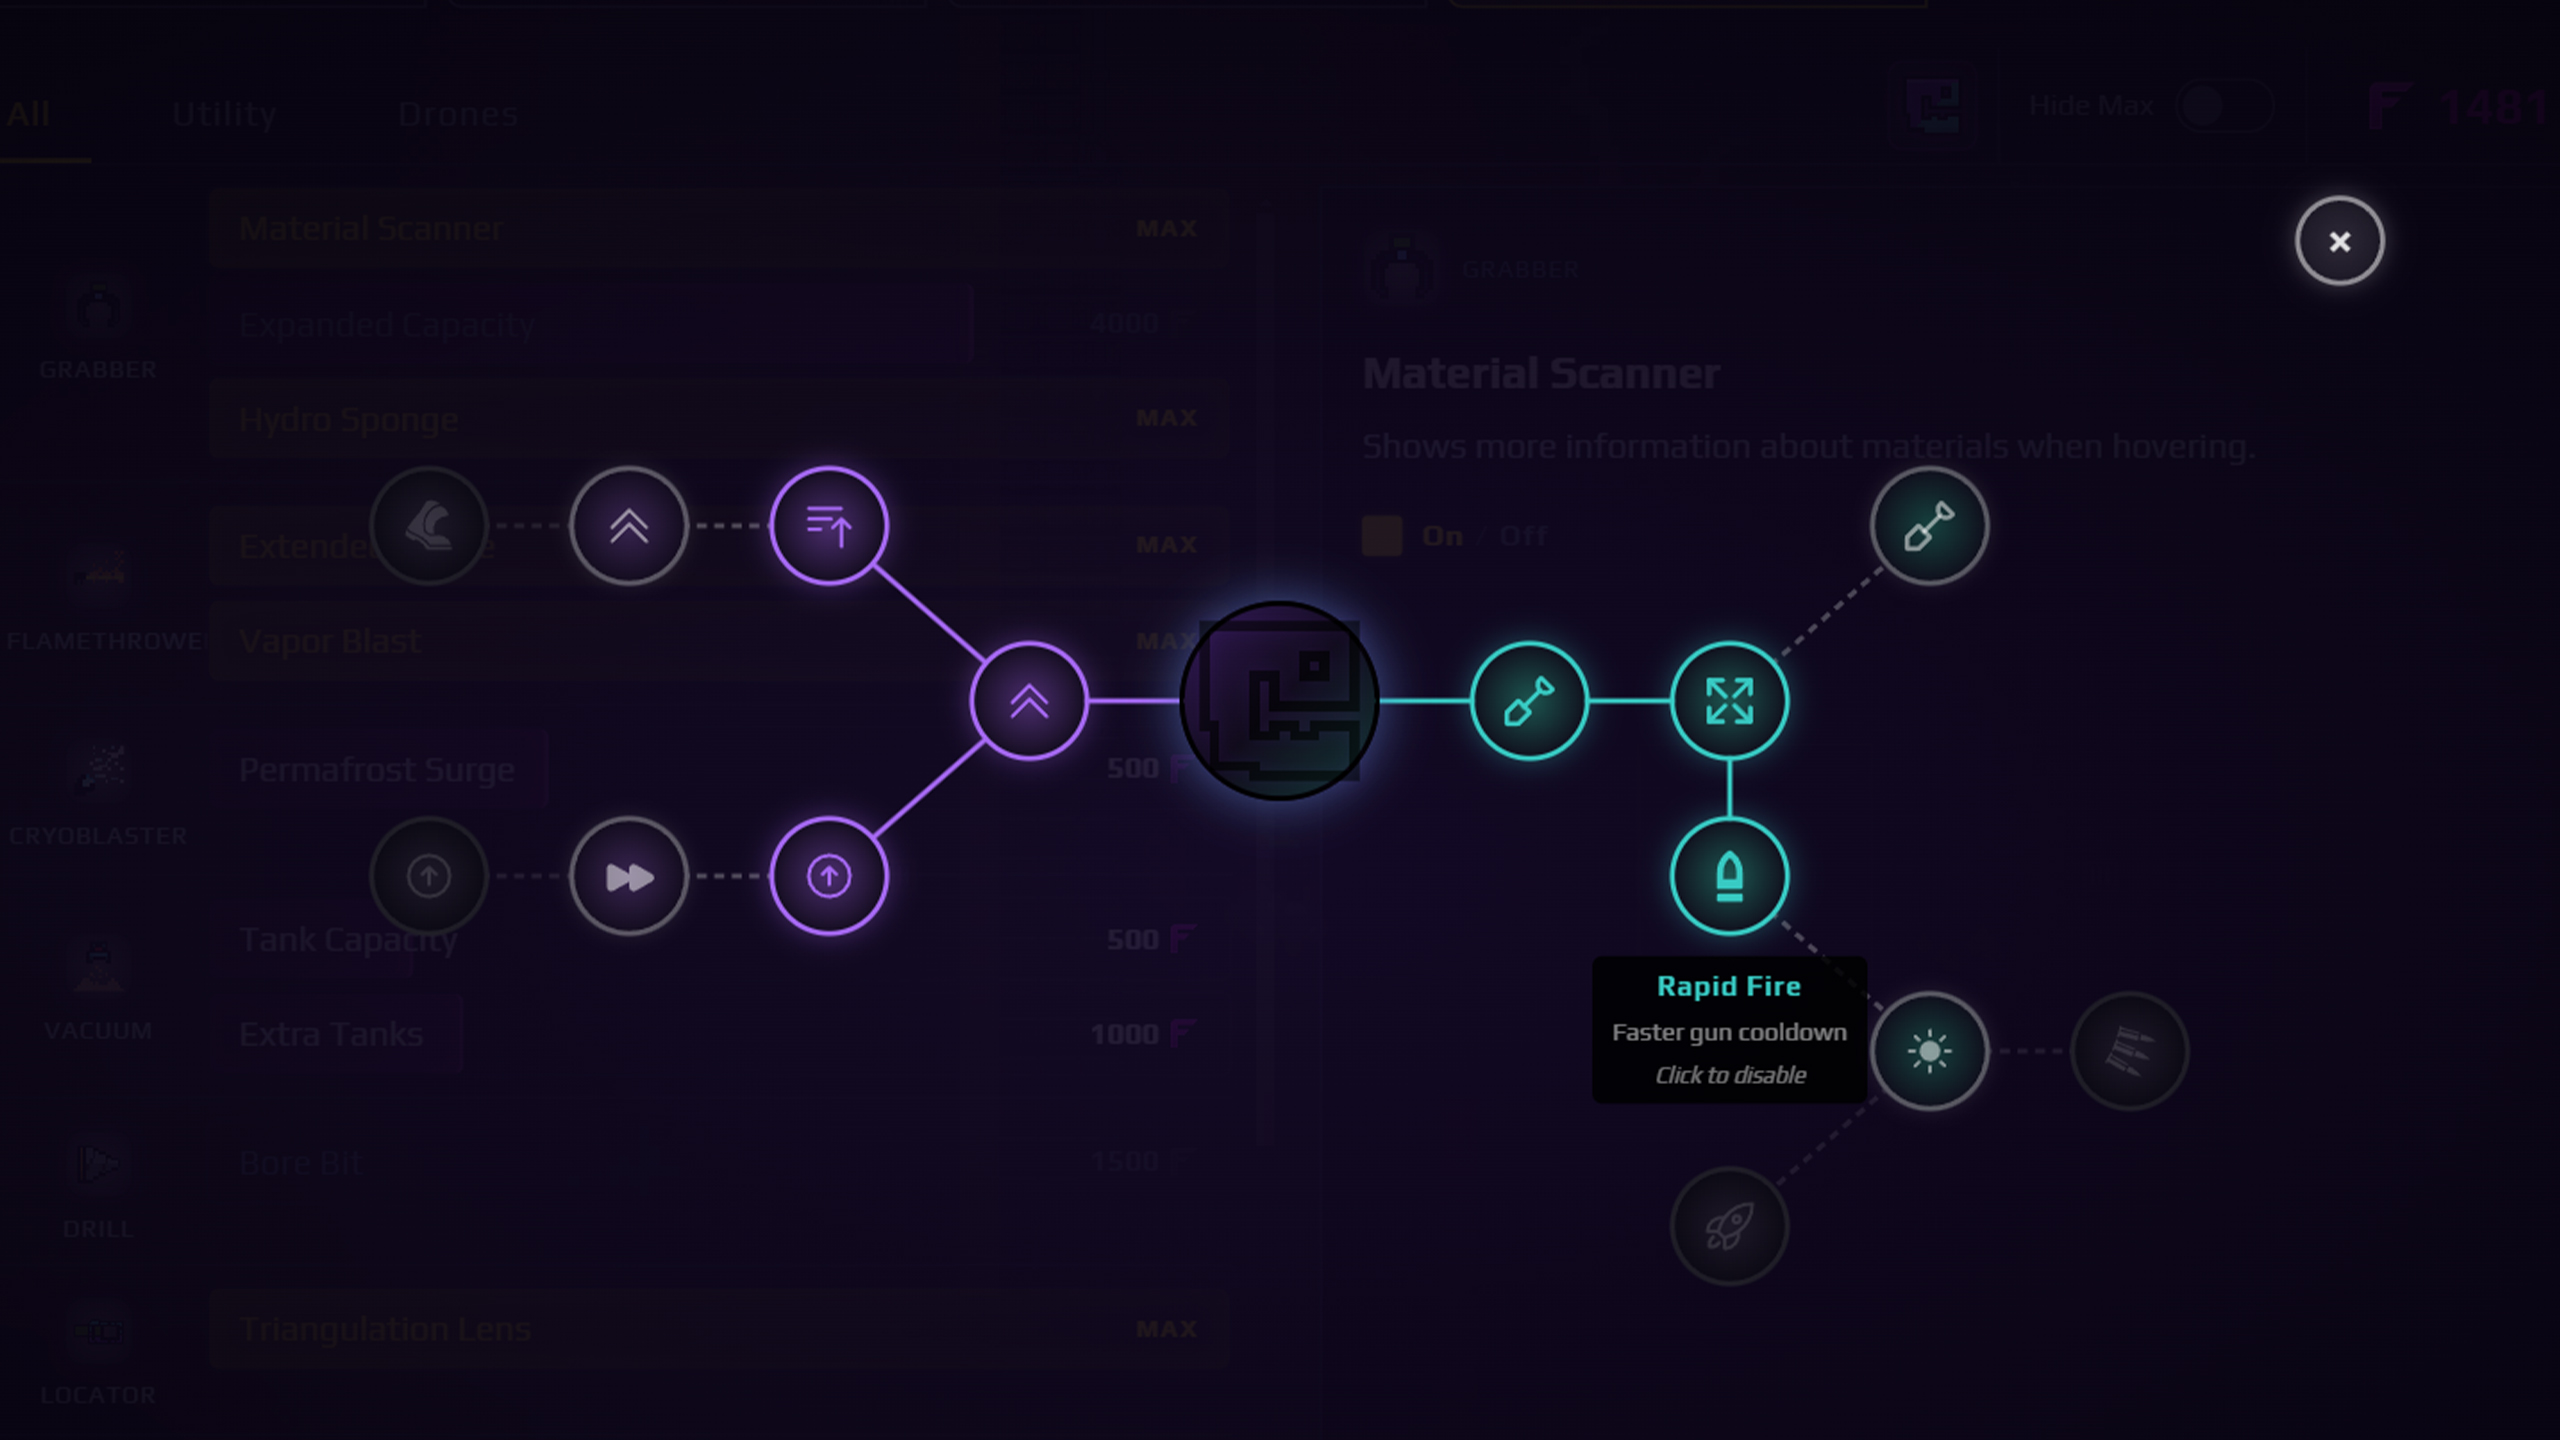
Artifacts are scattered throughout the planet and provide Augments. These can improve Utility items such as the Gun, Rocket, or Shovel, or affect your character by improving movement, boost speed, or boost duration.
Exploration therefore feeds back into both factory work and mobility. If a ruin or puzzle seems too difficult, return after gaining a new tool, resource, or Augment instead of forcing the same route with an underpowered setup.
Gameplay Tips & Tricks
- Use
Cto select a structure, thenCtrl+Cto copy it andCtrl+Vto paste repeated systems more quickly. - When Fluxite is available, increasing the Grabber’s capacity and capabilities can make early manual transport easier.
- The replace hotkey, normally
Ctrl, is useful when you want a faster Conveyor Belt or Launcher without rebuilding a layout from nothing. - Florinol Batteries and power bricks are different Energy sources. Florinol Batteries use dried Amethelis petals refined into Florinol, while power bricks use copper molds filled with liquid copper.
- Capturing creatures with the Corraller can open new resource or process options when the creatures are contained and used properly. Lumlings, for example, can provide a small steady Water supply in a suitable location.
- If a resource is difficult to move upward, consider whether changing its state of matter will make transport easier. Convert it closer to the structures that need it when that creates a cleaner route.
- Existing ancient ruins may already contain shaped spaces that can be integrated into a factory layout.
- Use Filters to isolate a by-product on a busy line instead of letting several resources share every step.
- For Lava transport, the guide describes freezing it into solid Scoria, mining it out, moving the resulting Cinder, and reheating Cinder to return it to Lava.
- A documented Energy route is Amethelis → Dry Amethelis using Steam → Florin gas using heat → Florinol liquid using cold → Florinol Battery.
- Some ancient puzzles require a tool or resource you do not have yet. Return later, and use the pause-menu unstuck command if you become trapped.
- Different weapons suit different obstacles. A Flamethrower is more effective than a Rocket Launcher against solid ice stalactites, while a Laser can tunnel through many surface-layer obstacles but uses a lot of power.
The best beginner habit is to keep the factory understandable. Learn the interface, move solids with deliberate lines, separate fluid routes, turn resources into Gold, and use Research to widen your options. Then follow the Water, Lava, Fluxite, and Flux Emanator pages when the next system becomes relevant.
Source: Sandustry Beginner’s Guide on Steam, plus the official Beginner’s Guide and Research page.