
Short answer
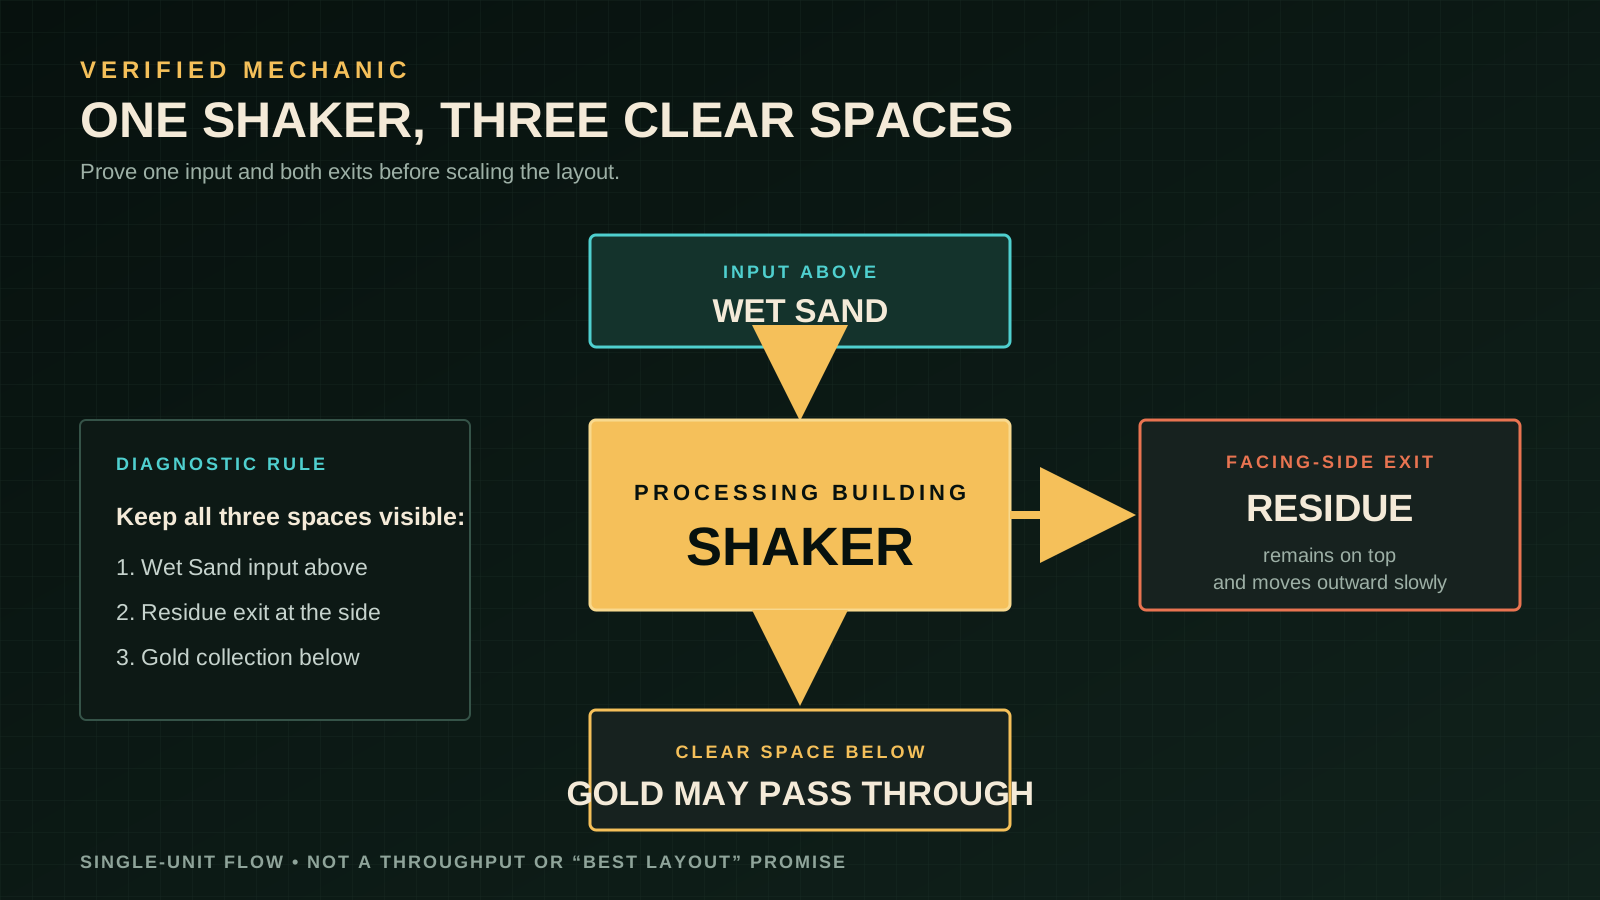
Start Sandustry by learning one material loop at a time. Wet Sand feeds the early Shaker process, Gold unlocks Research, and later systems solve the bottleneck directly in front of you. Build a small test cell first; expand only after you can identify its input, output, by-product, and failure point.
A safe first route
- Read the UI: Gold pays for Research, Fluxite improves inventory tools and drones, and Energy powers later structures.
- Bring Sand and Water together to make Wet Sand, then test the Wet Sand on a Shaker.
- Keep the useful output visible and give Residue its own clear exit instead of letting both outputs pile together.
- Spend Gold on the smallest Research unlock that fixes your current transport, sorting, fluid, or exploration problem.
- Run one machine and one short route under load before repeating the design across the factory.
The official Beginner's Guide presents these as connected systems rather than one mandatory build order. A large factory can wait until every material in the first loop has somewhere to go.
UI and controls that matter early
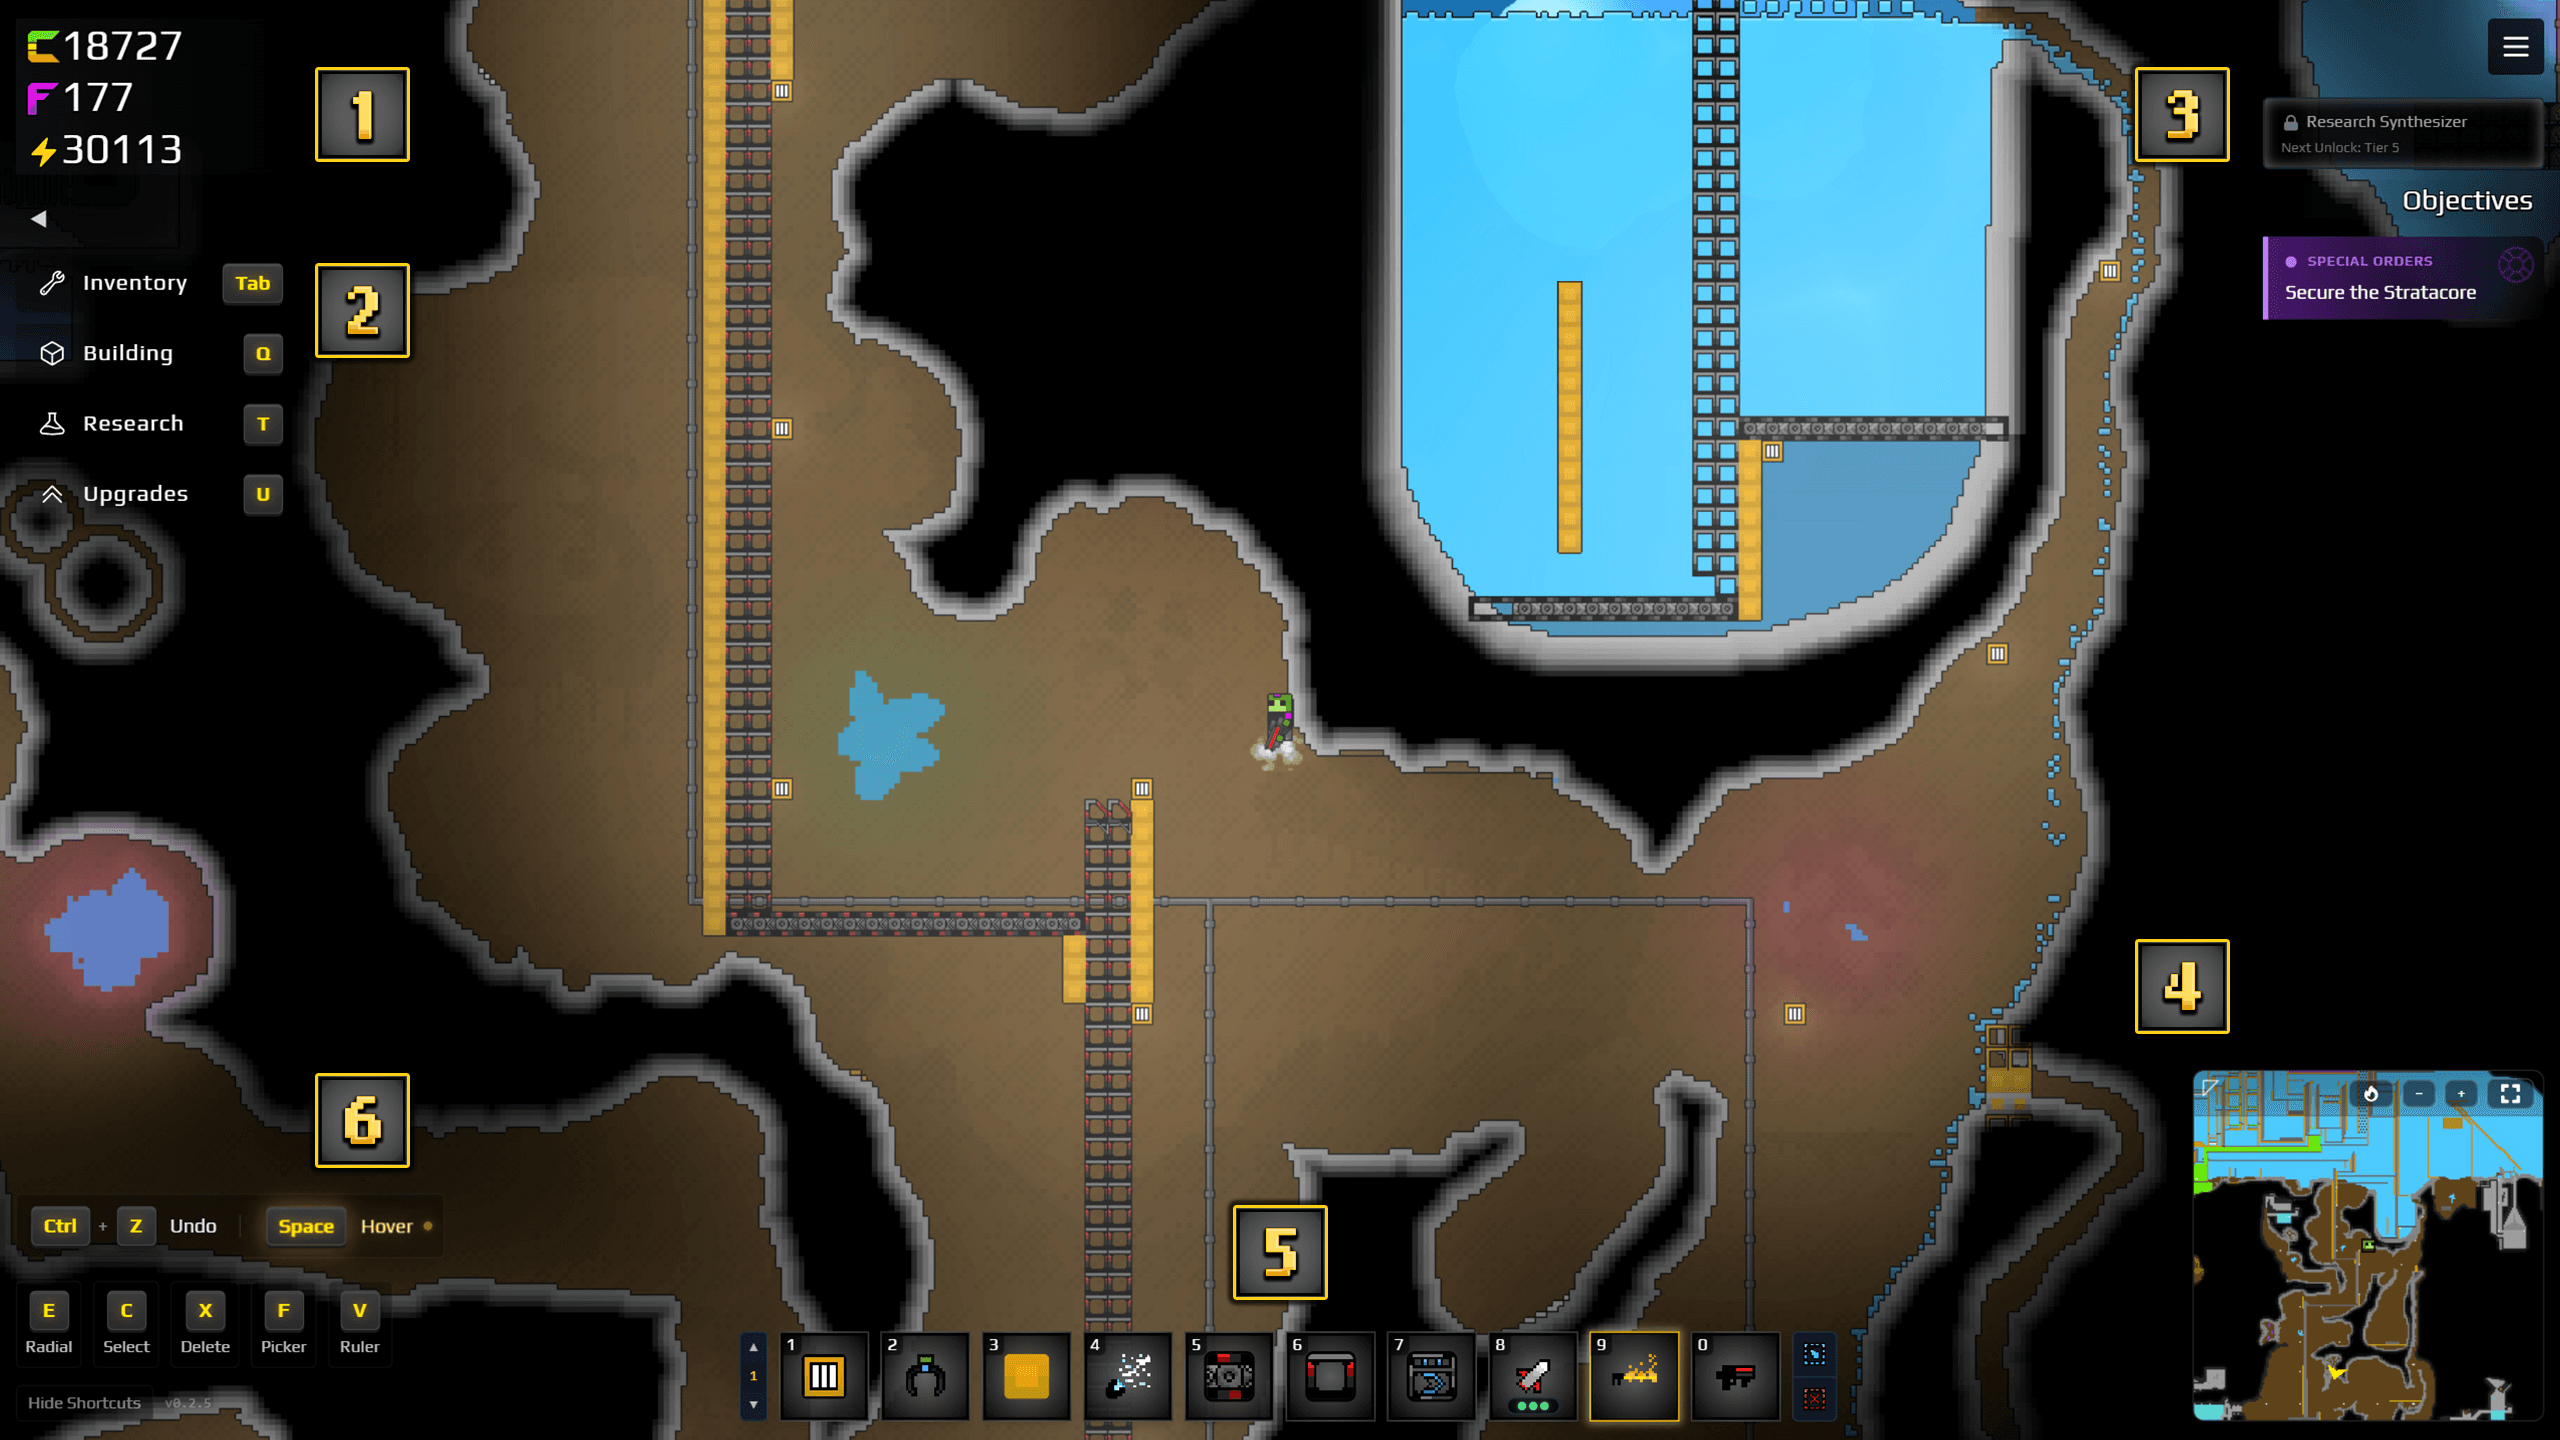
The official guide lists ten hotbars with ten slots each. Alt plus a hotbar number switches hotbars, while Alt plus mouse scroll moves between them. Selection mode and copy/paste shortcuts make repeated construction easier. The developer-pinned Steam FAQ confirms the Blueprint workflow and the default flip shortcut; keybinds can be changed in your build.
Keep the Minimap and current objective visible while learning. If a ruin or puzzle asks for a capability you do not have, return after Research instead of forcing a fragile route.
Build the first loop as a test cell
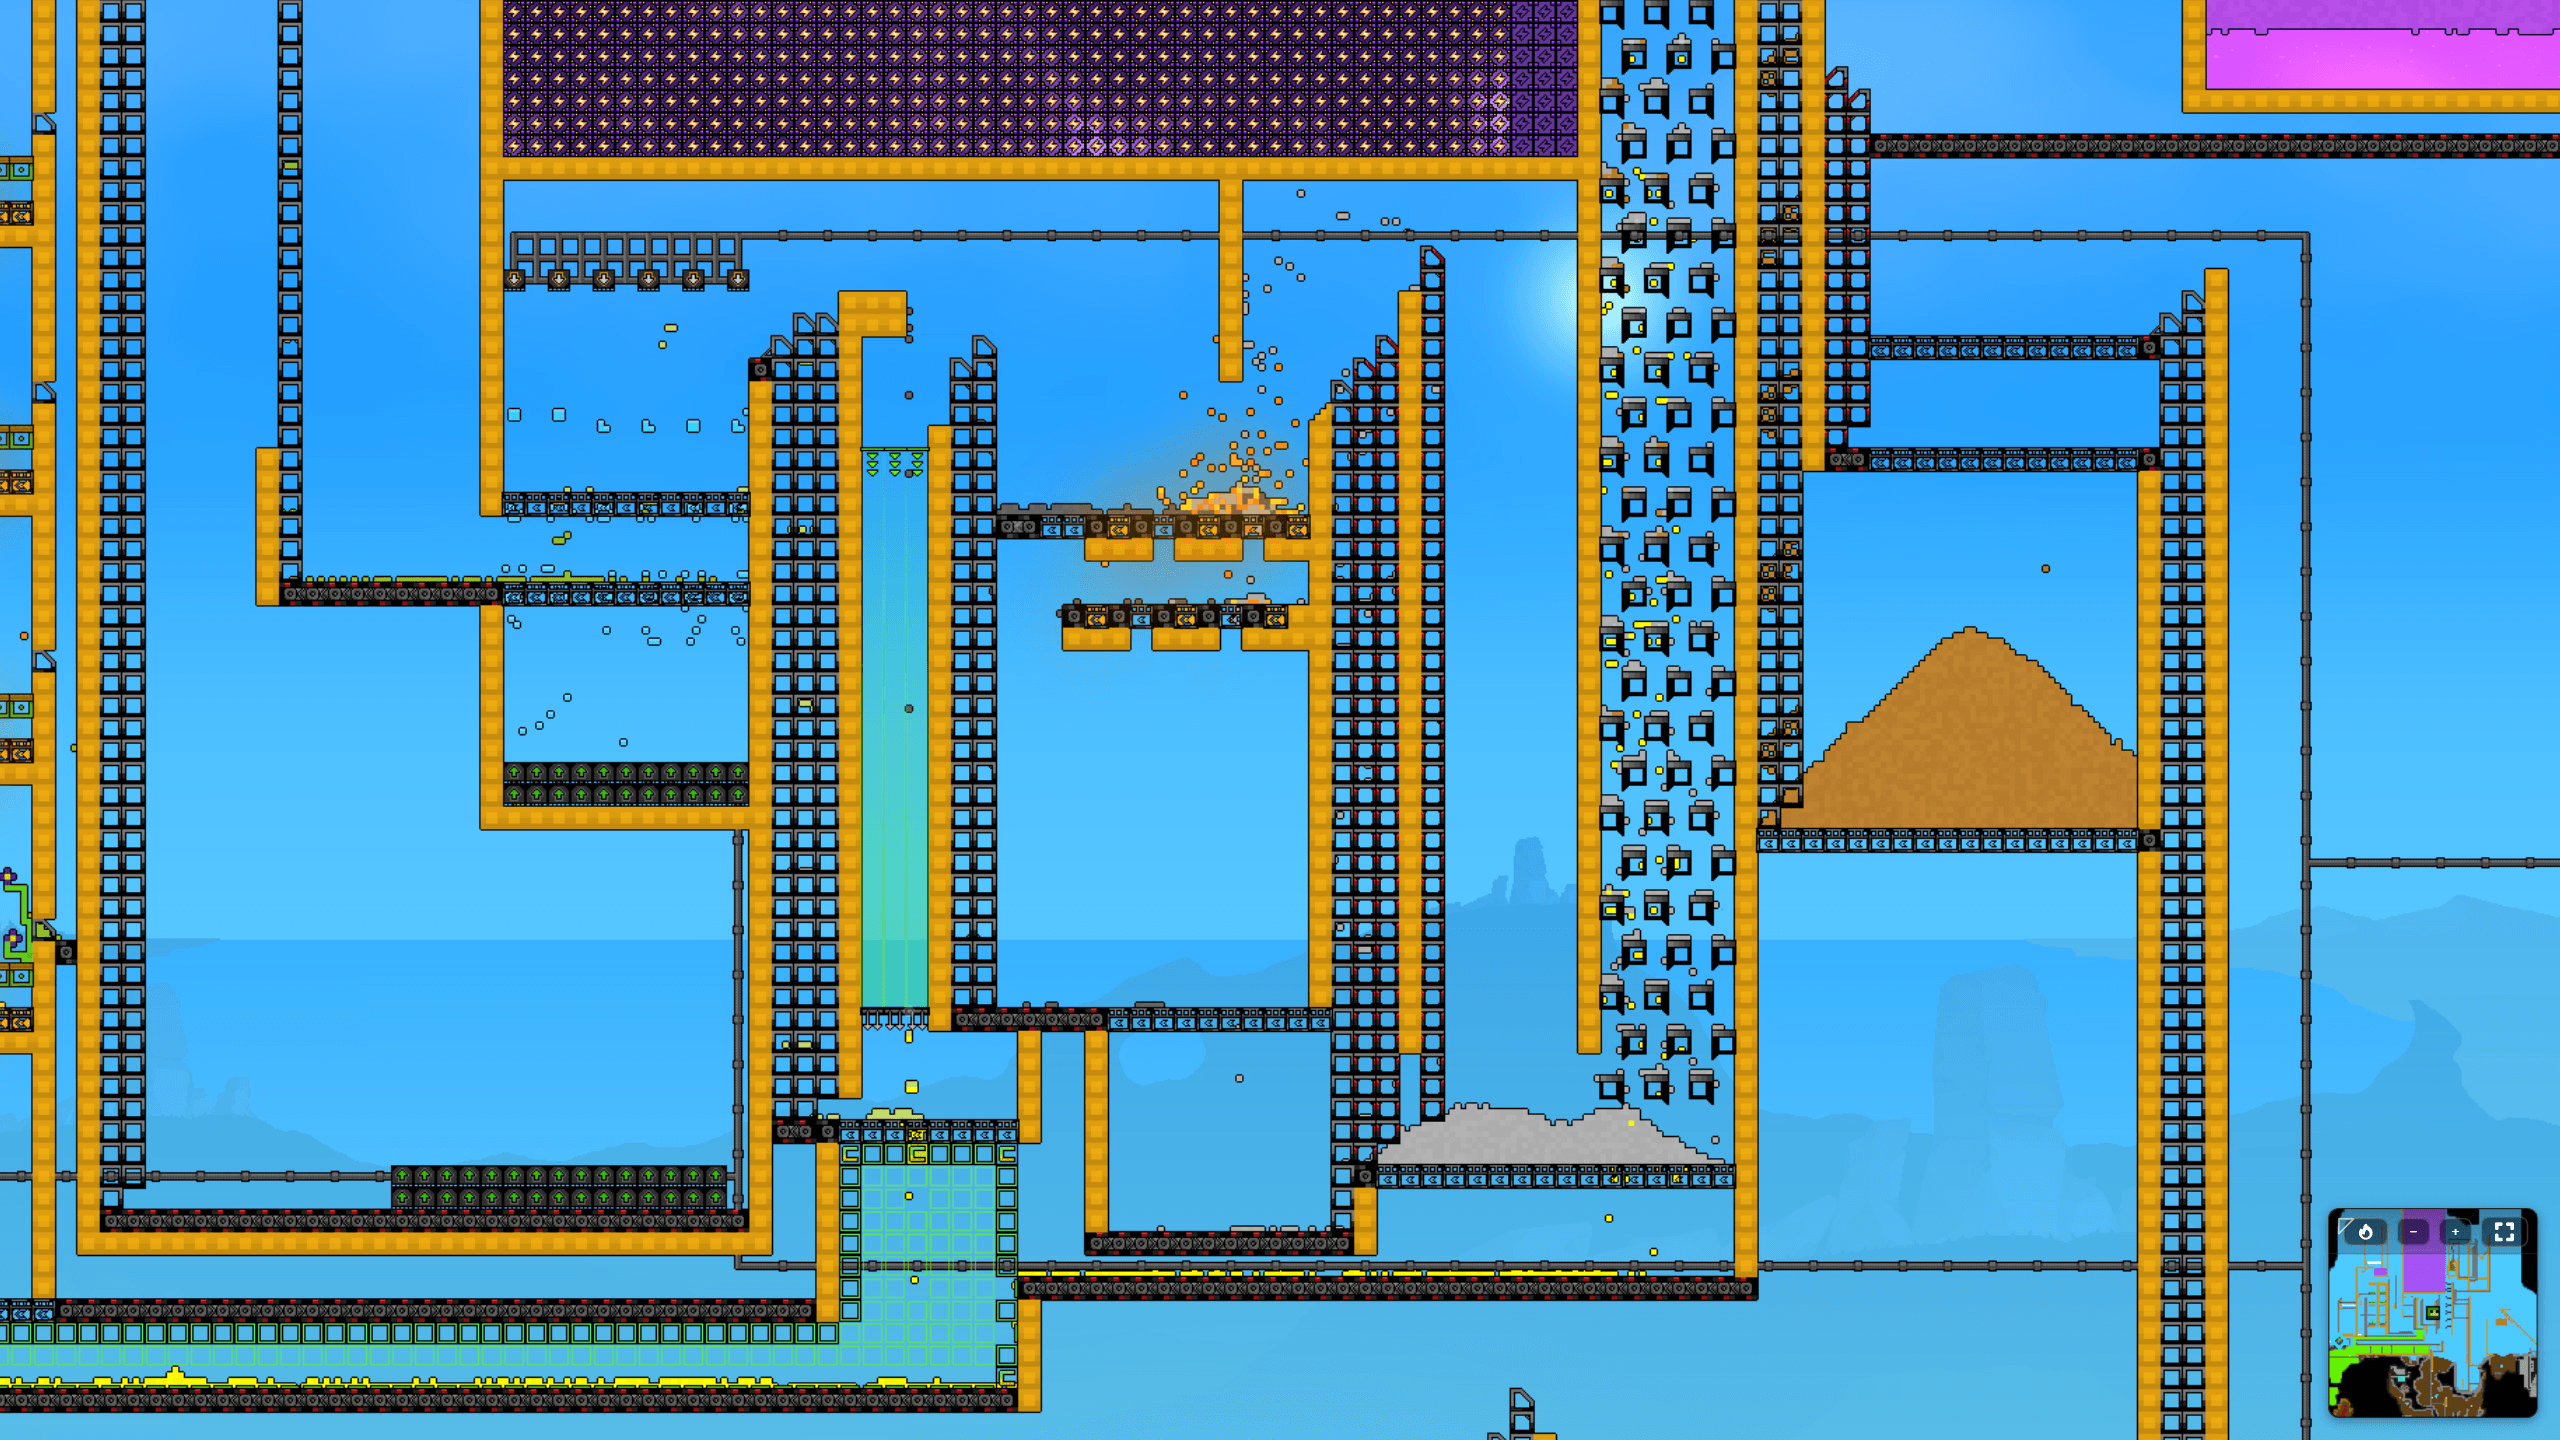
Use a small open area where each step can be inspected. Keep the wetting area, Shaker input, useful output, and Residue exit separated. Do not enclose the cell until it has run long enough to reveal a blocked tile, reversed transport direction, or mixed-material problem.
Before duplicating the cell, answer four questions:
- Is the material in the state expected by the next machine?
- Can every output leave at full input load?
- Is a by-product sharing space with the valuable output?
- Can you reach the cell to clear or reconfigure it?
Solids, direction, and filters
Conveyor Belts and Launchers move solid resources. Filters sort solids with Allow or Block behavior; Advanced Filters later add liquid and gas filtering. Put a clear inspection tile after each sorting step so a wrong rule is obvious.
The Shaker processes Wet Sand into Residue and may also produce Gold. The Kinetic Press is a separate later step: the current official page says it processes Burnt Residue into Gold and Seed when the Burnt Residue falls from the required height. Do not carry over older demo-era wording such as “Slag into Spores.”
When a line fails, check its arrows from the destination back toward the source. A working input cannot compensate for a blocked output, and a fast upstream route can make a weak downstream step fail sooner.
Liquids and containment
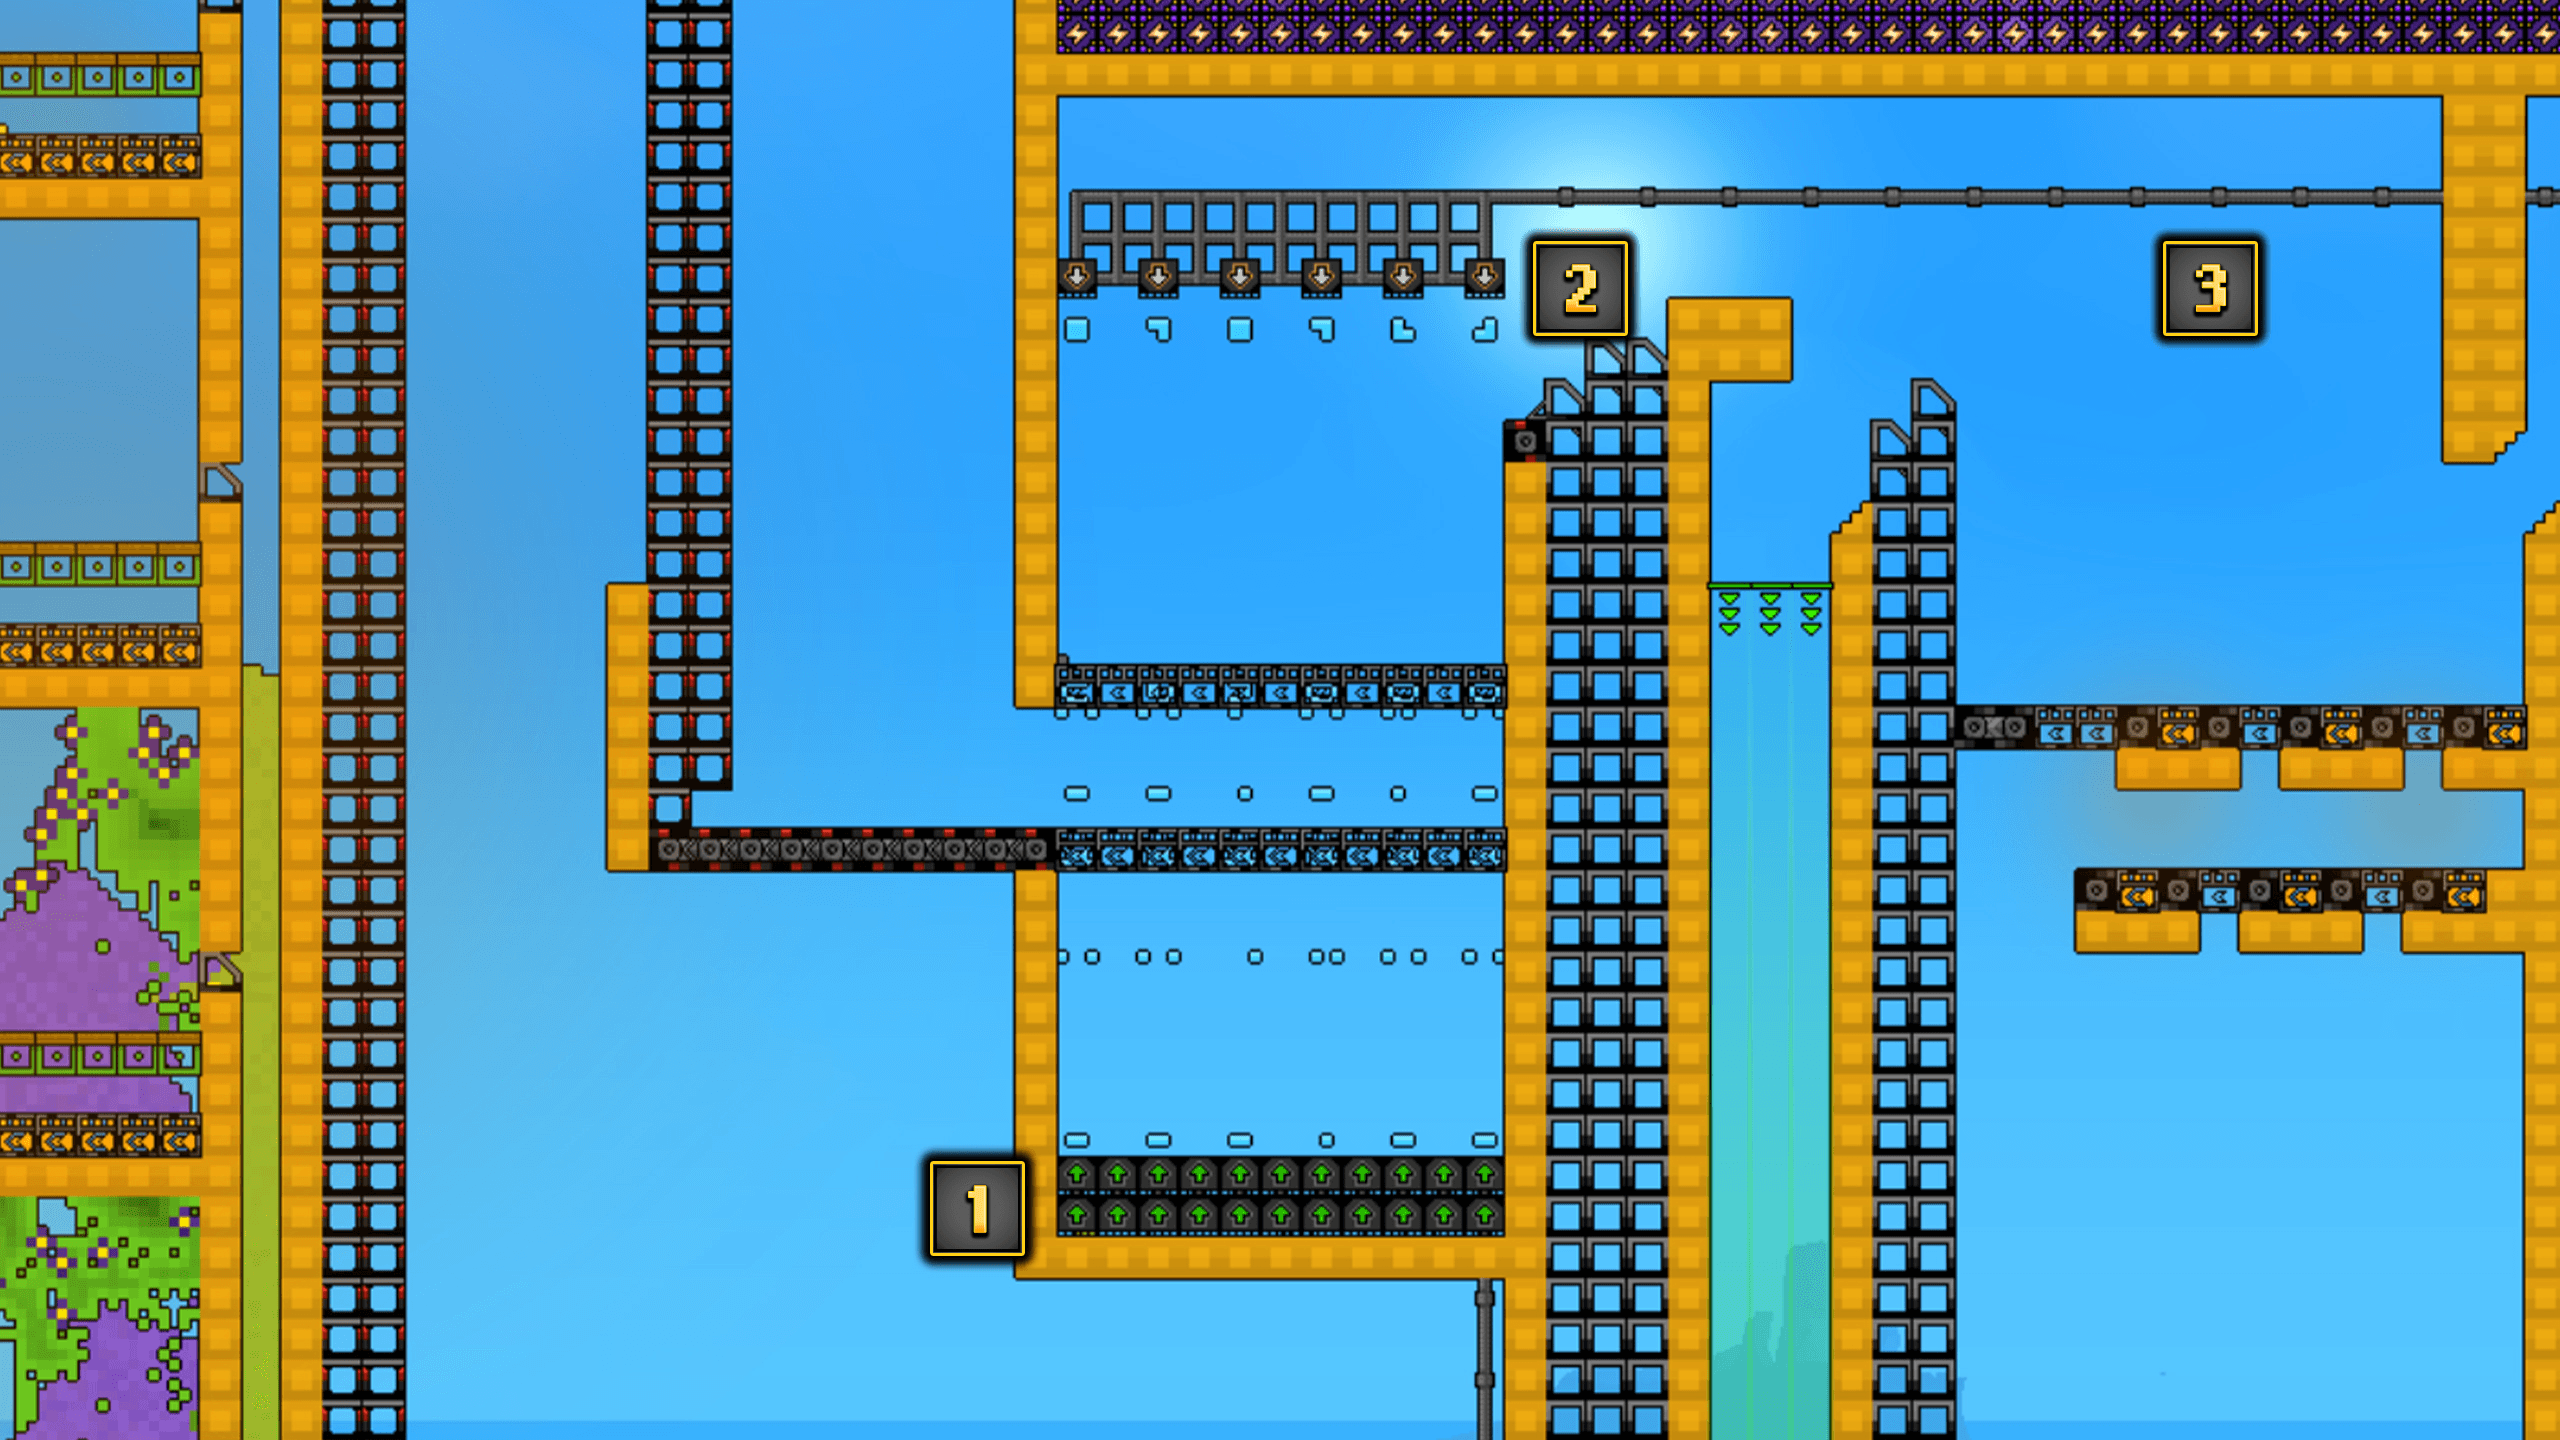
For fluids other than Lava, the official guide describes a Pump, Pipes, and a Liquid Vent. Separate fluid lines when the Vent's priority would affect the output. Water flows downhill, settles in depressions, passes through standard Filters, and can slip through unblocked corners; use a small test pool before trusting a larger boundary.
Water and Sand become Wet Sand. Water and Seed become Wet Seed. Water plus Fire becomes Steam, and Steam can rise to the sky and return as rain. These are useful interactions, not a promise of one universal production ratio for every layout or game version.
See the dedicated Water guide before building a long fluid route.
Research, upgrades, and exploration
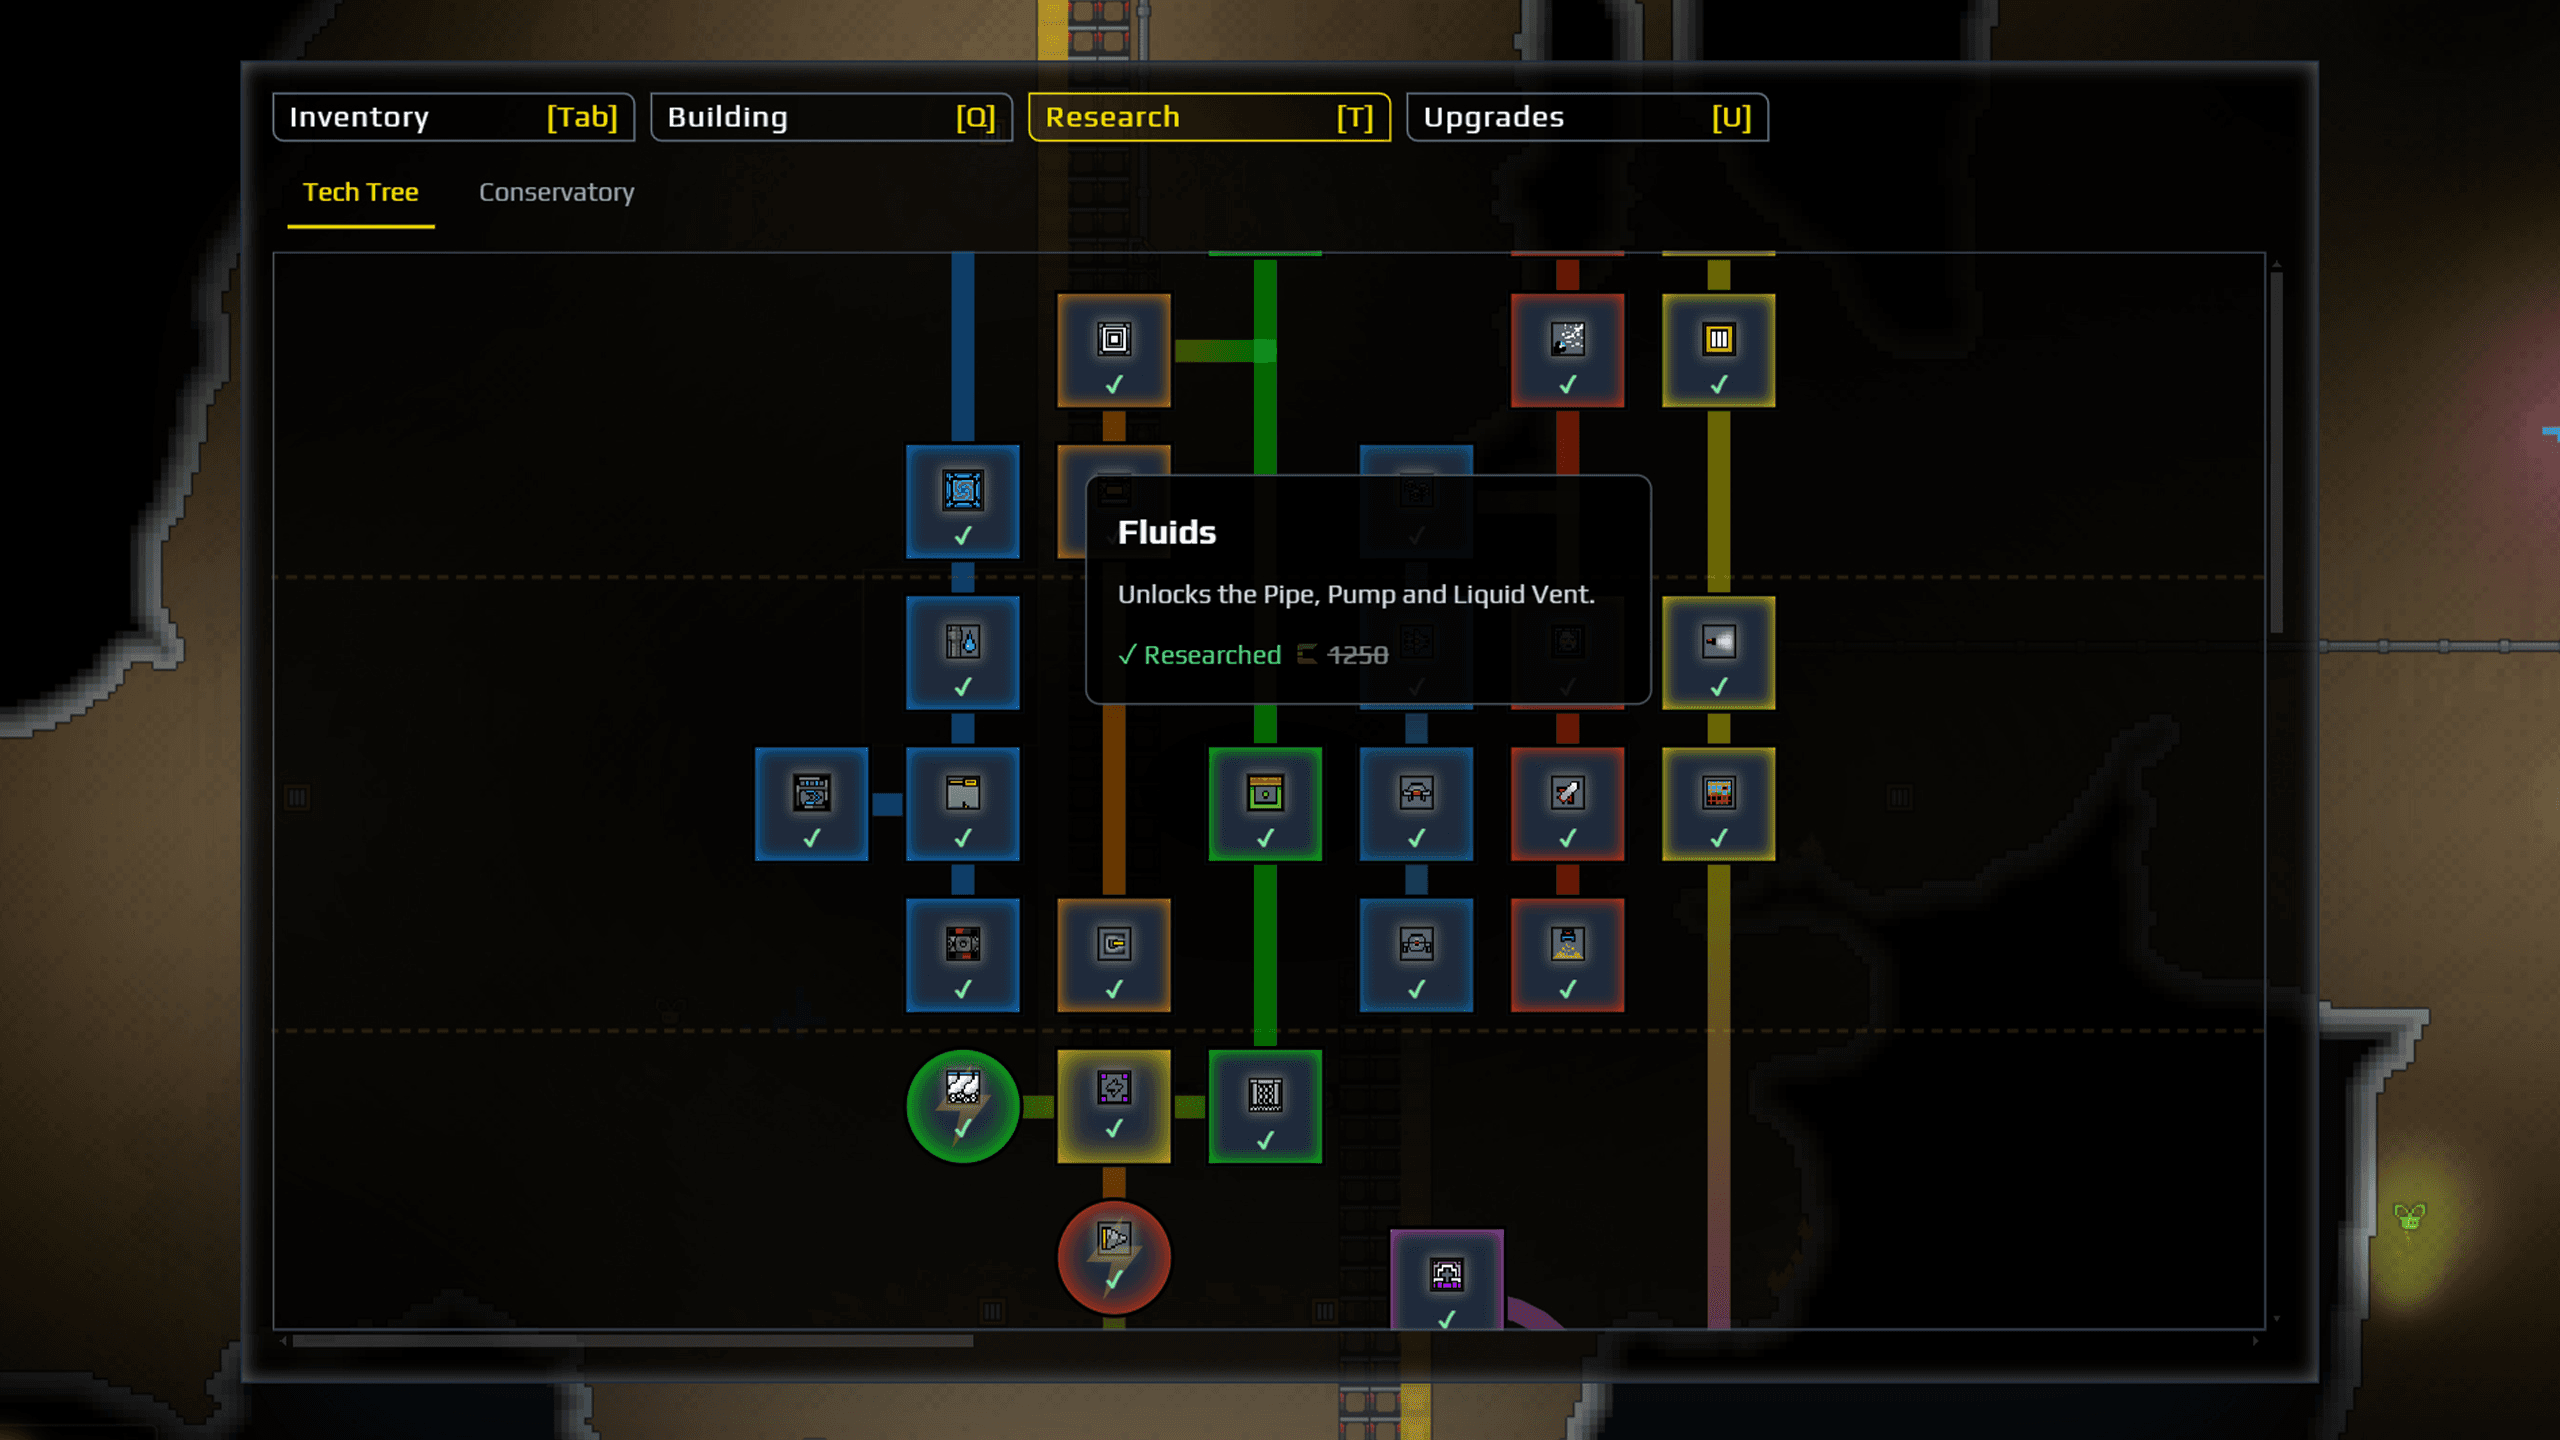
Research unlocks structures and inventory items using Gold and any other currencies shown in the current Research panel. More advanced entries are gated by Factory Level. Choose the unlock that removes the present bottleneck instead of copying a fixed order from an older demo video.
Fluxite upgrades tools, weapons, and drones. Scattered Augments improve Utility items and movement, while a Locator filled with Voidjuice scans for hidden alien artifacts. Current official sources do not publish a complete Artifact-to-Augment reward map or a fixed artifact-location list, so treat community routes as version-specific leads. Continue with the Fluxite guide and Artifact guide.
How to pressure-test a factory
- Fill the input area enough to make the line run continuously.
- Watch the first tile or machine that stops accepting material.
- Check whether the useful output and the by-product have independent capacity.
- Verify every Filter rule and every transport direction at the failure point.
- Stop the input, clear the blockage, and change only one thing.
- Run the same test again before expanding the design.
A layout that works for thirty seconds may still fail after several minutes. Pressure-testing exposes slow buildup, mixed outputs, and routes whose throughput is lower than their input.
Five-minute factory debug checklist
| Symptom | Likely cause | What to check first |
|---|---|---|
| Shaker does not start | Wrong material state or input position | Confirm Wet Sand and test one input away from the main line |
| No valuable output appears | Dry Sand reached the process or the output is blocked | Verify the wetting step and clear the receiving tile |
| The line becomes slower over time | Residue or another by-product is accumulating | Add a dedicated exit and run a longer load test |
| Materials mix after sorting | Filter mode or selected resource is wrong | Recheck Allow versus Block and inspect one item at a time |
| Launcher or Conveyor does not move material | Direction, landing space, or destination is blocked | Follow arrows toward an empty output tile |
| A fluid route is empty | Source level, Pump, Pipe, Vent height, or containment is wrong | Test a short line and check corners for leaks |
| Research appears unavailable | Factory Level or prerequisites are missing | Read the current Research panel, not an old cost list |
Common mistakes
- Treating Gold, Fluxite, and Energy as interchangeable currencies.
- Building a high-throughput layout before proving one complete input/output cycle.
- Assuming a community screenshot or demo-era term matches the current Early Access build.
- Connecting Water and Lava without deciding whether the goal is Steam or preserved Water.
- Treating a density chart as a current recipe, route, or material authority.
- Copying a Blueprint without checking its required Research, material states, and free output space.
FAQ
What should I research first?
Research the smallest unlock that removes your current bottleneck. Early logistics supports the first readable loop; Filters, fluid tools, and exploration tools become valuable when their specific problem appears.
How do I make a Blueprint?
Use C to select a structure, Ctrl+C to copy it, open the Blueprints tab, then save the latest clipboard selection and name it. See Blueprints for import, export, community libraries, and troubleshooting.
Why does a copied factory stop later?
The copied shape may be correct while its inputs, output capacity, Research level, or surrounding terrain differs. Run it as a test cell, verify every material state, and pressure-test the by-product route.
Where do I get exact recipes and rates?
Use the current official entity and Research pages, then reproduce the step in your build. This guide deliberately avoids universal rate and layout promises where the current sources do not establish them.
Sources and related links
Sources checked 2026-08-24: official Beginner's Guide, official Research page, official Water page, official Steam page, and the developer-pinned Steam FAQ.
Continue to Tier List, Blueprints, Shaker Setup, Water, Lava, and Materials.