
Short answer
Sandustry has no official combat or character ranking. This tier list is a practical research and build-priority guide: establish a readable material loop first, then buy the unlock that removes the current bottleneck. The official Research page is marked WIP, so the tiers below describe use cases rather than a permanent meta or a promise that every save should follow one order.
How to use this list
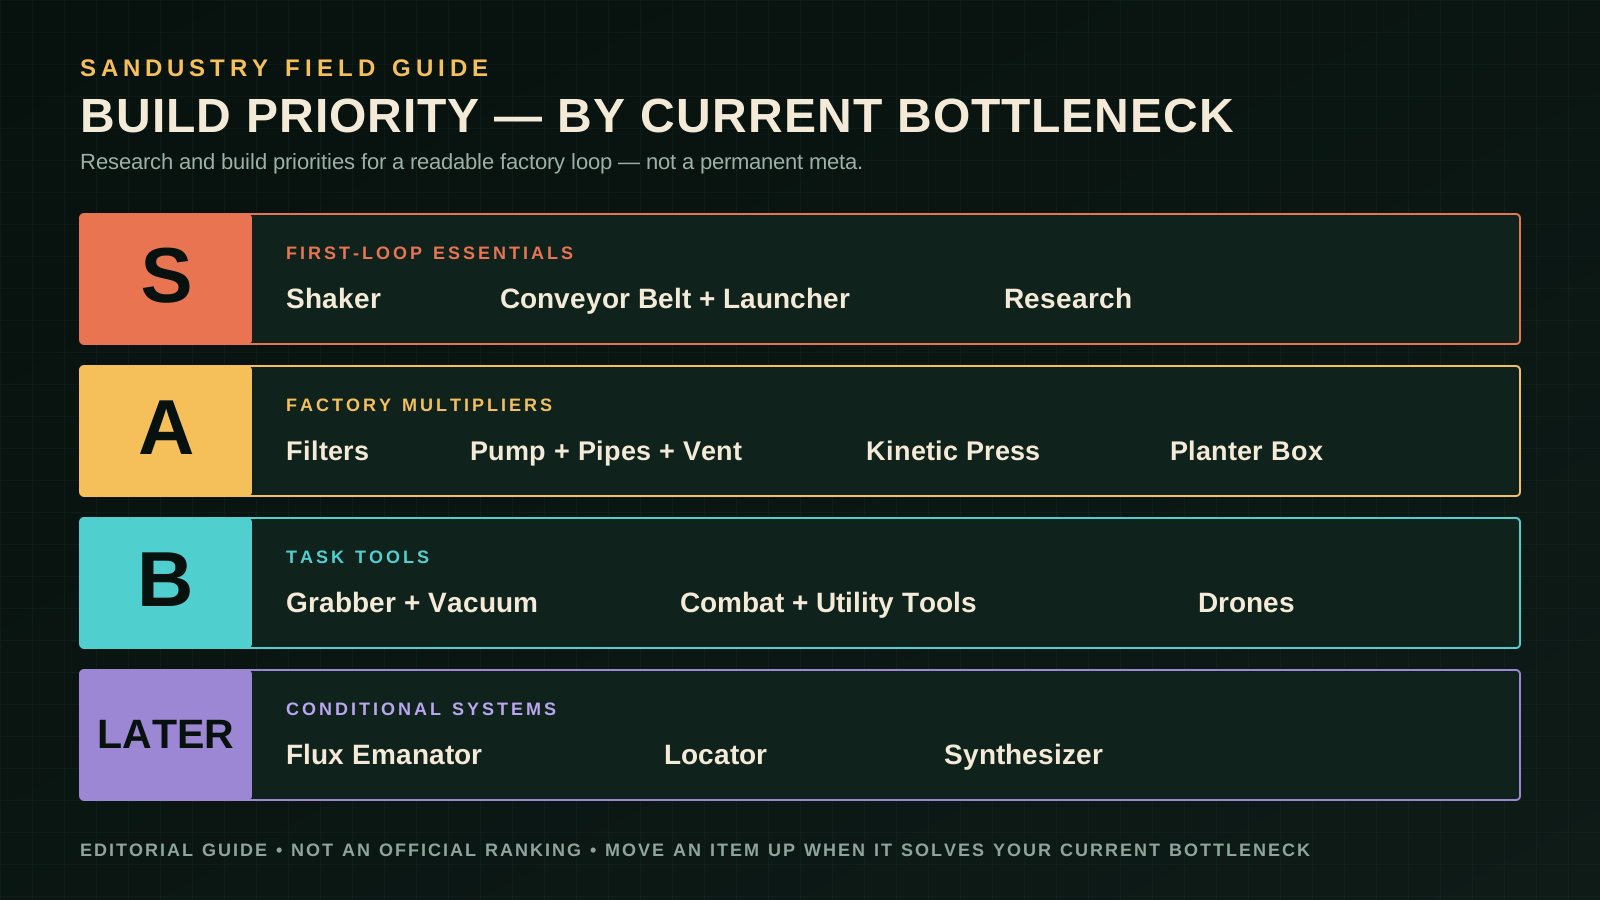
S — first-loop essentials make materials move and turn early inputs into progress. A — factory multipliers solve sorting, fluid transport, and the next production step. B — task tools are excellent when the world or a specific bottleneck asks for them. Later — conditional systems matter after the relevant resources, power, or exploration path is ready.
Move an item up when it solves the problem in front of you. A Filter can be S-tier for a mixed Gold line, while a Cryoblaster can be the best next purchase when you need to freeze Water or solidify Lava to clear a route.
S tier: make the first loop readable
Shaker
The Shaker processes Wet Sand into Residue and can also produce Gold. Feed it from a visible source and leave room for the residue that stays on top and is pushed outward. It is an early way to understand input, output, by-product, and Research progress. See Shaker Setup for verified mechanics only.
Conveyor Belt and Launcher
Conveyor Belts and Launchers move solid resources. A conveyor route makes repeated movement explicit; a launcher helps cross vertical or diagonal gaps. Test direction and receiving space on a short line before building a tall or dense route.
Research
Research is the progression layer, not a building, but it belongs in S because it opens the next tools and structures. Spend Gold on the unlock that removes today's bottleneck rather than copying a universal order.
A tier: scale the factory
Filters
Basic Filters sort a single solid resource with Allow or Block behavior. Advanced Filters extend filtering to solid, liquid, and gas types. Put an observable output after a filter and verify the rule before attaching the next machine.
Pump, Pipes, and Liquid Vent
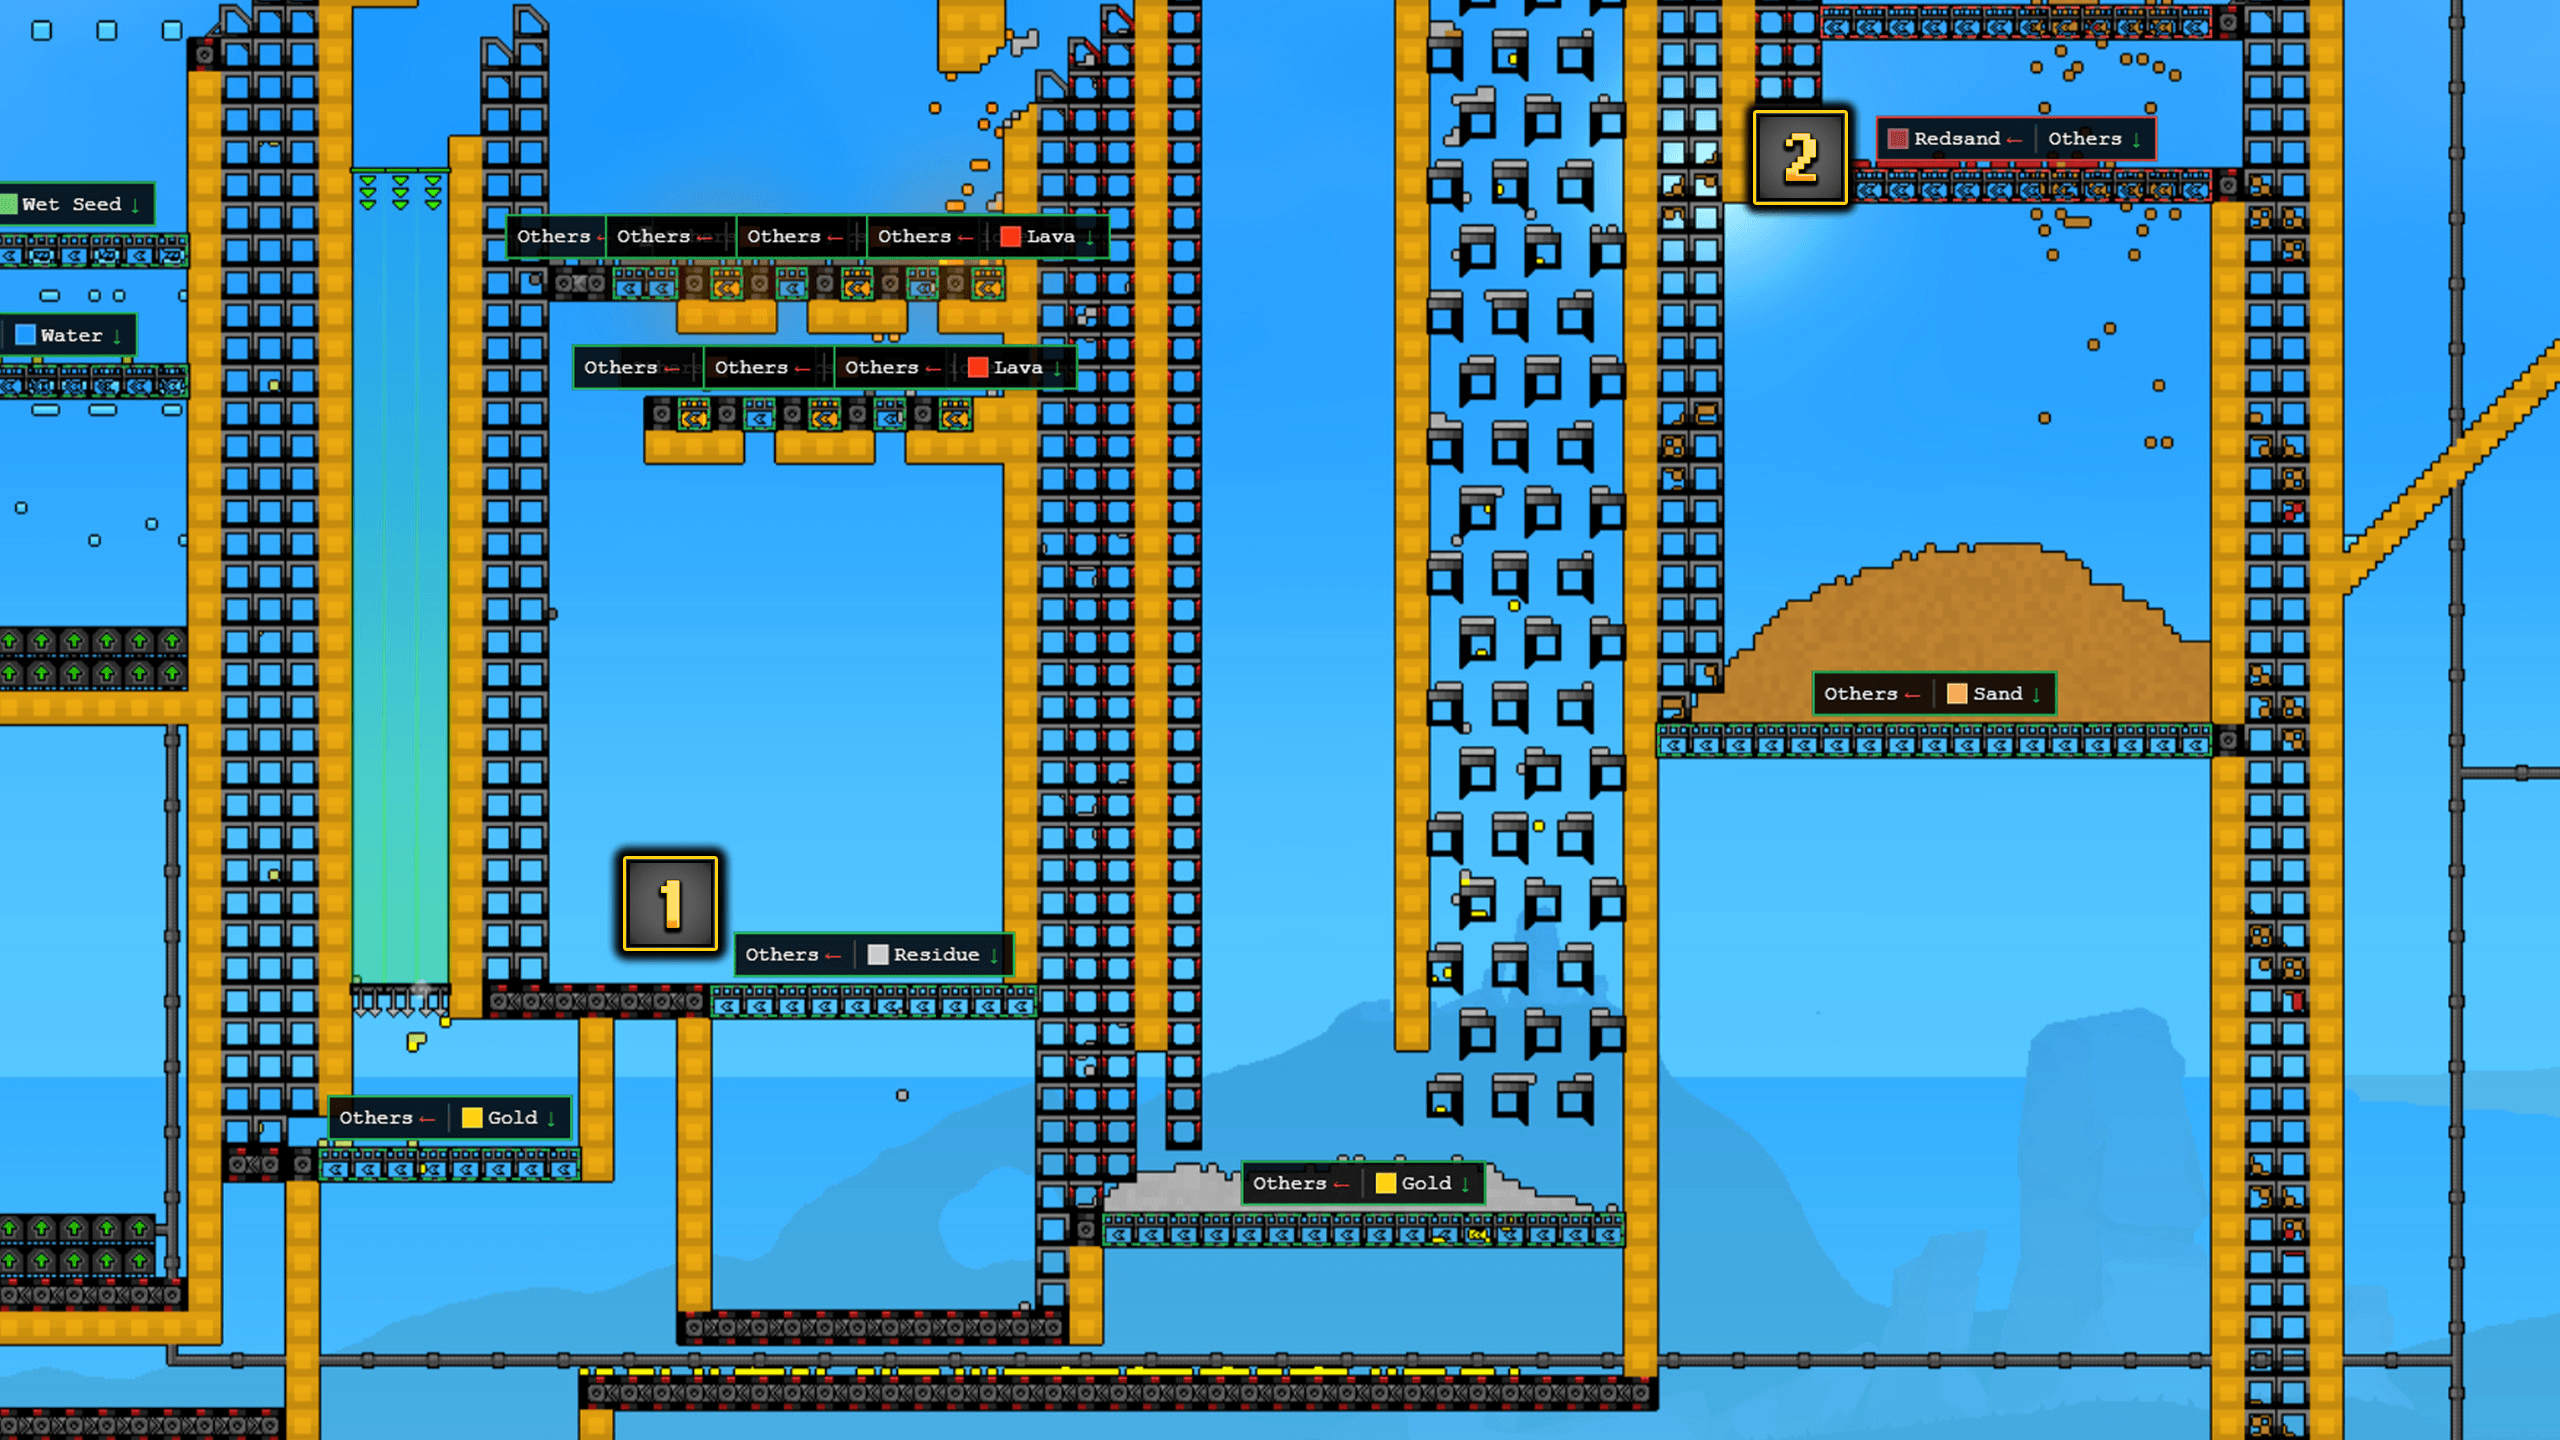
For fluids other than Lava, the official Beginner's Guide describes a Pump as input, Pipes as the route, and a Liquid Vent as output. Keep related fluids on separate lines when the vent's priority could change the result. See Water for flow and containment details.
Kinetic Press
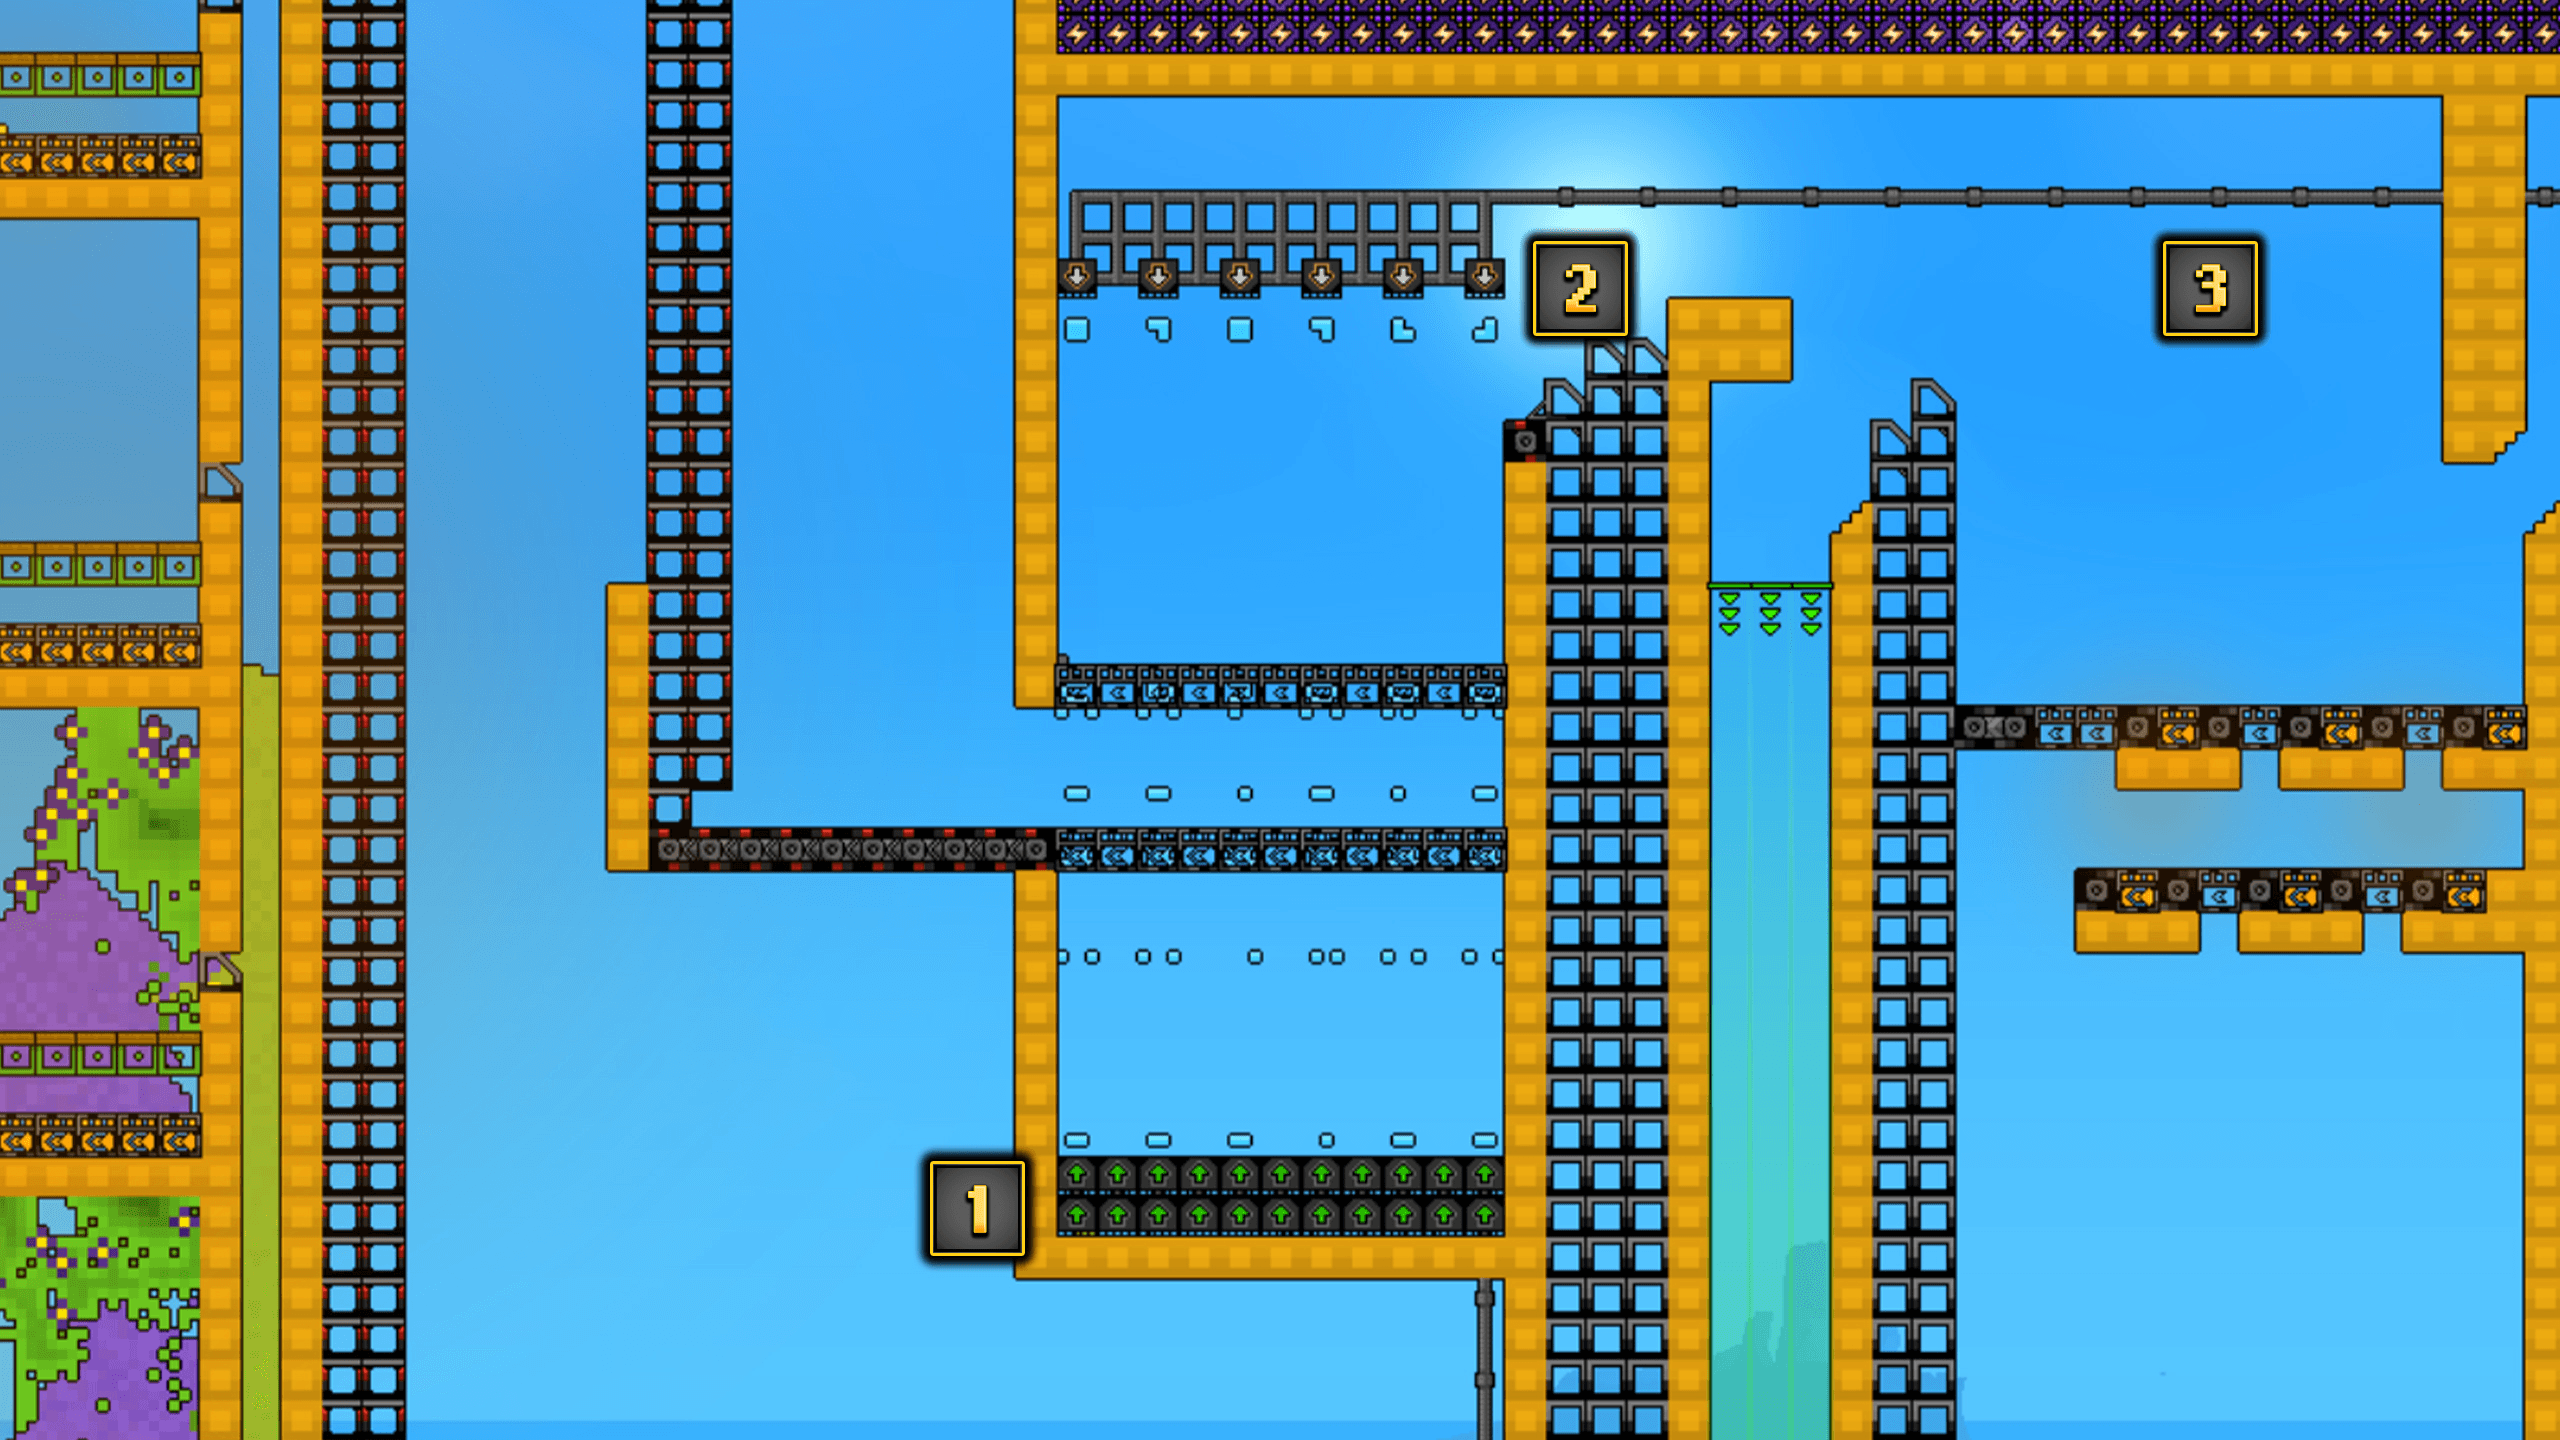
The Kinetic Press processes Burnt Residue into Gold and Seed when Burnt Residue falls from the required height. The current official page describes a 25-block minimum and one Gold plus one Seed per successful Burnt Residue input. That is a vertical-drop mechanic, not a flat conveyor recipe; include room to clear a blockage.
Planter Box
The Planter Box belongs in the refining and growing branch. Raise it when the current chain needs Wet Seed, Flowers, Gold, or Amethelis. Do not buy it simply because it is available if logistics or the current input is still the bottleneck.
B tier: solve a specific problem
Grabber and Vacuum
These tools help move or collect piles while a factory is still being learned. Use them when manual repositioning is the immediate problem, then replace repeated manual work with a clear logistics route when the process stabilizes.
Gun, Rocket Launcher, Flamethrower, and Cryoblaster
These tools answer terrain, heat, ice, or utility problems. They are not universal production upgrades. Move one higher on your personal list when it opens the exact route you need.
Digger, Hauler, and other drones
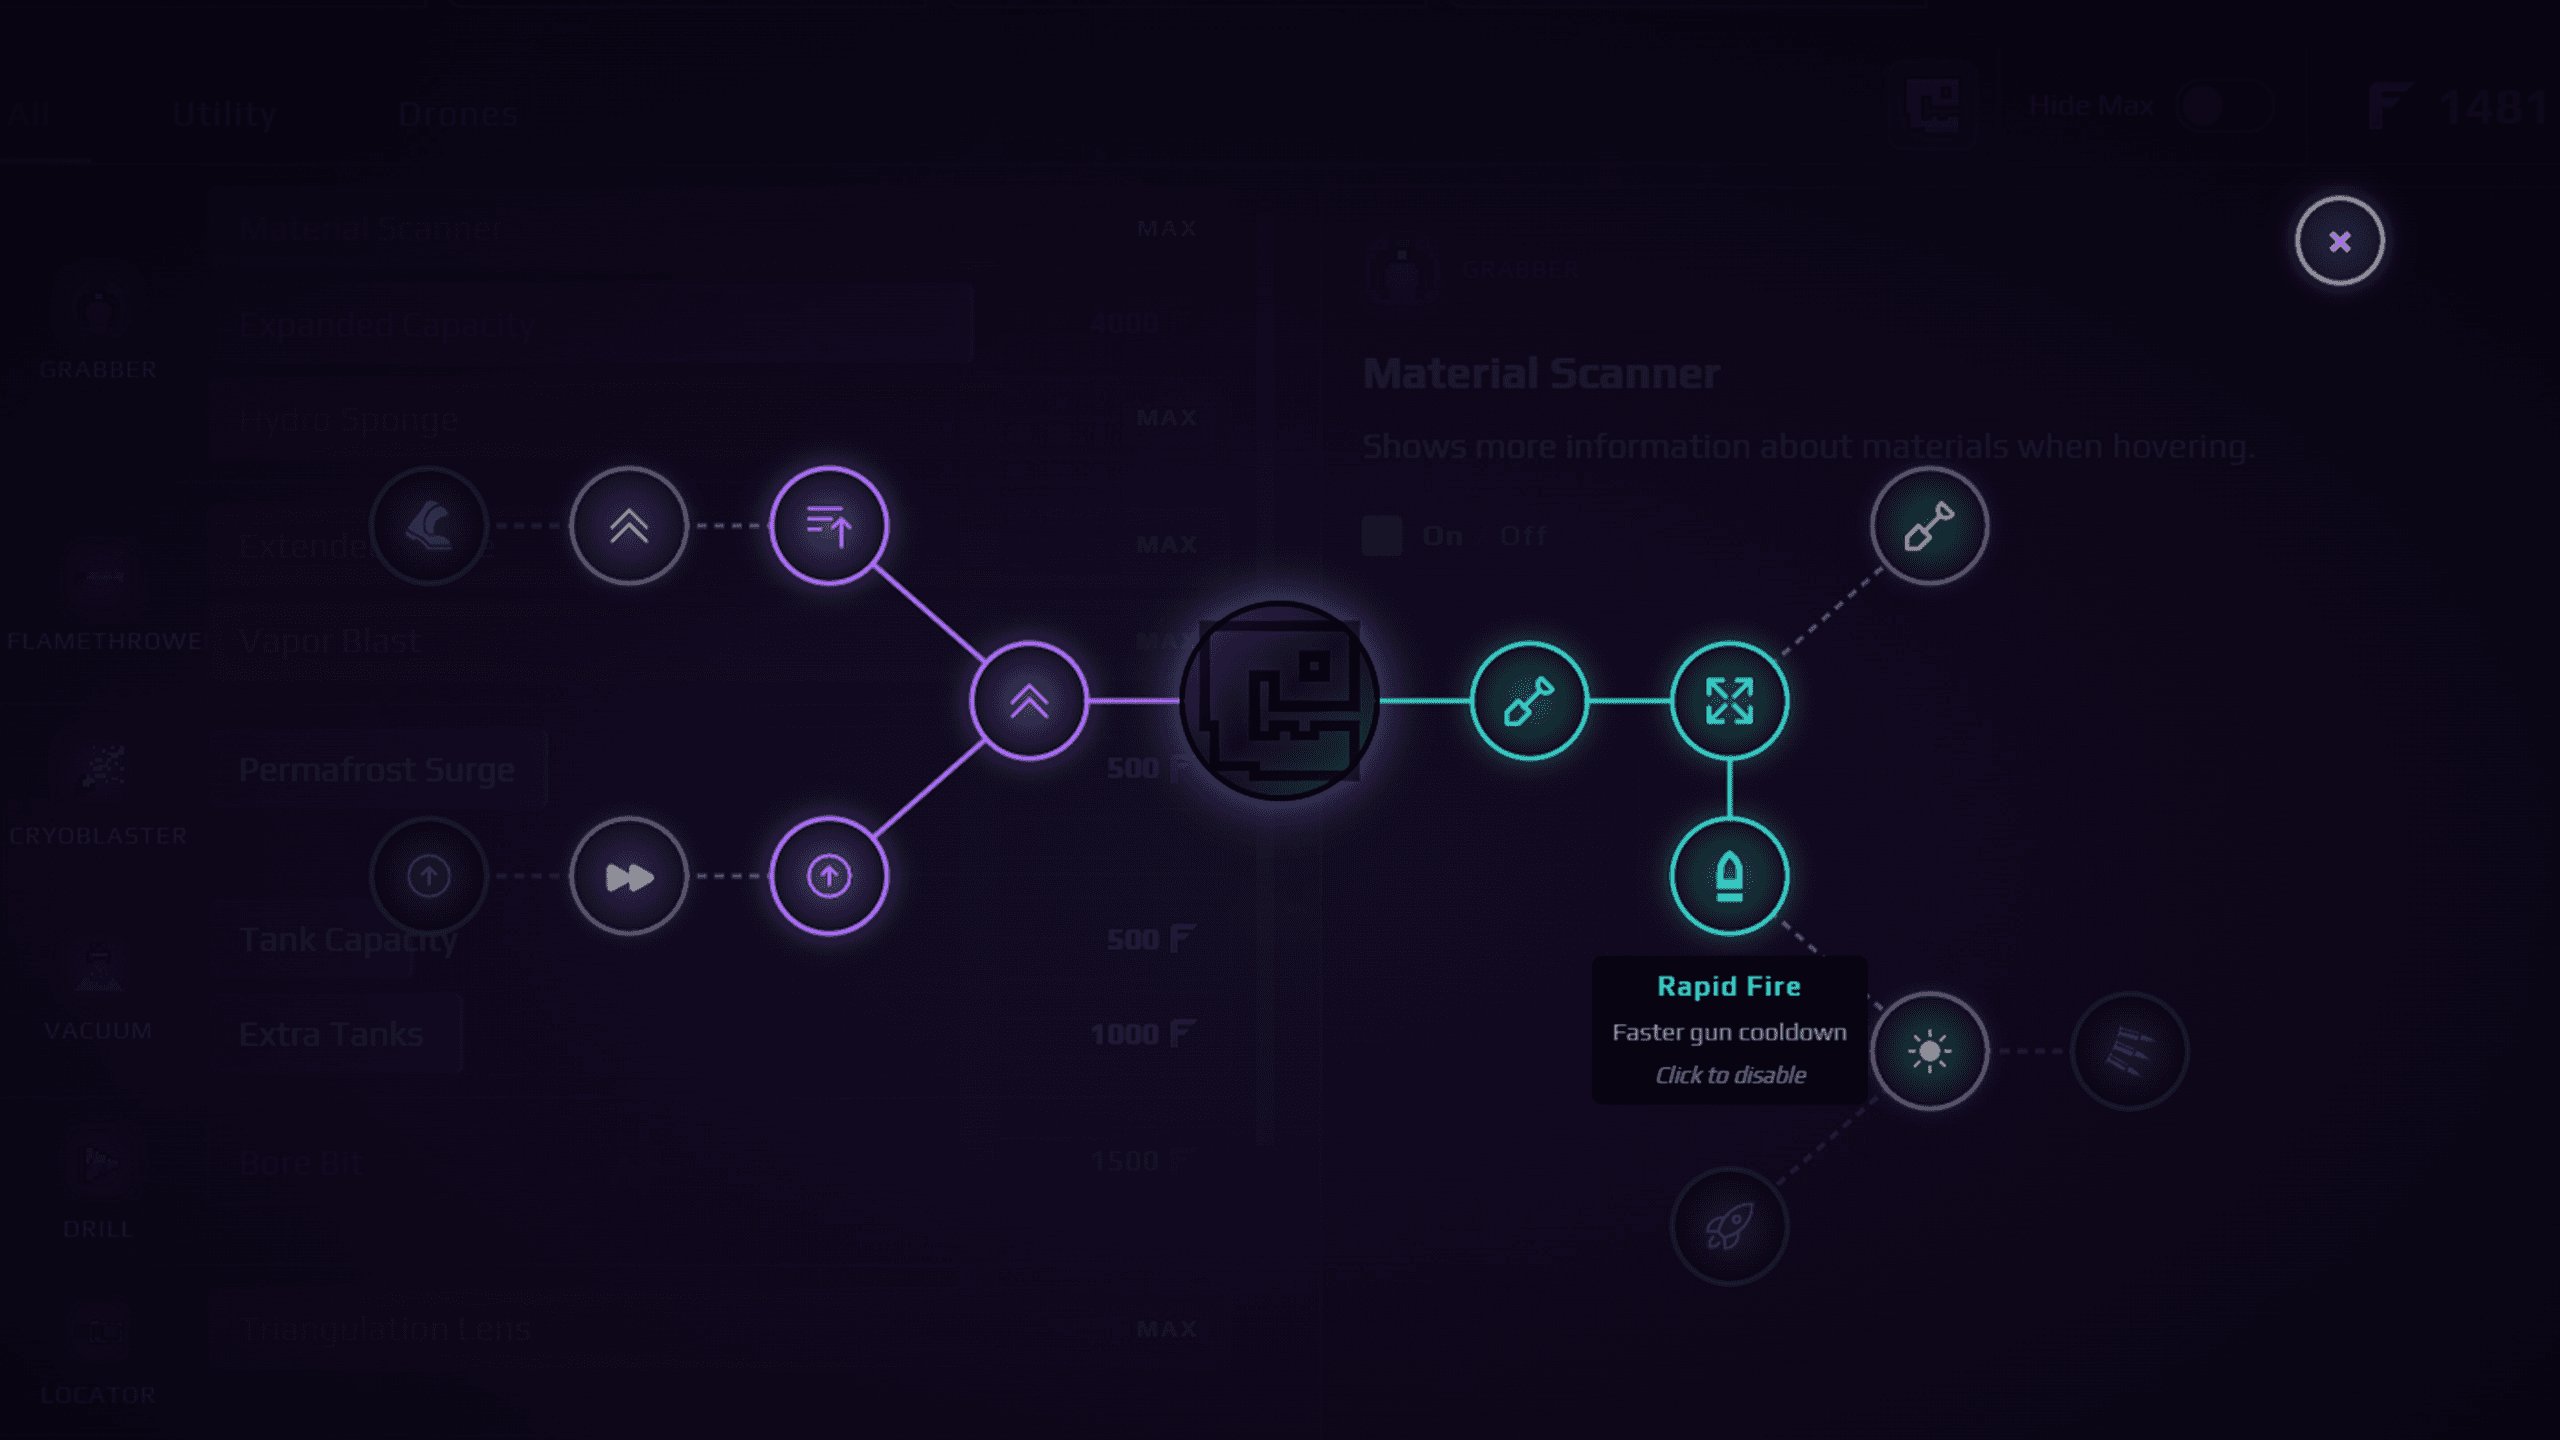
Drones are an automation expansion after the first material route is understandable. If a drone appears stuck, inspect its pickup and drop-off space before researching another system. A drone should remove repetitive work, not hide an unresolved belt or boundary problem.
Later: conditional systems
The current Research page lists later energy, thermal, logic, exploration, and special systems, including the Flux Emanator, Locator, and Synthesizer. Its current snapshot reaches Tier 6 and is explicitly WIP; that does not prove that Tier 7 can never exist or that the current list is final.
The Flux Emanator is a later Voidbloom-to-Fluxite route. Use Flux Emanator for its current WIP Tier 5/2,000 Gold reminder. Use Artifacts for the Locator boundary instead of assuming that a tier label gives a map location.
A decision rule for a stalled factory
- Name the input and its current state.
- Identify what is blocked: source, transport, filter rule, machine, or receiving space.
- Confirm the output that the current official page actually documents.
- Research the smallest unlock that addresses that exact problem.
- Test one short route, then expand only after the material moves as expected.
Troubleshooting
When a high-priority unlock does not help, check the material state, input route, receiving space, and current Research prerequisite before moving the item down. A tier label cannot repair a blocked belt, missing fluid source, or unavailable exploration tool.
Common mistakes
- Treating this editorial priority guide as an official or permanent ranking.
- Buying a later machine before its input material, Research prerequisite, or receiving space is ready.
- Copying demo-era Slag, Burnt Slag, or Spores terminology into the current Residue chain.
- Reading the WIP Tier 1–6 snapshot as proof that the progression list can never change.
FAQ
Is this an official tier list?
No. It is a player-facing priority guide based on the official Research, Beginner’s Guide, and building pages. It is not a combat ranking, speedrun route, or permanent balance statement.
Does the Kinetic Press process Slag into Spores?
That is not the current official mapping used here. The Kinetic Press page says it processes Burnt Residue into Gold and Seed. Recheck the current official page before trusting older terminology.
Is Tier 6 the final tier?
The checked Research page is WIP and currently lists Tier 1 through Tier 6. It does not justify a permanent “no Tier 7” claim.
Why is my high-tier purchase not helping?
Check whether the input, state, power, receiving space, or exploration requirement is actually ready. A later unlock cannot repair a missing source or a blocked line.
Sources and related links
Sources checked 2026-08-24: official Research page, official Beginner’s Guide, official Shaker page, official Kinetic Press page, and official Burnt Residue page.
Continue to Beginner Tips, Shaker Setup, Materials, Water, and Lava.